By Joe Berk
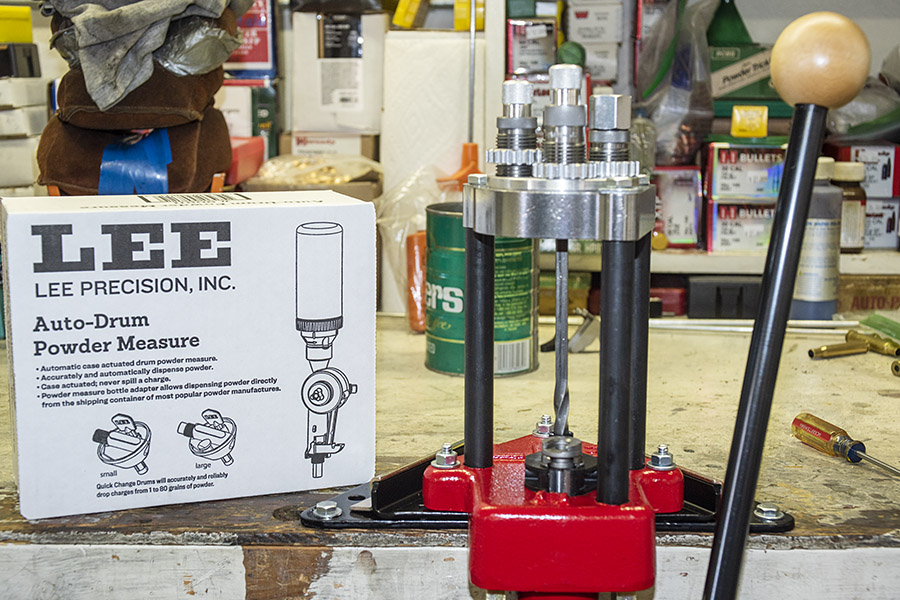
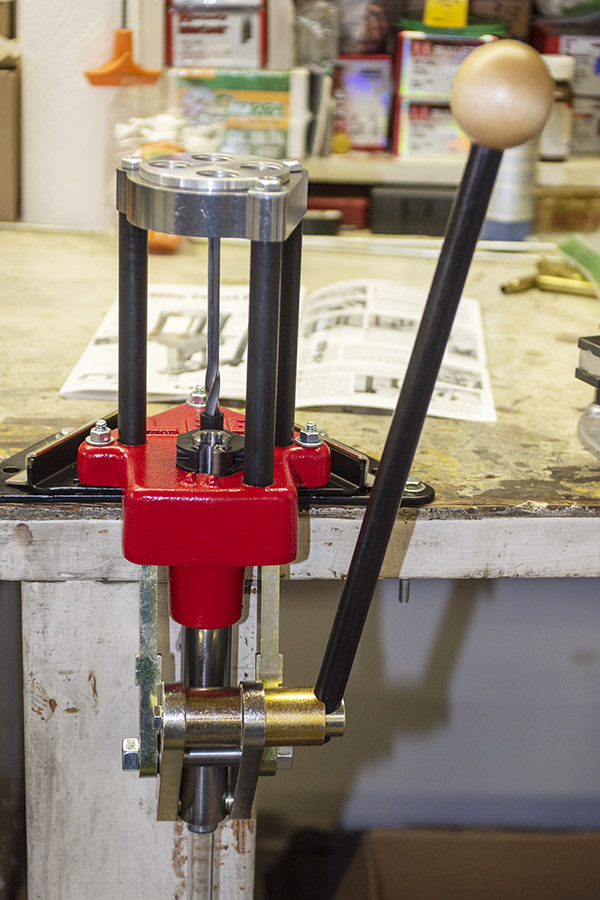
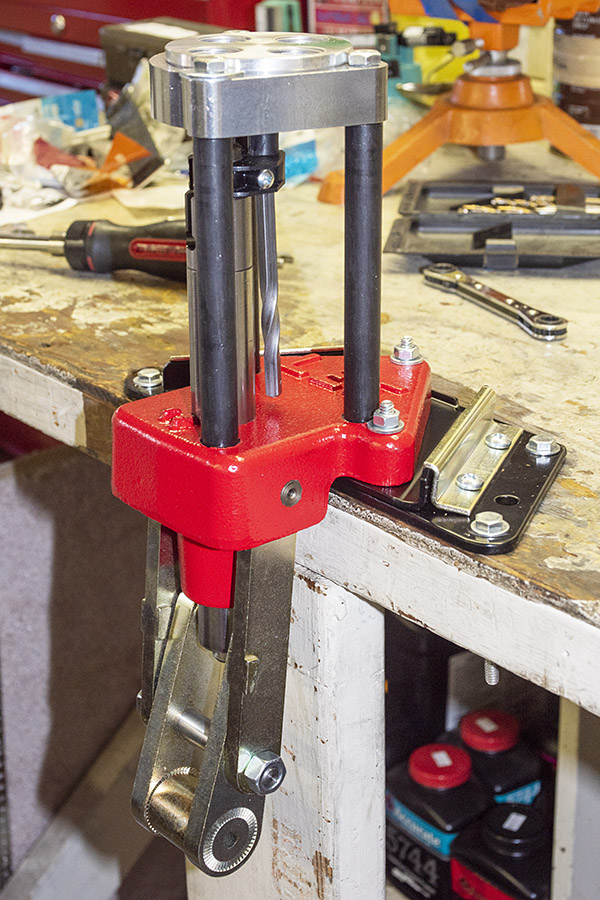
After mounting the Lee Classic Turret Press, the next step is to install the auto-drum powder measure on the expander die. This blog focuses on doing so. The auto-drum powder measure is a well-engineered device. As I installed and adjusted the Lee auto-drum, I was impressed with its design and build quality.
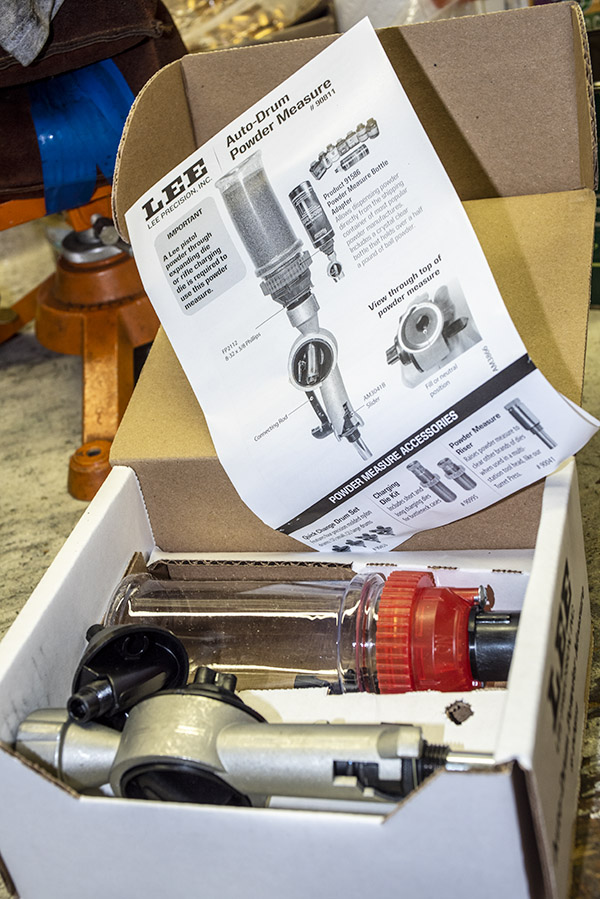
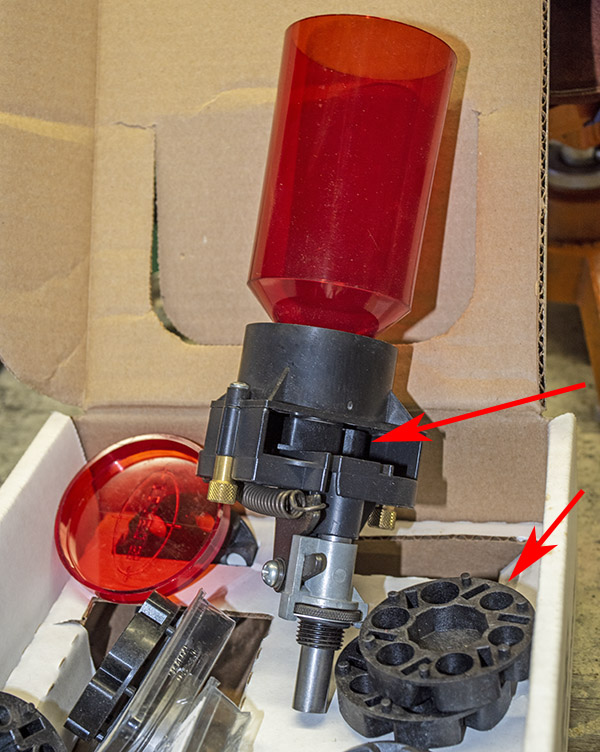
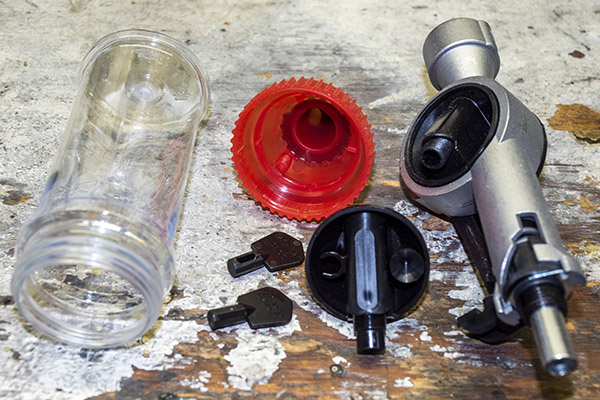
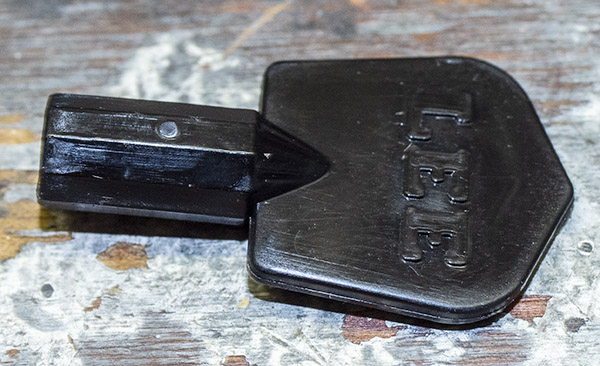
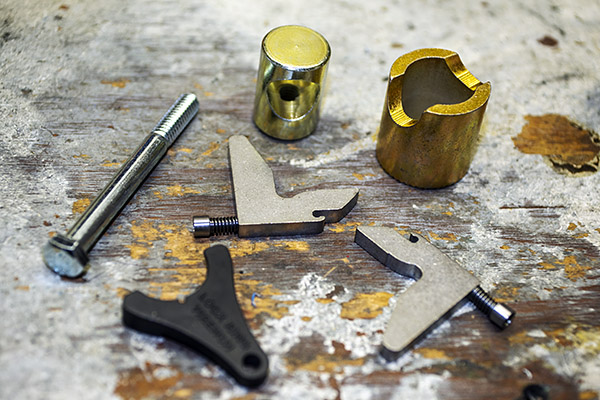
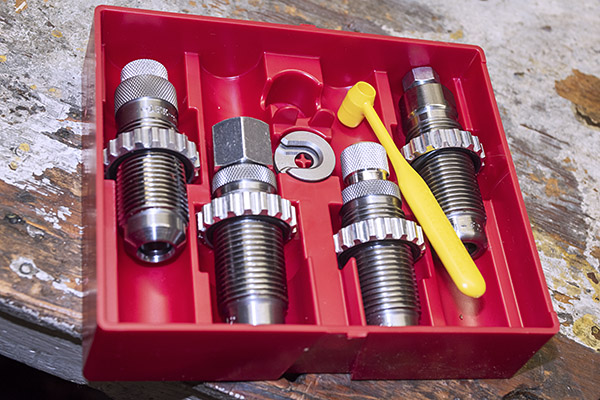
The auto-drum powder measure includes the bottle, the bottle top, two adjustment keys, two quick change drums, the auto-drum tightening screw, and the body.
Keep us afloat…please click on the popup ads!
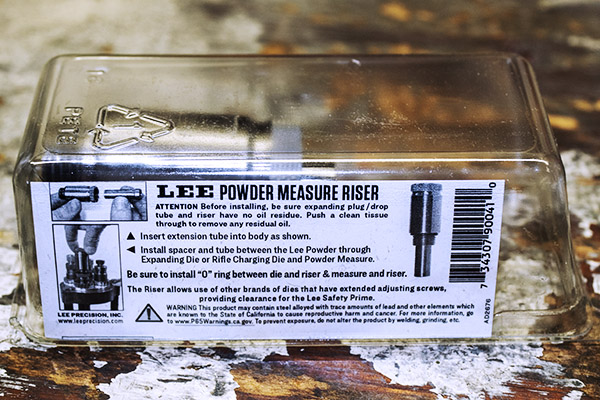
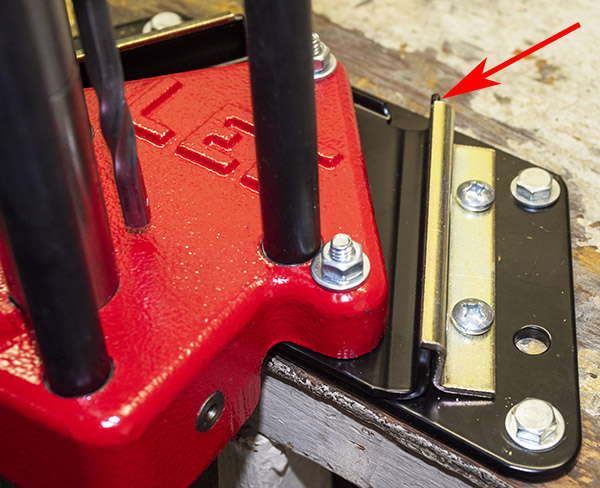
In addition to the above, Lee’s Classic Turret Press Kit includes a powder measure riser. It’s used to raise the auto-drum powder measure so it clears the safety primer feed when the turret rotates. We’ll cover installation of the Lee safety primer feed in the next blog.

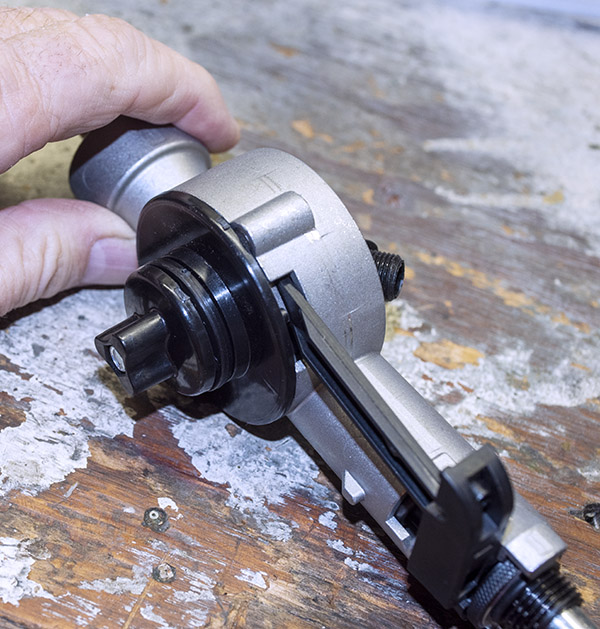
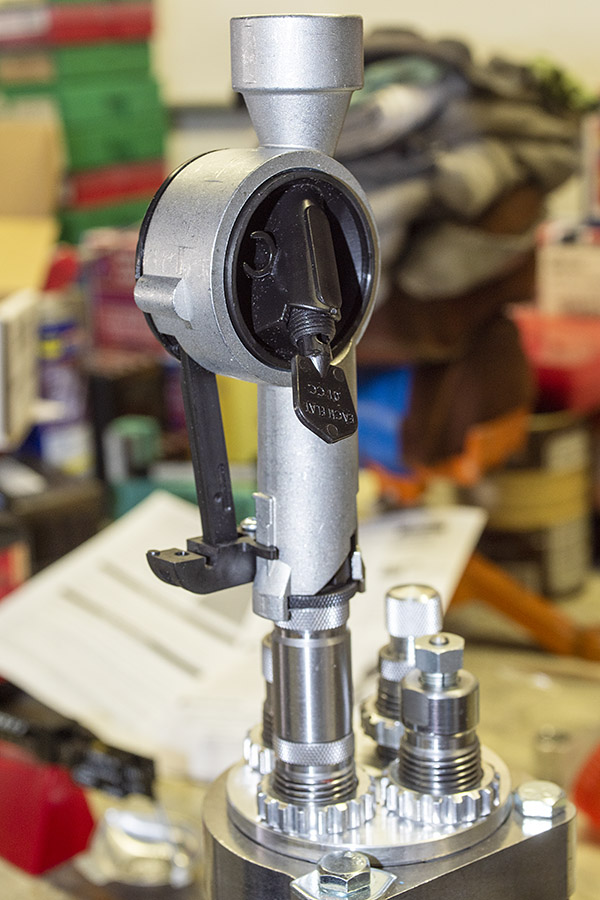
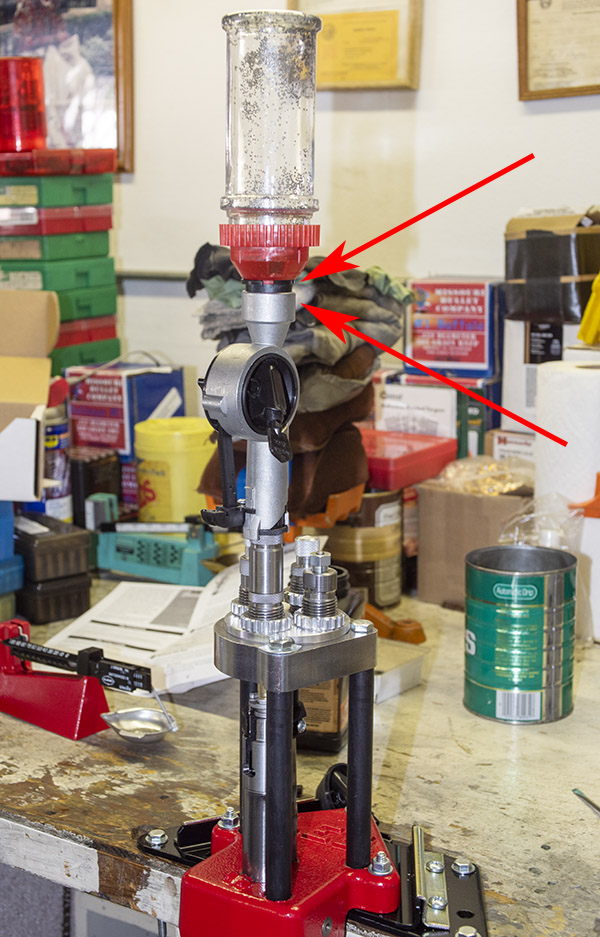
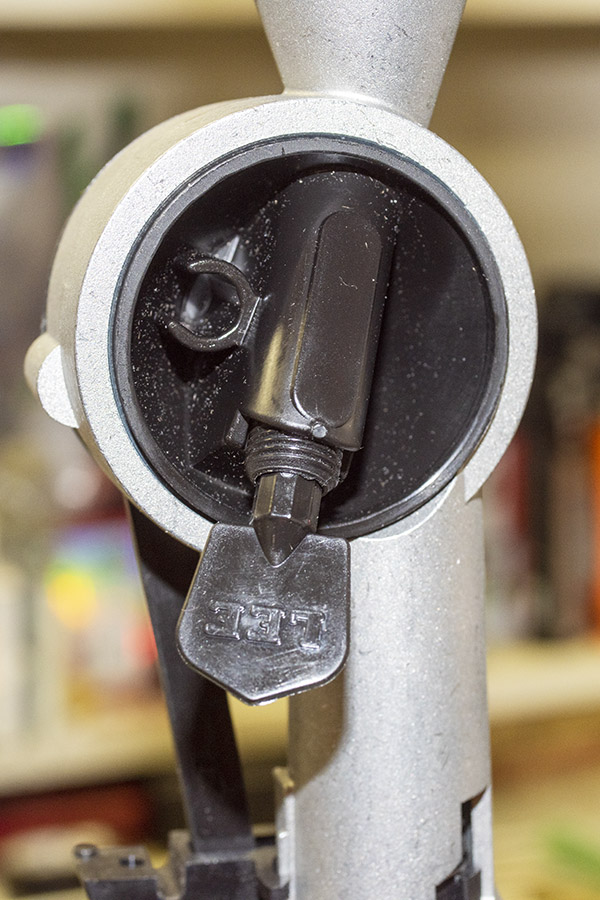
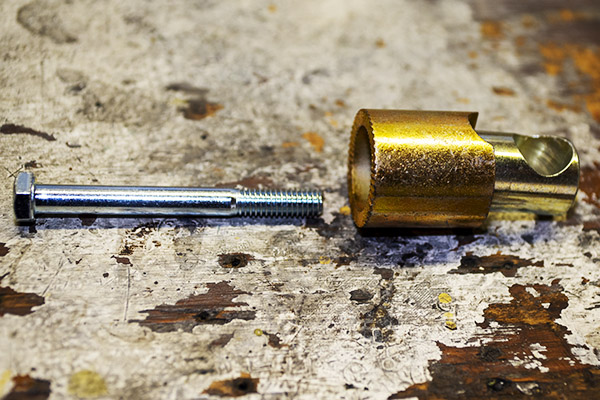
The photo below shows the auto-drum body. It’s a die-cast part what includes the auto-drum (the black cylindrical subassembly inside the silver die casting). As the Lee turret press ram is raised, the cartridge case pushes a cylinder in the riser up. The upward movement of that cylinder actuates a lever (the black piece on the auto-drum, which rotates the drum). There’s a cavity in the drum that fills with powder when it is aligned with the bottle. When the drum rotates, the cavity holding powder rotates to align with the expander die, and a fixed amount of powder drops through the expander die into the brass cartridge case below. It’s a clever approach.
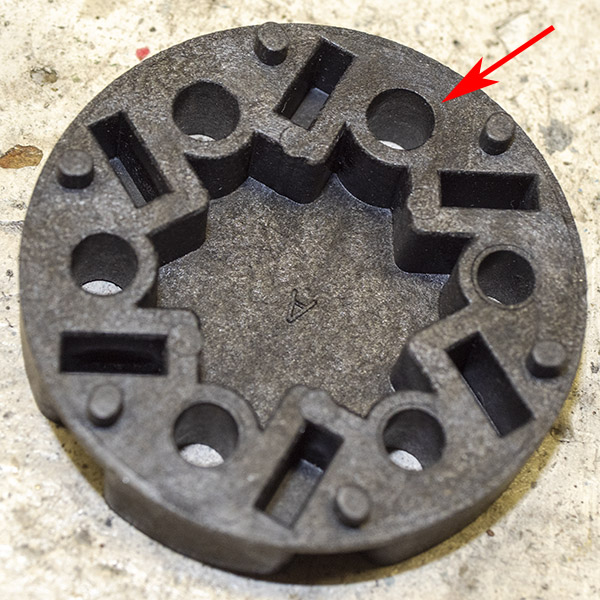
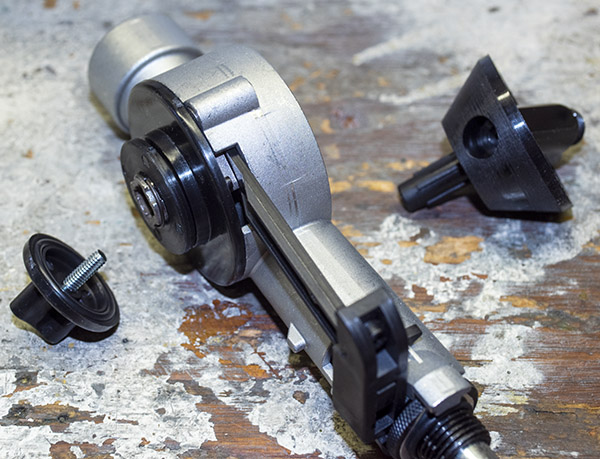
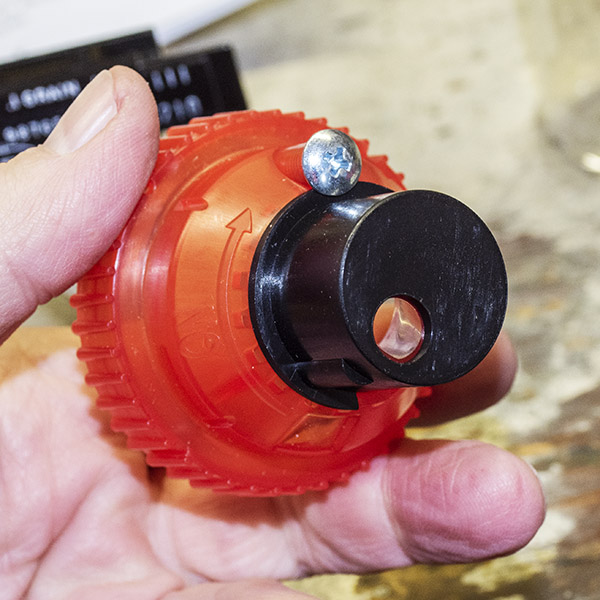
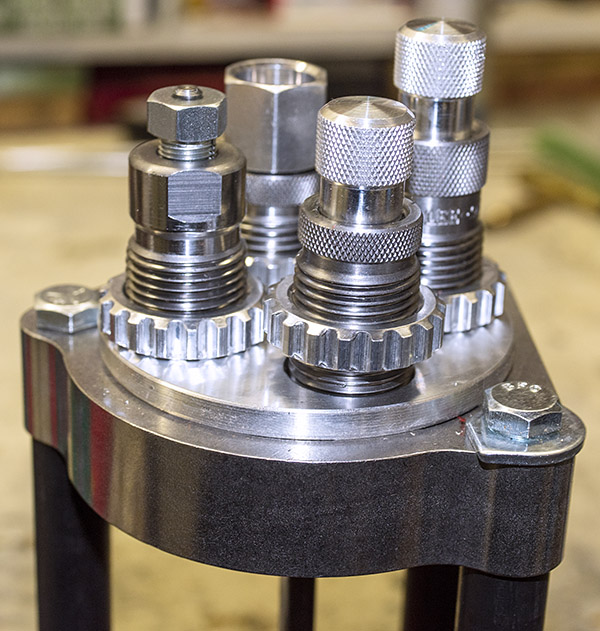
The central part of the auto-drum consists of three molded black plastic subassemblies. These are the screw subassembly, the cover, and the drum. You unscrew the screw (shown on the left in the photo below) and the drum can be removed from the auto-drum body.
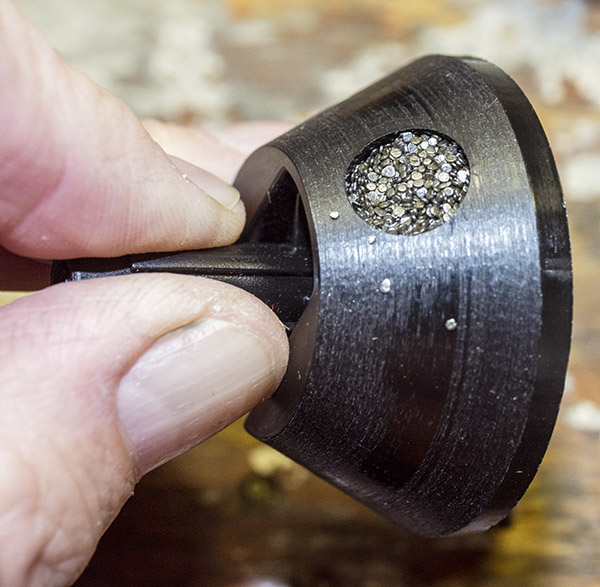
The drum is where the powder amount is defined. There’s a cavity shown by the red arrow in the photo below. The amount of powder the drum drops can be adjusted by making changes in the volume of this cavity.
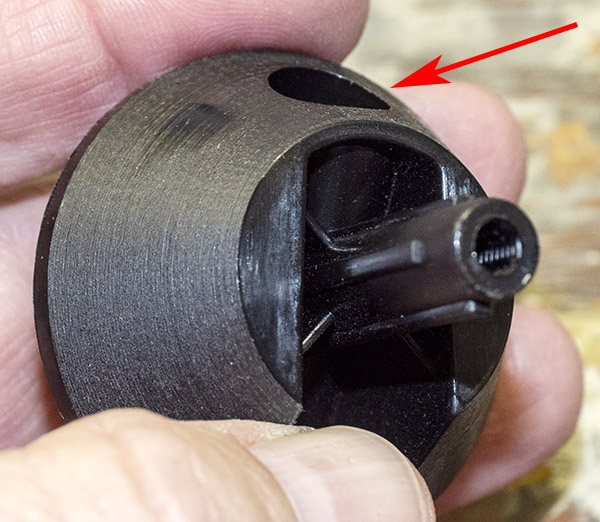
There’s a threaded adjustor in the drum that is 0pposite the cavity. The top of this threaded adjustor is the bottom of the drum’s cavity. Screwing it in reduces the powder volume; screwing it out increases the powder volume.
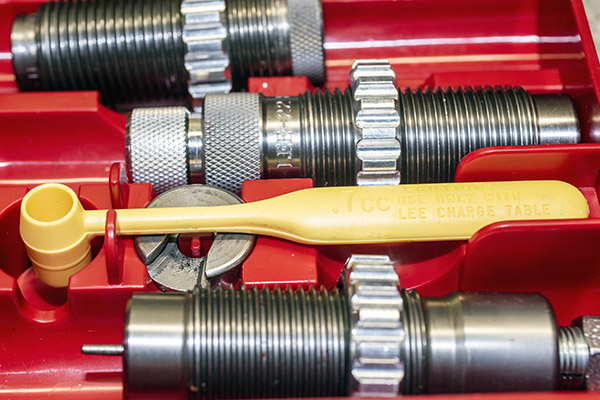
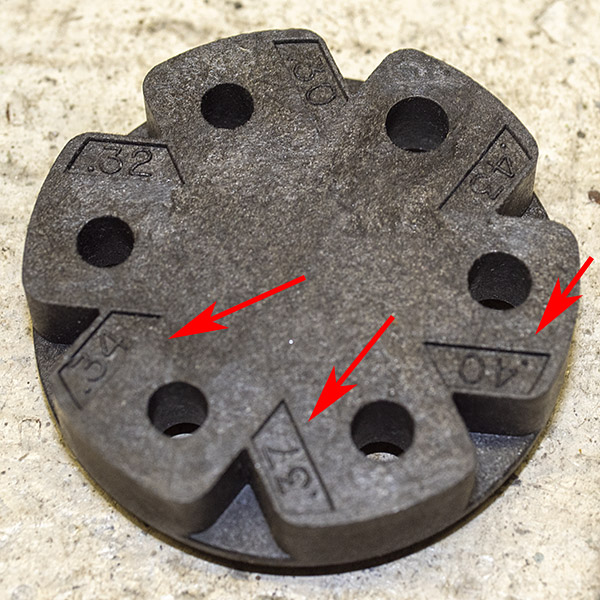
Lee provides two hex keys for making the powder volume adjustments.
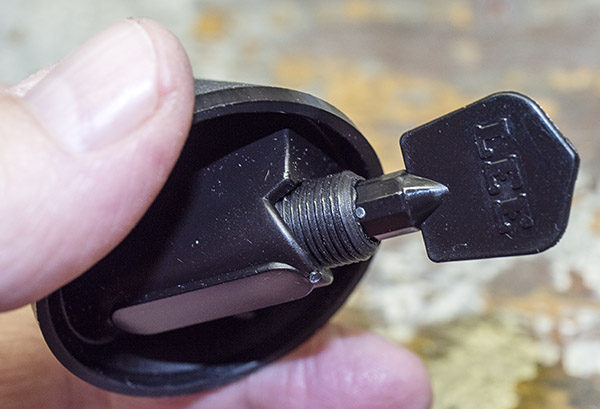
There’s a place in the drum body to store the key, or you can simply leave it in the threaded adjustor (which is what I do).
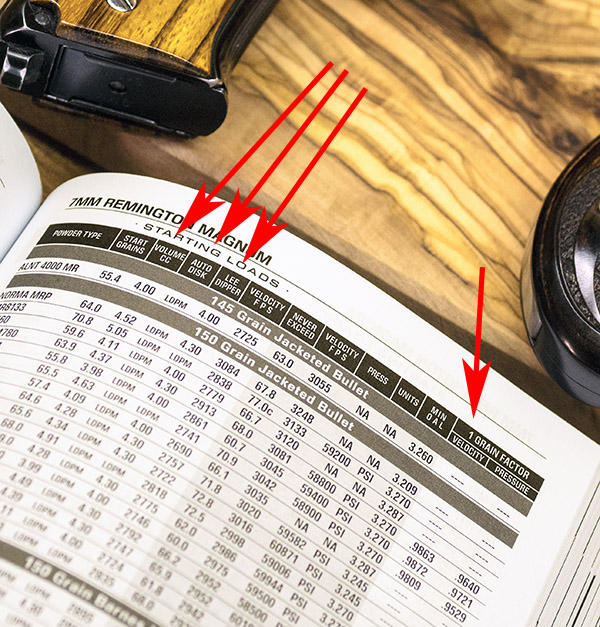
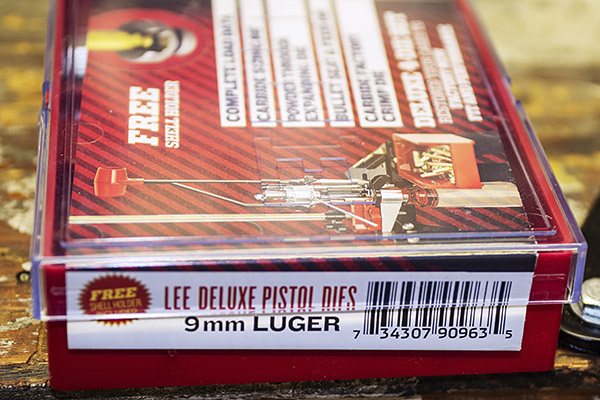
As mentioned in an earlier blog, I decided to use Accurate No. 5 propellant for my 9mm reloads. It’s one of several propellants listed in Lee’s Modern Reloading manual for use with the 124-grain plated bullet, and it’s a powder on I had on hand.
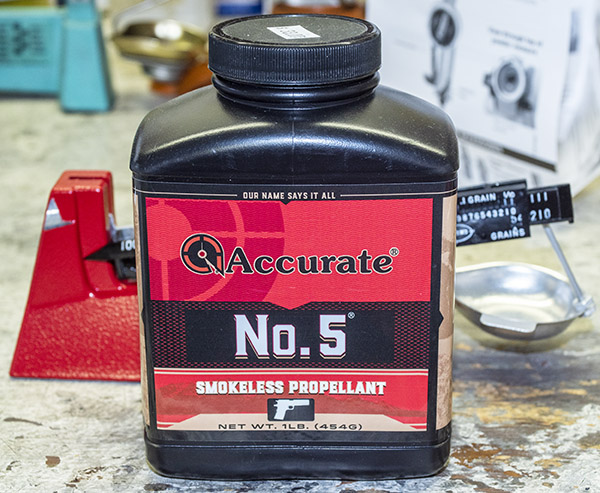
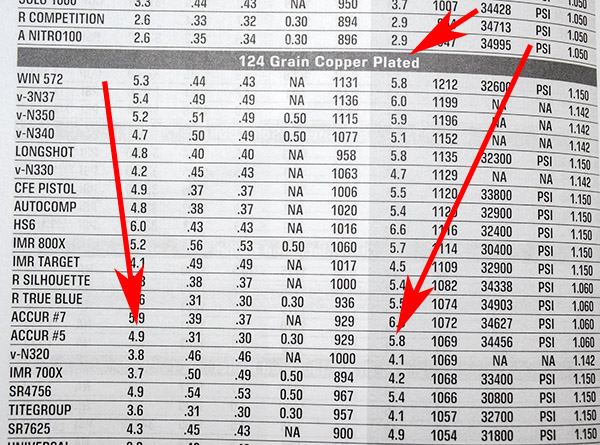
I loaded two loads for my initial 9mm evaluations. One was with 5.2 grains of Accurate No. 5; the other was with 5.6 grains of Accurate No. 5.
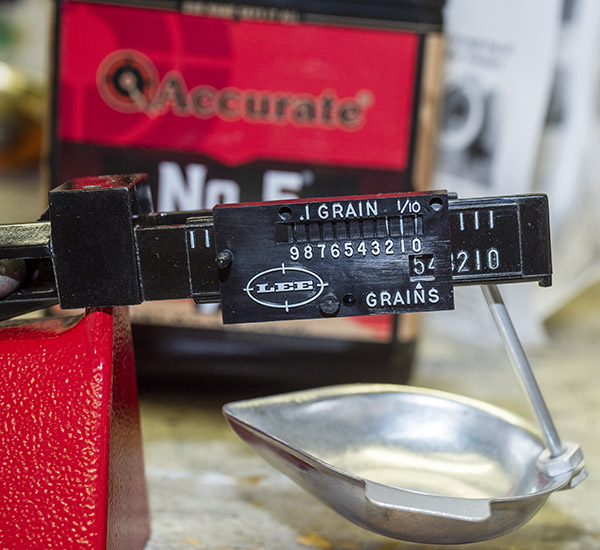
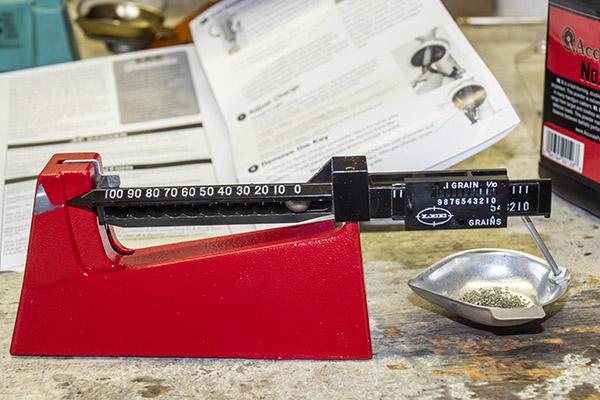
After zeroing my Lee safety powder scale, I set it at 5.2 grains. I used the Lee dipper to add powder to the scale until the beam balanced. The Lee powder dipper (provided with the Lee 9mm dies) makes a good powder trickler.
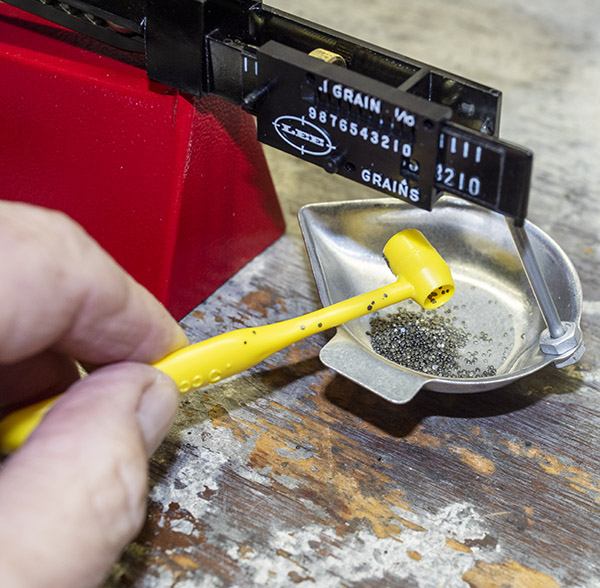
Once I had 5.2 grains of Accurate No. 5 in the Lee safety scale (indicated by the balance beam), I transferred that amount to the Lee drum.
Initially, the powder was well below the surface of the drum. The idea here is to use the auto-drum key to screw in the adjuster until the surface of the powder in the drum cavity is approximately flush with the surface of the drum. This is to get the drum adjustment close to the desired powder amount (in this case, 5.2 grains). This is a coarse adjustment. We’ll dial in the adjustment once the auto-drum is reassembled.
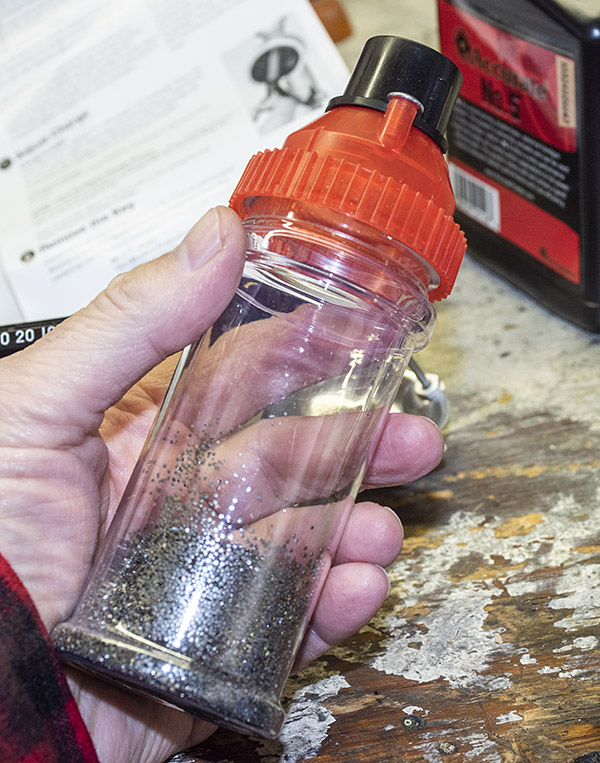
After accomplishing the above, I poured the powder into the powder bottle and I reassembled the auto-drum into the auto-drum powder measure.
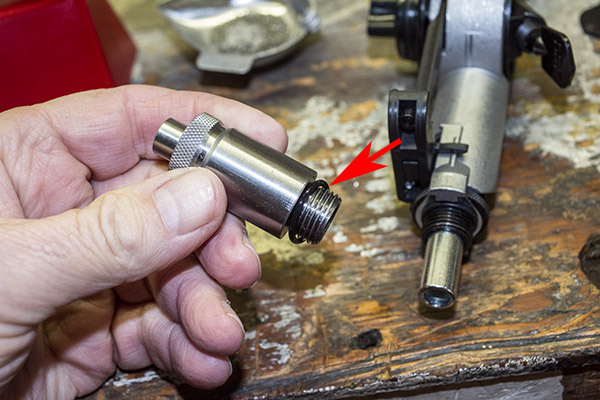
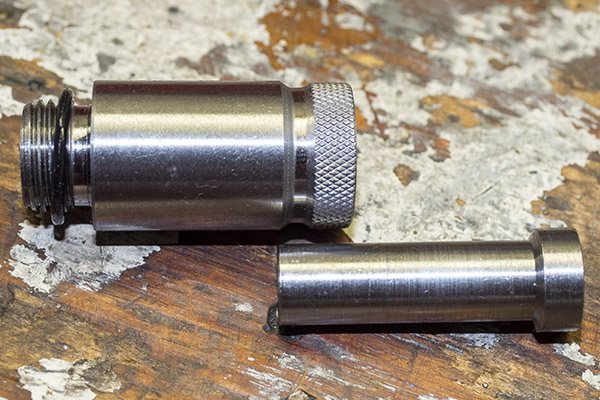
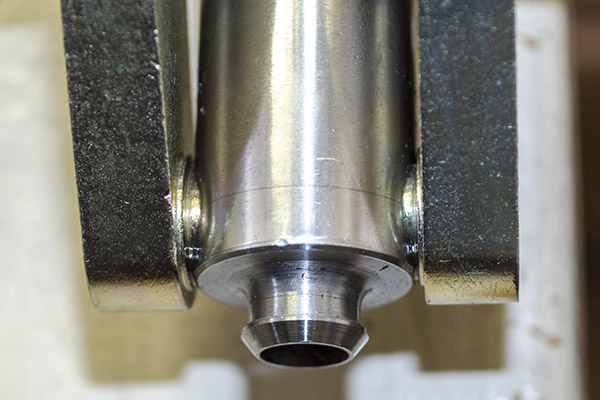
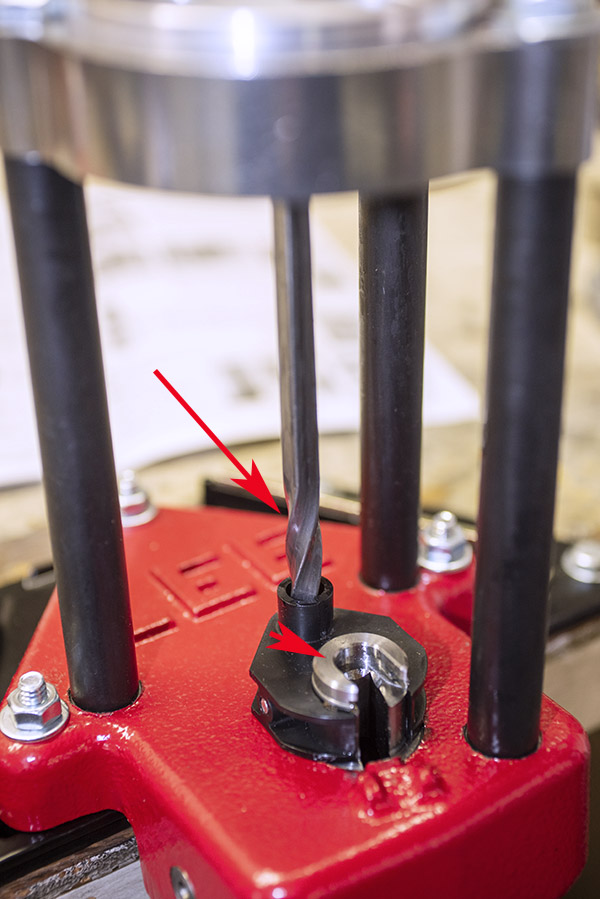
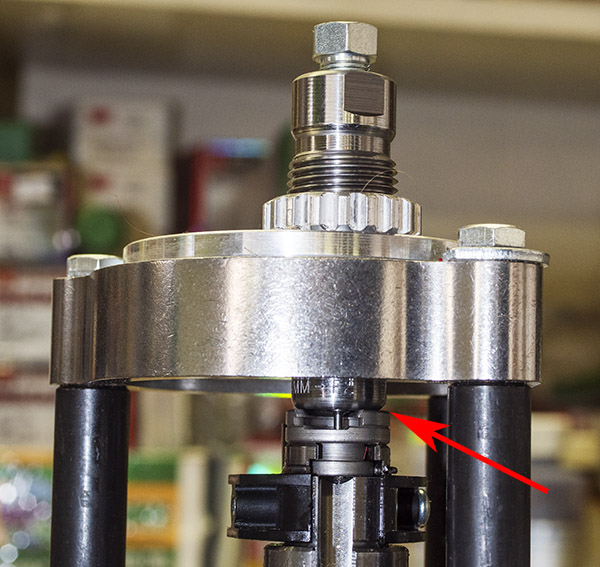
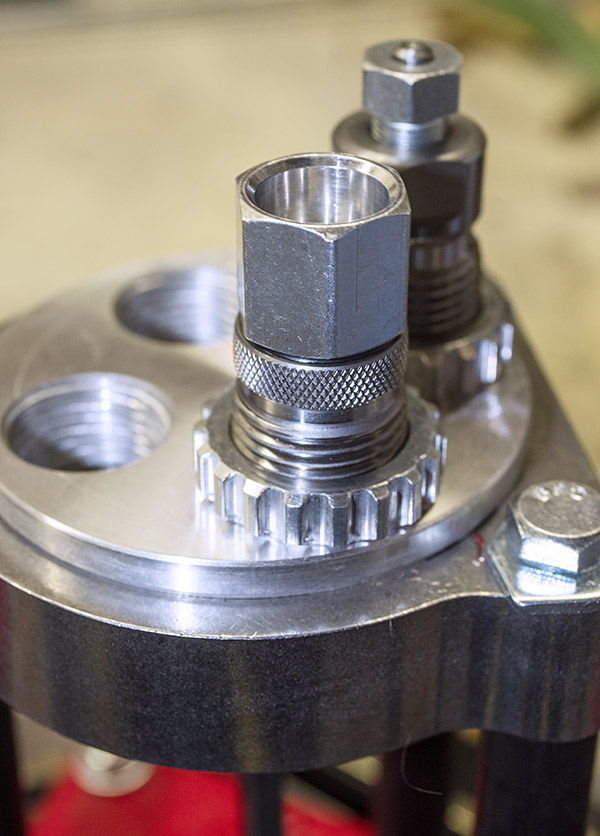
Next, I removed the fitting and its o-ring from the expander die.
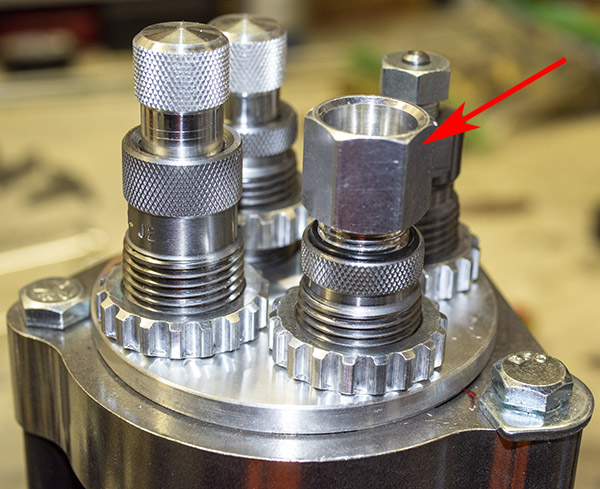

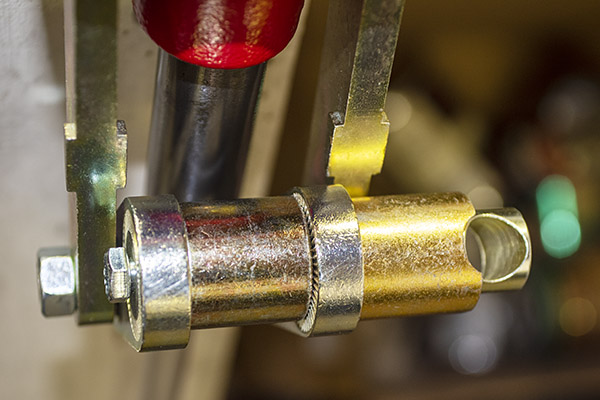
After removing the expander die fitting, I replaced it with the Lee auto-drum riser.

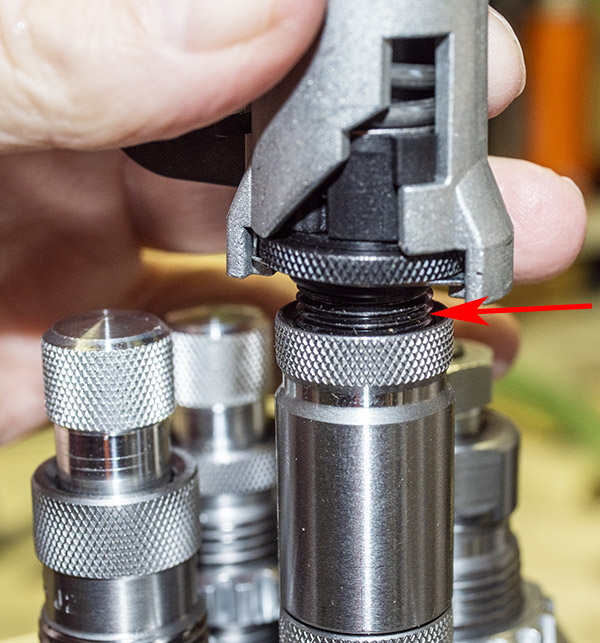
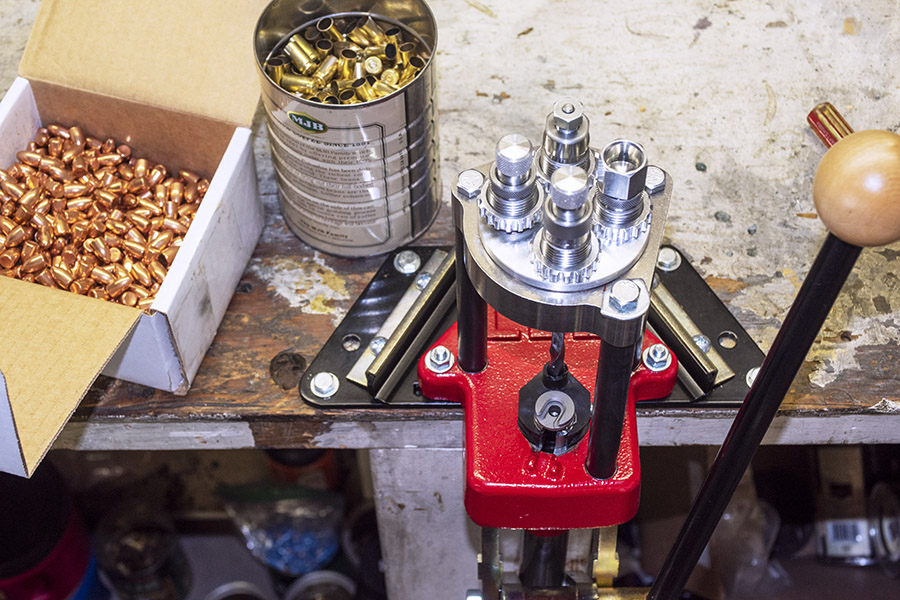
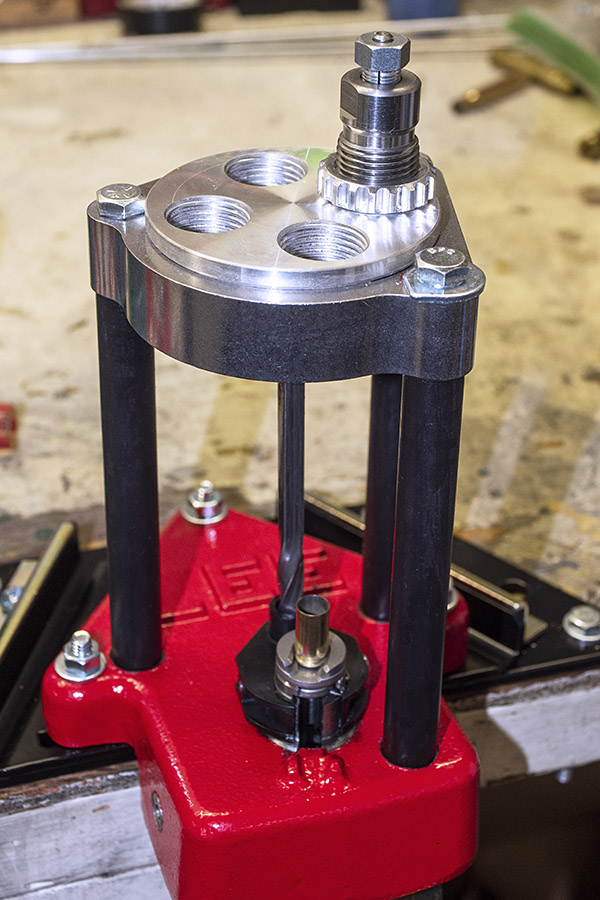
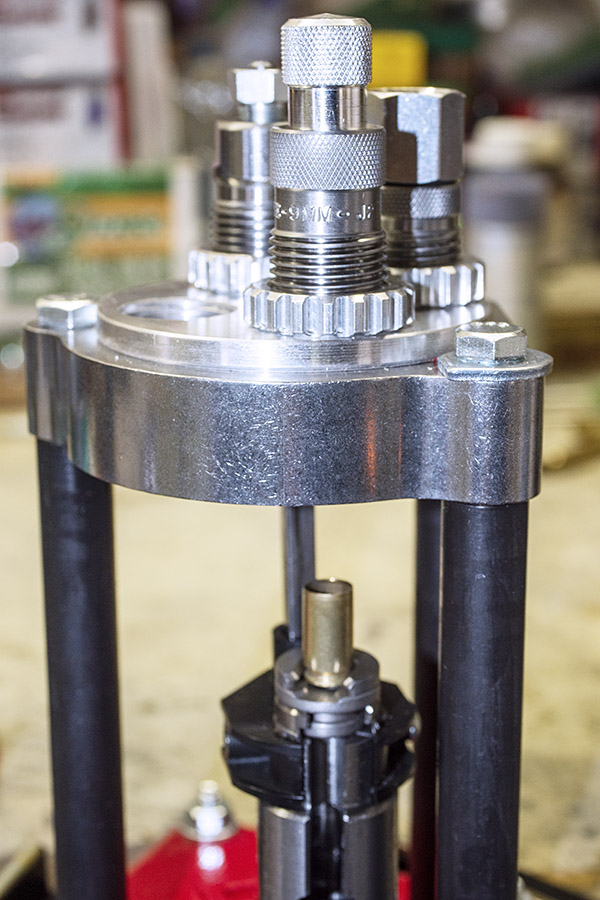
After installing the riser, I then threaded the auto-drum powder measure into the expander die as shown below.
The Lee auto-drum powder bottle and its cap are what hold the powder. The cap is a red molded plastic piece with an on-off valve at its base. The cap’s valve is closed after adding powder to the bottle or removing the bottle from the auto-drum powder measure. It is opened after the bottle is installed in the auto-drum powder measure. When closed, it prevents powder from spilling out of the bottle when the bottle is removed from the powder measure.
After adding powder to the bottle, threading the bottle top onto the bottle, and closing the cap’s valve, we can invert the bottle and place it on top of the auto-drum powder measure. There’s a raised rib on the bottle cap valve and a groove in the auto-drum die casting to align the bottle with the auto-drum powder measure.
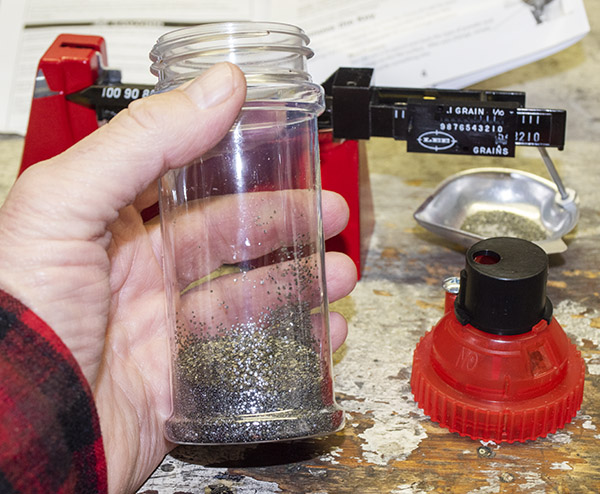


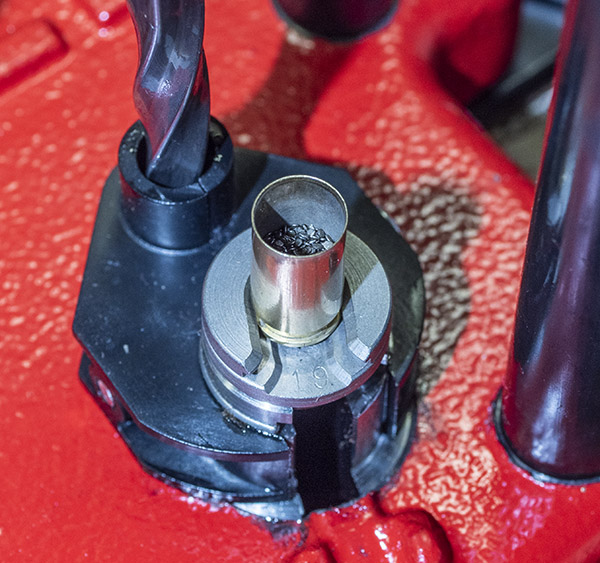
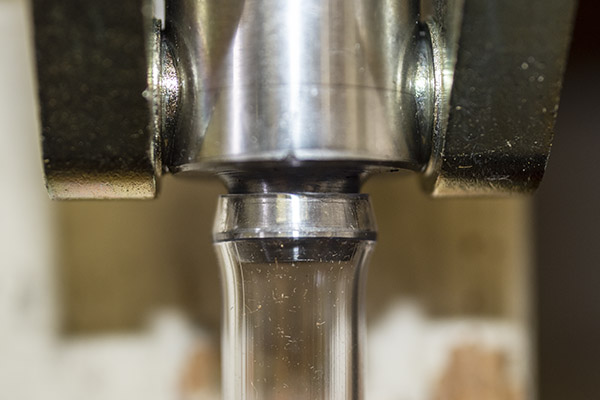
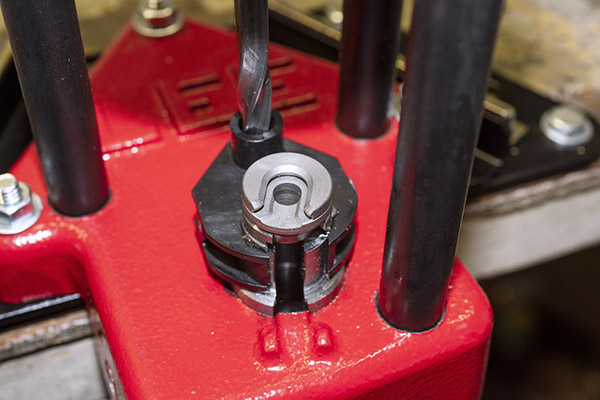
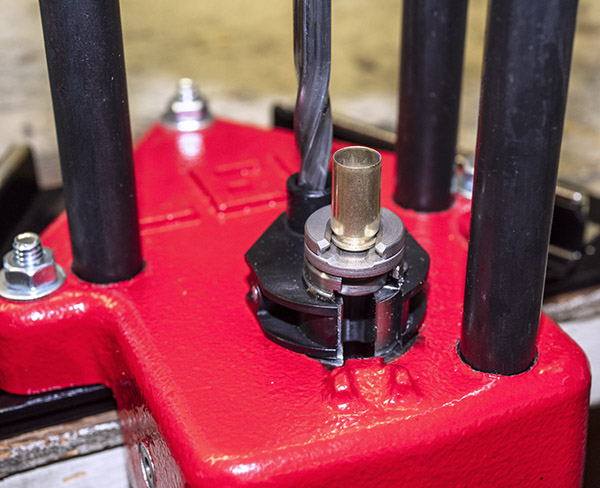
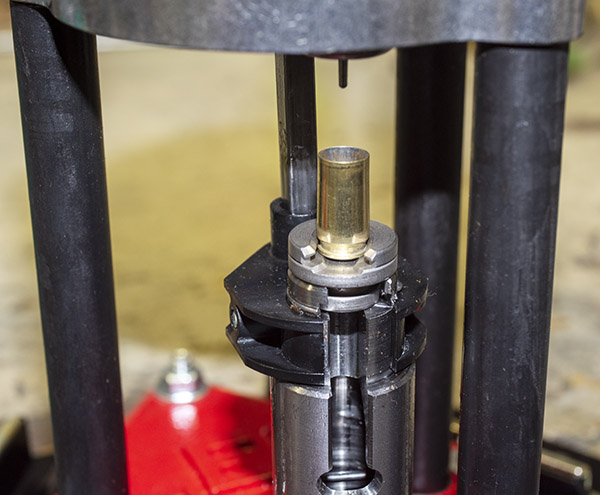
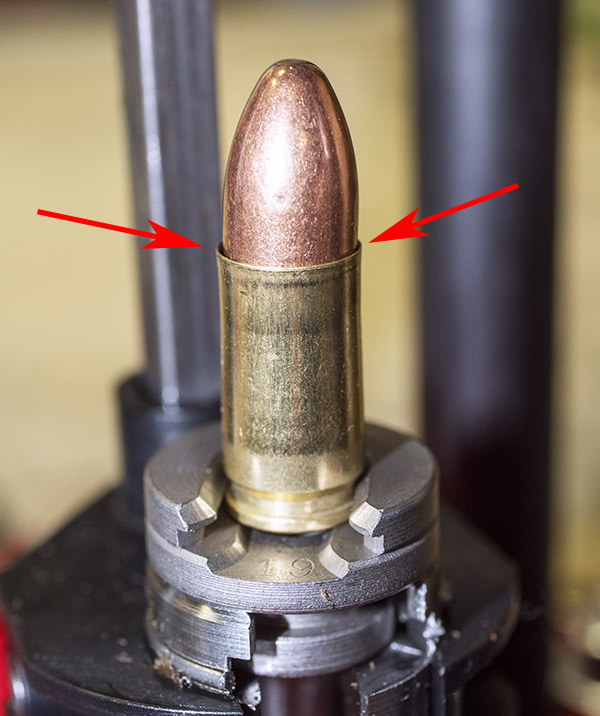
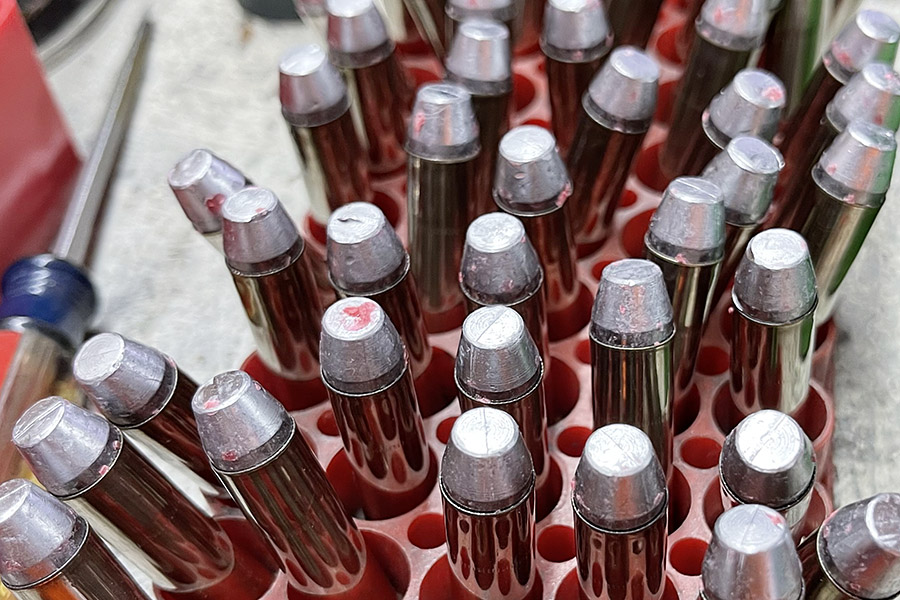
At this point, I placed an empty cartridge case (with a spent primer) in the shellholder and fully raised the ram to run the cartridge case into the expander die. This expanded the case mouth and actuated the auto-disk powder measure to dispense approximately 5.2 grains of Accurate No. 5 powder into the case. When I lowered the ram, I could see the case with powder in it. Note that I used a cartridge case with a spent primer only because I was setting up the auto-drum powder measure on the press. Ordinarily, in the normal operation of this press, the cartridge case would have a new primer in it.
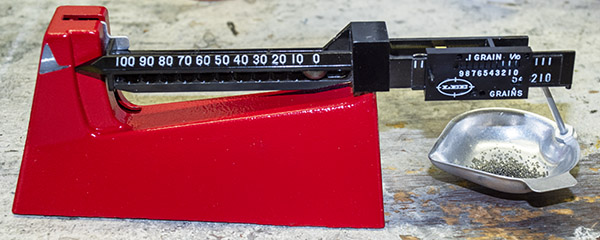
Remember that my initial adjustment was a crude one, accomplished by screwing in the auto-drum adjustor to bring the powder level approximately level with the auto-drum’s surface. The next step is to dial in the auto-drum cavity adjustment such that the auto-drum dispenses exactly 5.2 grains of Accurate No. 5. To do this, I took the powder in the case (shown above), poured it into the Lee safety scale pan, and checked the weight on the safety scale.
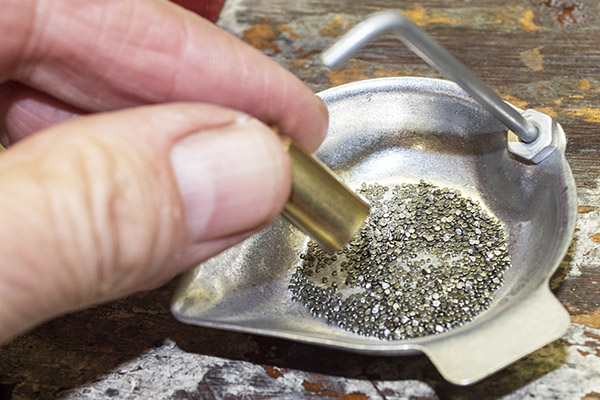
I found that I was a little bit under 5.2 grains of powder. I expected this, as I couldn’t get the auto-drum cavity completely full of powder for the coarse adjustment described above. I made an adjustment to increase the amount of powder dispensed by turning out (i.e., unscrewing) the auto-drum cavity adjustor by a quarter of a turn.
After an attempt or two at adjusting the auto-drum, I had the dispensed powder amount exactly where I wanted it: 5.2 grains.
I am impressed with the Lee auto-drum powder measure. I like the fact that it automatically dispenses powder with each stroke of the press handle if there is a cartridge case going into the expander die, and I like that it can be infinitely adjusted. Older designs used fixed (i.e., non-adjustable) cavities that dispensed fixed power amounts. The infinite adjustment feature of this powder dispensing device is a better approach. I also like that the cartridge case remains directly in front of you after the press is lowered (unlike a progressive reloader, in which the cartridge case may be on the other side of the press when it is charged). With the Lee classic turret press kit and its included auto-drum powder measure, you can see that each case has been charged with powder and that you have not inadvertently double-charged the case. And, if anything is not as it should be, you can easily remove the cartridge from the shellholder, correct the problem, and continue. On a progressive press, this is much more difficult to do.
This brings us to where I want to be in today’s blog. So far, our blogs described mounting the bench plate, installing the press, intalling and adjusting the first two dies (the resizing die and the expander die), and adjusting the Lee auto-drum powder measure to dispense precisely the amount of powder required. Tomorrow, we’re going to cover installing the Lee primer feed and making final adjustments to the bullet seating and factory crimp dies. Stay tuned.
One of the best places to buy Lee equipment is on Amazon.
Never miss an ExNotes blog:
Here are links to our earlier blogs on Lee reloading equipment:
Lee Classic Turret Press Kit
Lee Bench Plate
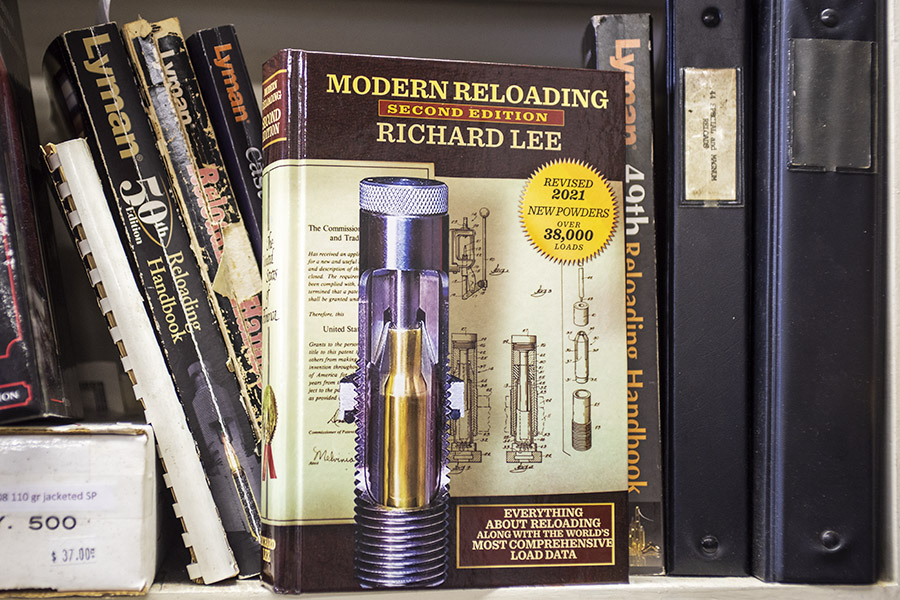
Lee’s Modern Reloading Manual
Lee Safety Powder Scale
Lee Classic Turret Kit Unpacking
Lee .44 Magnum Dies 1
Lee .44 Magnum Dies 2
Lee .44 Magnum Dies 3
Lee .357 Magnum Dies


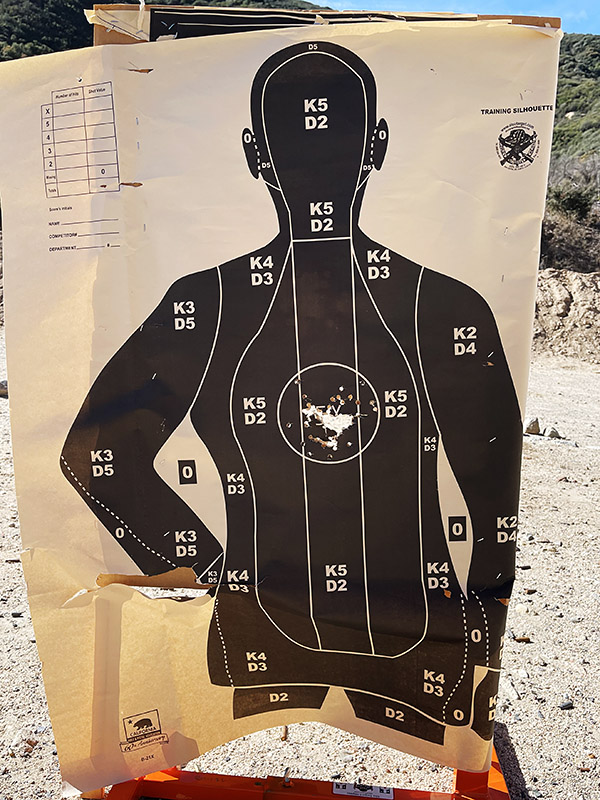
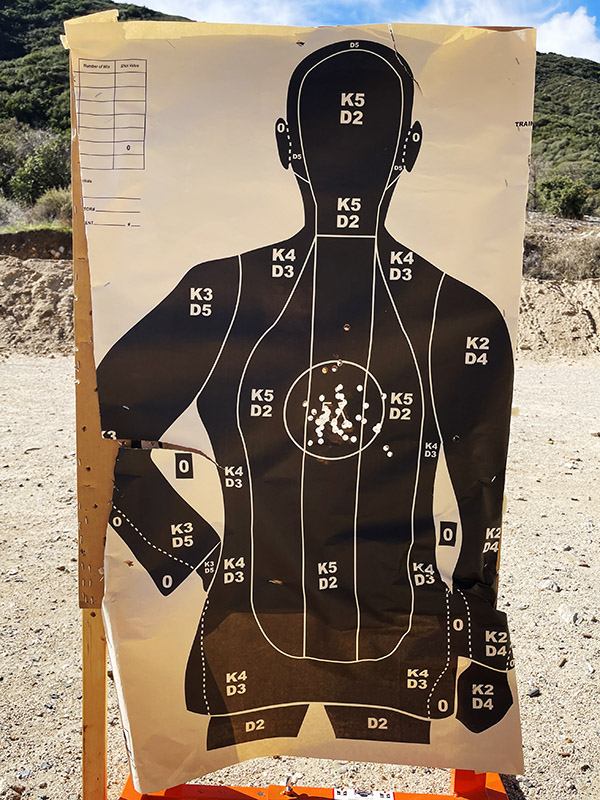
 Here’s 50 rounds, shooting double action rapid fire (really rapid fire, as fast as I could while still hanging on to the front sight).
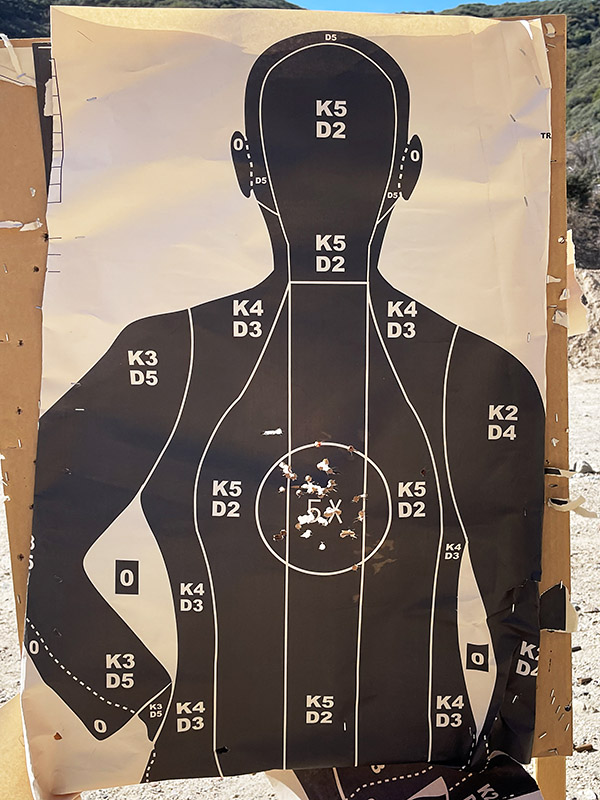