By Joe Berk
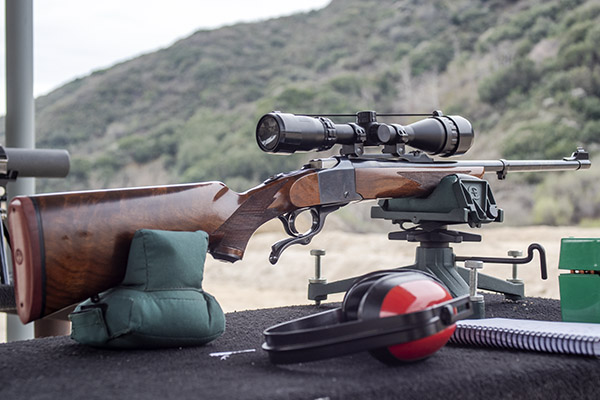
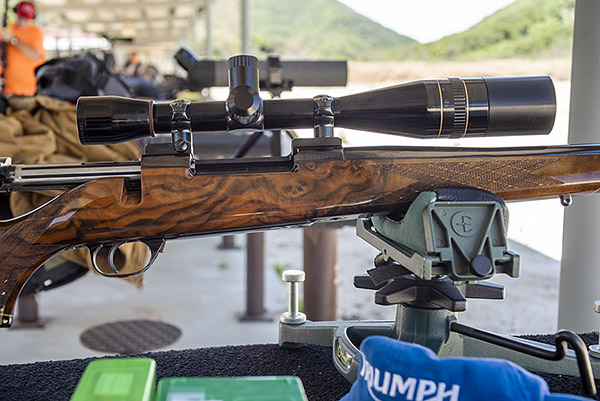
In an earlier blog on my 458 Win Mag No. 1, I mentioned that I used a friend’s Garmin chronograph and decided I needed one. I pulled the trigger and I’ve been using my Garmin constantly since I bought it. I’ve shot rifle with jacketed and cast bullets and I’ve shot several handguns to see how it performed. The bottom line? Garmin hit a home run with their new chrono. Is it perfect? No. But it’s so good I can live with the few minor things I think could be improved.
The Garmin has a bunch of features (and I’ll get into them in a minute), but let my start by saying the most important feature is ease of use. Basically, you turn the thing on, make a few screen inputs, set it on the shooting bench, and you’re good to go. There’s no screwing around with setting up screens in front of the bench, running wires, or any of other stuff you need to do with earlier chronographs. It’s plug and play, but you don’t even have to plug it in.
Operation
Operating the Garmin is straightforward, but it’s not entirely intuitive. The On-Off button is one of four buttons on top of the device. Garmin labels it “Power.” Touch it once and the device is on; hold it down for two seconds and it turns off.
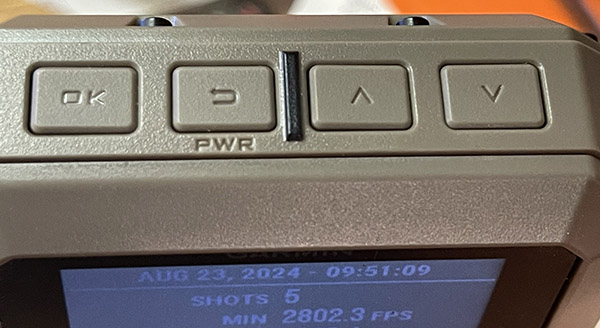
Getting to what you want to shoot involves scrolling through a series of screens and menu options via two of the buttons on top of the Garmin. One points up; the other points down, and that’s how you move from one choice to another on each data screen. Basically, the choices are rifle or handgun (there’s also choices for archery, but I’m not Robin Hood), and their selection is governed by projectile velocity. After navigating up or down on that screen, pressing the OK button gets the next screen up. That asks if you the Garmin to calculate power level (bullet energy). I always tell it no, but getting through that requires pressuring the down button and then the okay button again. Then another screen pops up, advising chronograph placement with regard to gun location. Then it’s necessary to press the OK button once more. That gun placement screen is unnecessary, and it just necessitates pressing more buttons and scrolling through more screens. Finally, the device is ready to use. It’s a lot of button pushing and scrolling. Granted, it is way, way easier than screwing around placing chronograph screens downrange, aligning them with your bullets’ flight path, and making electrical connections, and it’s easier than placing what used to be the most modern chrono (before the Garmin came along) out in front of the firing line. The Garmin is a major step forward in the chrono game.
Once the string has been fired (as many as the shooter wants to include in the string), the scrolling and selecting game starts anew (along with pushing the back, up and down, and OK buttons). I thought it would become intuitive for me, but I’m not the brightest bulb in the box and it seems I have to relearn it every time I go to the range (and I’m on the range at least a couple of times each week).
Charging and Battery Life
Charging is done via a laptop. The chronograph comes with a cord that connects the chrono to your laptop, and that’s how it charges. One charge is good for a couple of range sessions (or more, depending on how much you shoot). Although I didn’t time it, I’m guessing it took maybe an hour to fully recharge.
Downloading Data
I thought the cord connecting the computer to the Garmin would allow me to download the data from each range “session” (a session is a string of shots for which you wish to record data), but if there’s a way to do that, I couldn’t find it. I could the files for each range session, but they were in a format I couldn’t read. What I can do, though, is Bluetooth connect the Garmin to my cellphone. Then, once the data is in my cellphone, I can send the data (in an Excel spreadsheet) to my laptop via email. That’s more bother than I wanted to mess around with, though. I just look at the results on the Garmin screen.
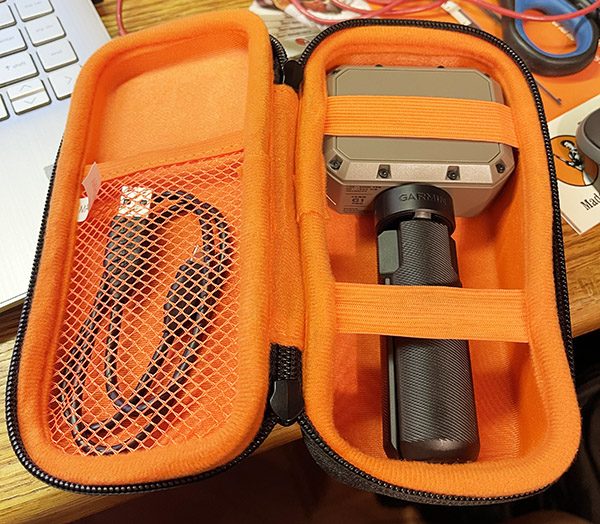
Packaging and the Optional Case
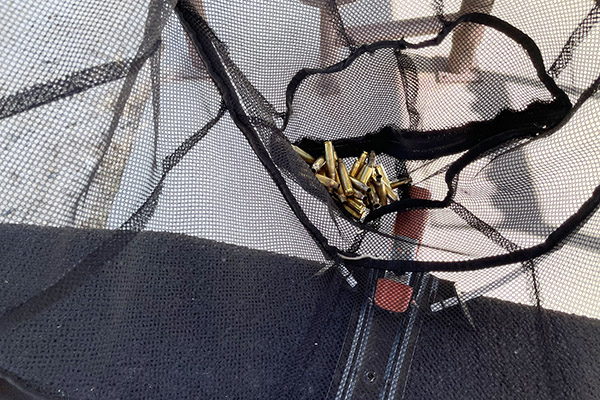
The Garmin chrono doesn’t come with a carrying case. It should. I had to spring for an optional $15, cheaply constructed carrying case that probably cost about 25 cents to make in China. But I’m glad it did. It does a decent job protecting the Garmin and storing the charging cable.
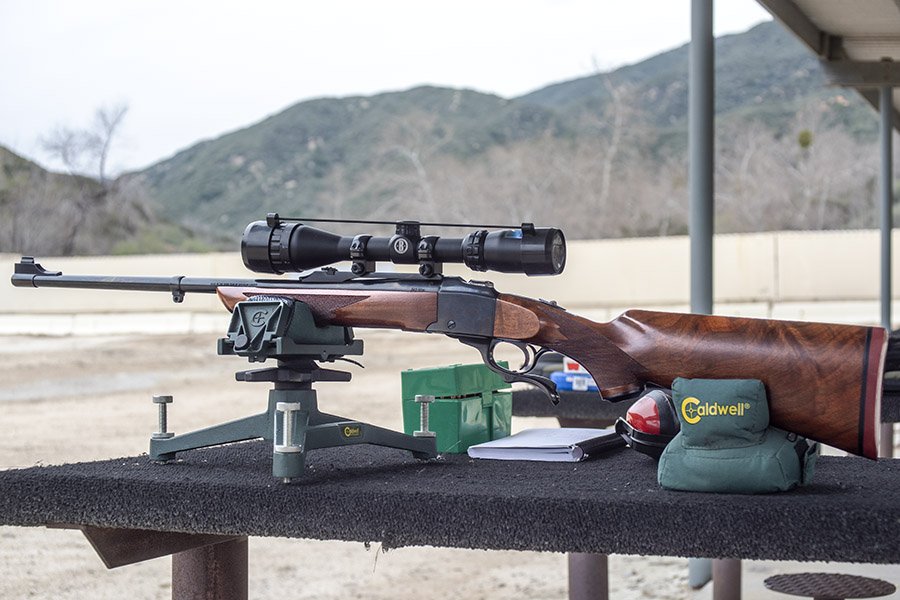
A Few Pistol Examples
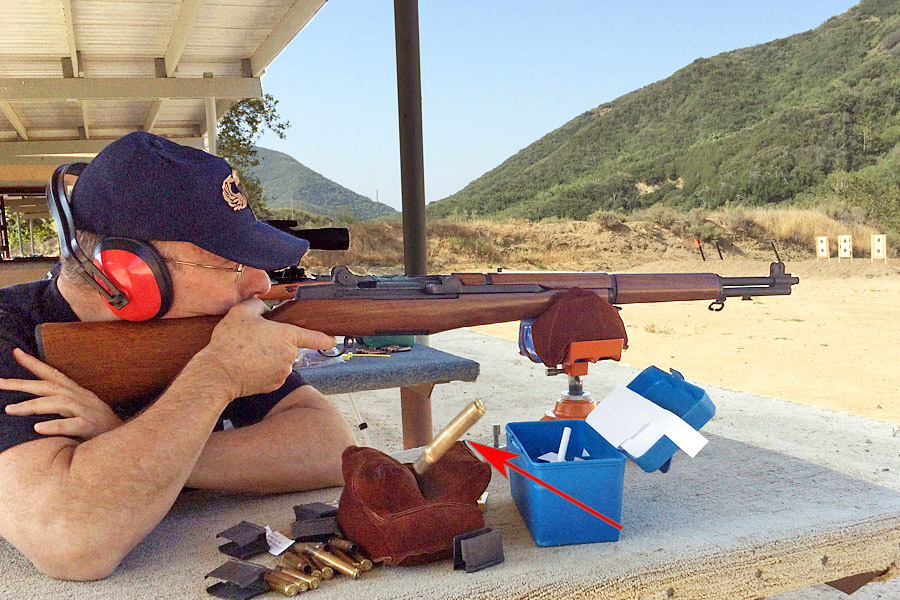
I shot three handguns to assess how the Garmin would perform. I thought I could do this at my indoor pistol range (I belong to a couple of gun ranges). The indoor range is usually crowded, and that highlighted one of the Garmin’s weak spots. Even though there are barriers between shooting positions, the Garmin was consistently capturing data from the guy shooting on either side of me. As I had no interest in what they were doing, I picked up my marbles and to the West End Gun Club, an outdoor range.

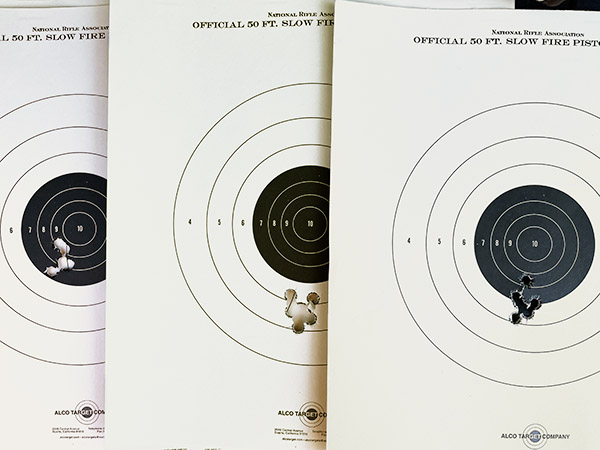
On the outdoor range there was more room between shooting positions, and the Garmin picking up another shooter’s bullets was not an issue. I shot and captured data for three different handguns. All were 1911s. I’ve written about them before (a .45 ACP Springfield, a 9mm Springfield, and a .22 GSG), but now I can bring you chrono data. My plan was to shoot 50 rounds from each pistol and record the data, shooting at the same silhouette target at 25 yards.
1911 .22 Long Rifle GSG
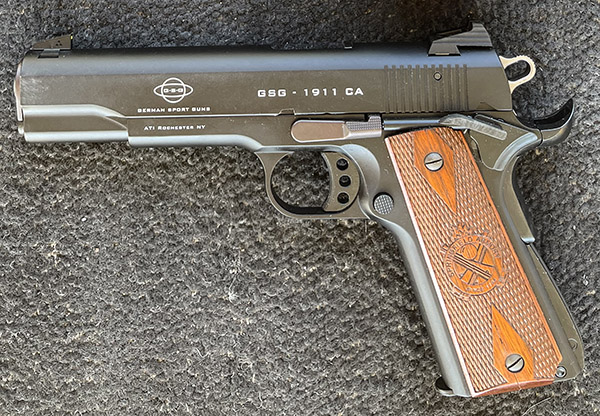
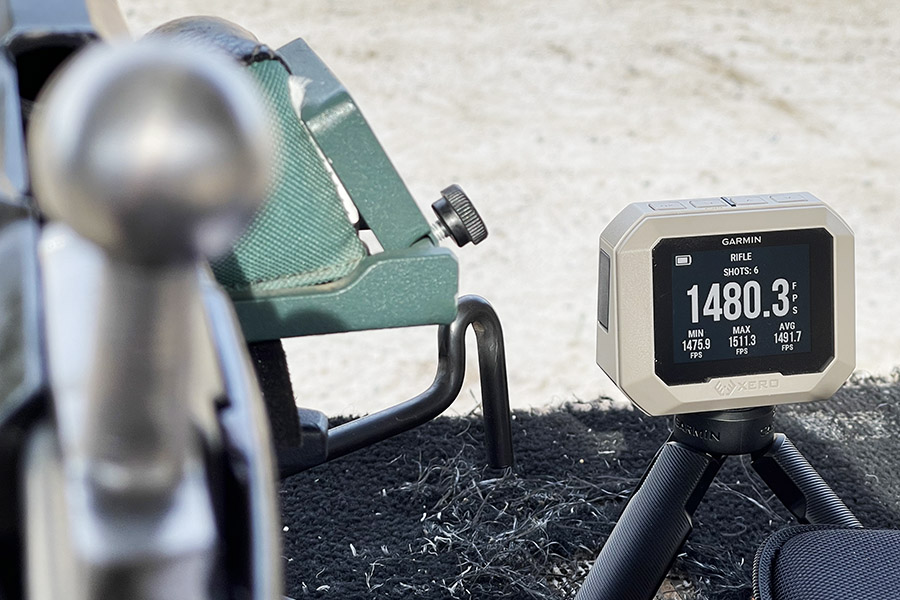
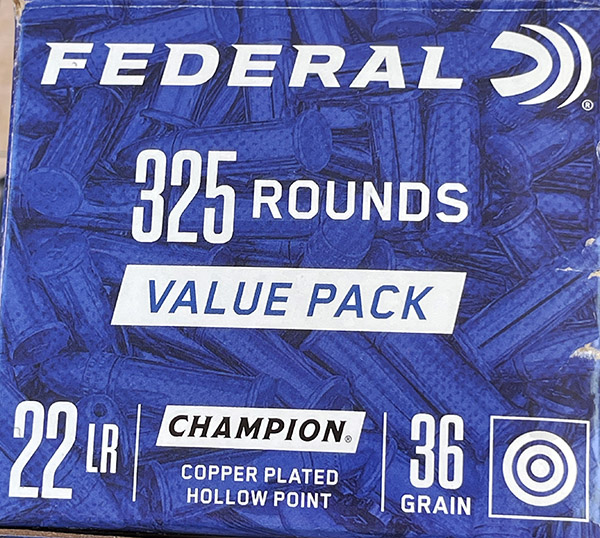
The first pistol up was the .22 GSG with Federal Champion ammo. It’s cheap ammo and it’s advertised as having a muzzle velocity of 1260 feet per second, but that’s probably from a much longer rifle barrel. I expected it to be slower from the 1911 and it was.

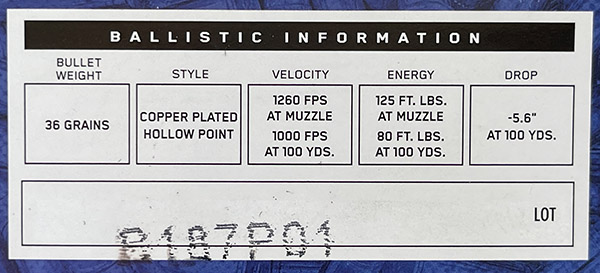
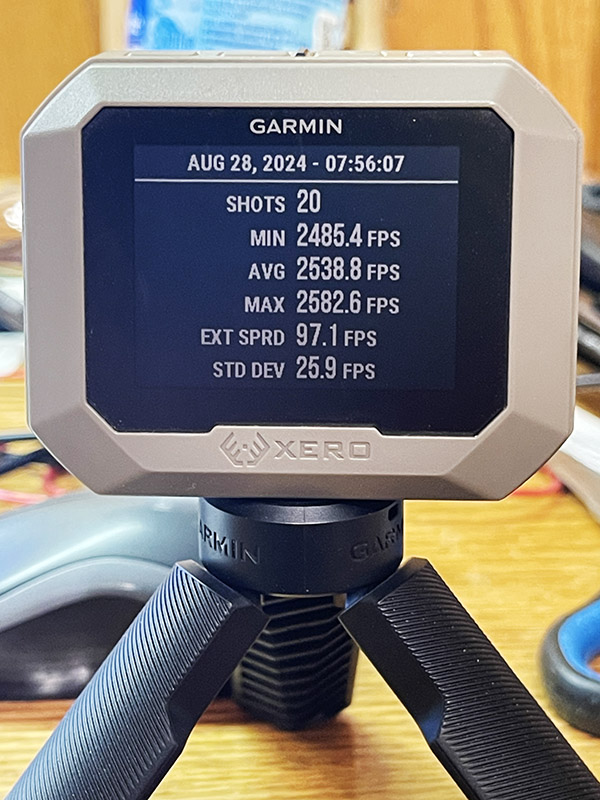
Here’s what the Garmin revealed for the 50 .22 Long Rifle shots fired from the 1911.
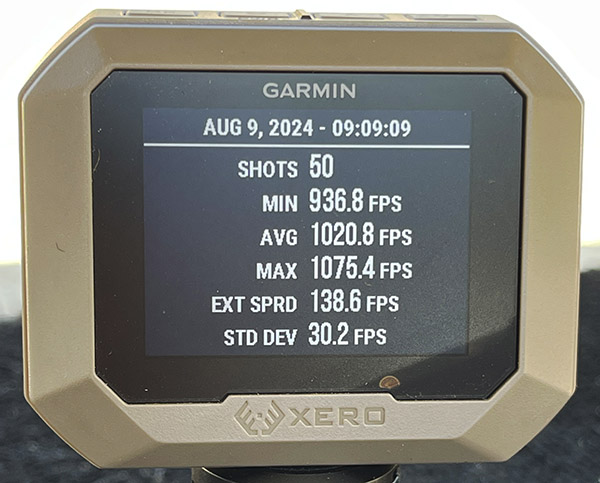
The velocity was lower than advertised, but as mentioned above, I fired from a 5-inch-barreled handgun and not a rifle.
1911 9mm Springfield
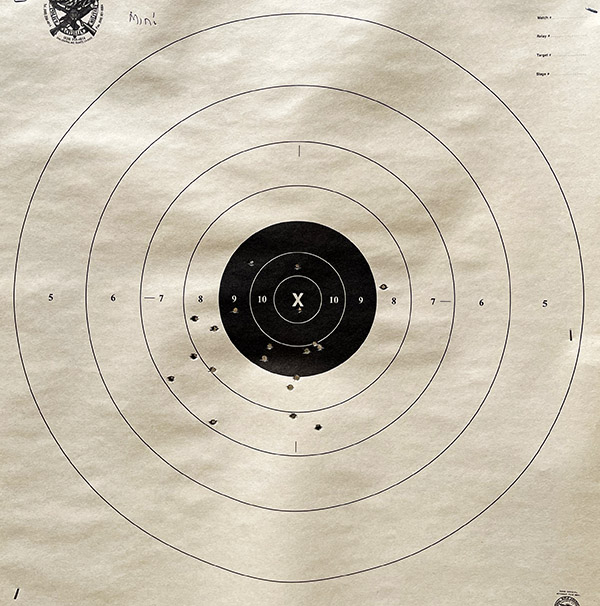
I then turned to my Springfield 9mm 1911, which is one of my all time favorite pistols.
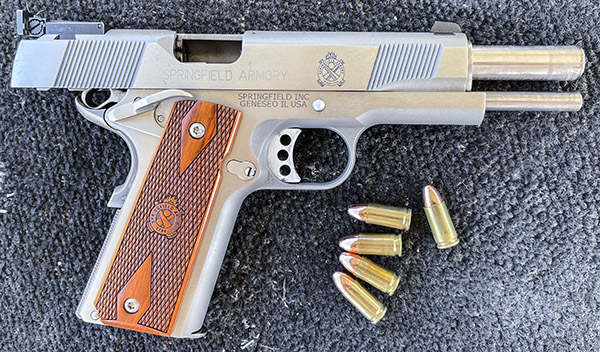
I fired another 50 rounds through it with my handloaded ammo (the load I used is the 124-grain roundnose plated Xtreme bullet and 5.5 grains of Accurate No. 5 powder. That ammo had about the same average velocity as the .22, but the extreme spread and the standard deviation were lower (a good thing). Accuracy at 25 yards was about the same as the .22 1911.
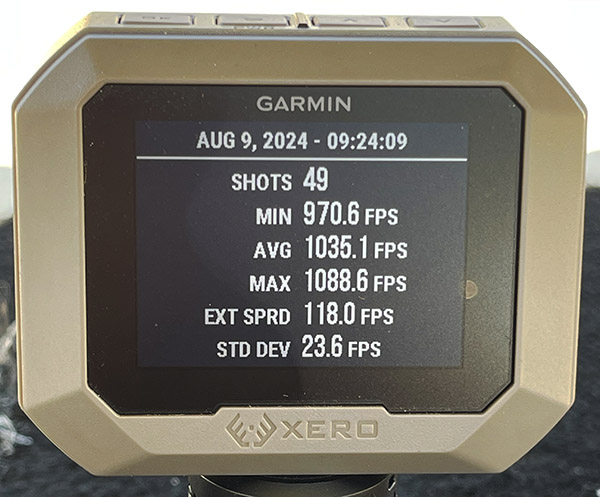
You may have noticed that the Garmin only picked up 49 of the 50 shots I fired. I don’t know why it did that.
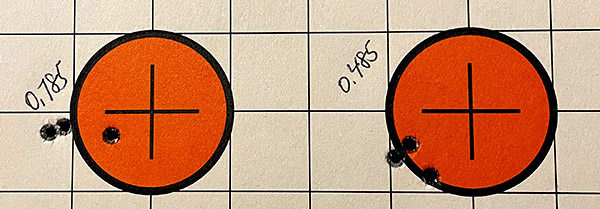
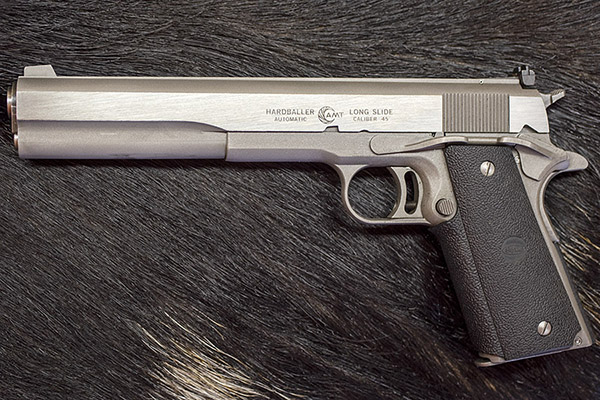
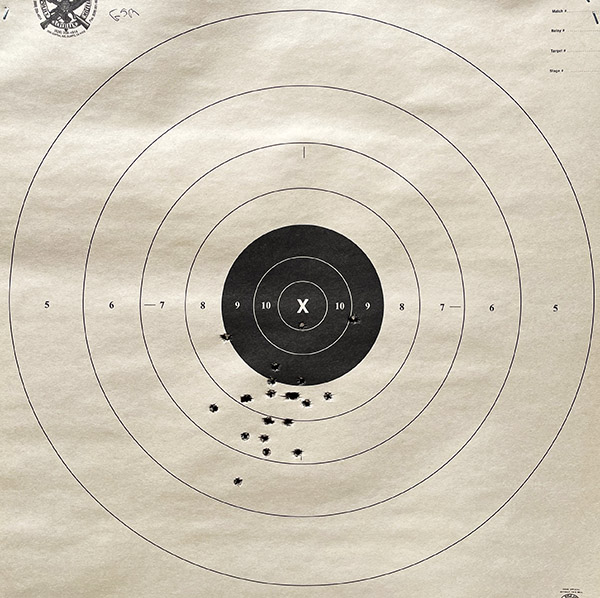
1911 .45 ACP Springfield
For my final quick look handgun trials I used another Springfield 1911, this time chambered in .45 ACP.
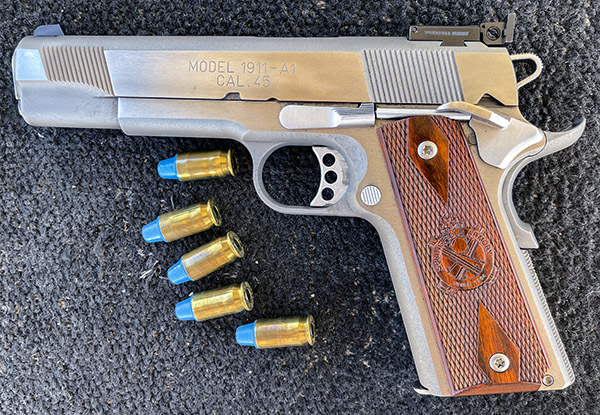
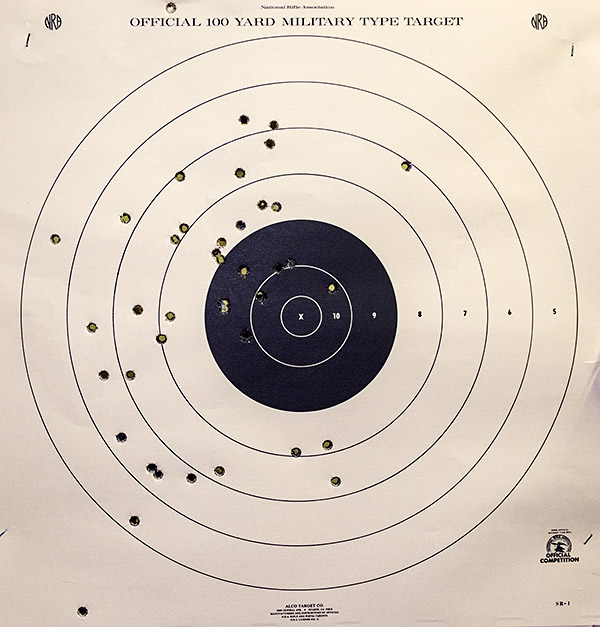
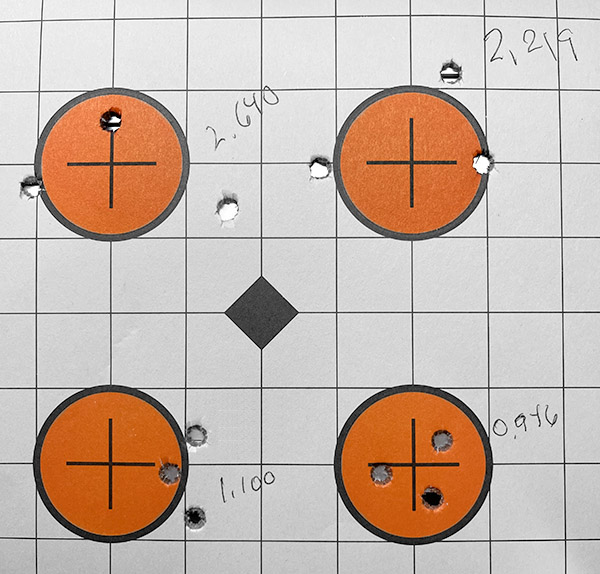
The load was 4.6 grains of Bullseye under Gardner 185-grain cast semi-wadcutter bullets. This has always been a great target load in any of my 1911s, and it proved that to be the case again. I was not shooting for accuracy; I was simply showing 50 rounds through each of the three 1911s to wring out the Garmin. On the target, the GSG .22 and the Springfield 9mm were grouping at about 10 inches (again, I wasn’t try to put them through the same hole during this test). But that .45? Wow. It put 50 rounds through one ragged hold about 4 inches in diameter. If I had put any effort into it, that hole would have been smaller.
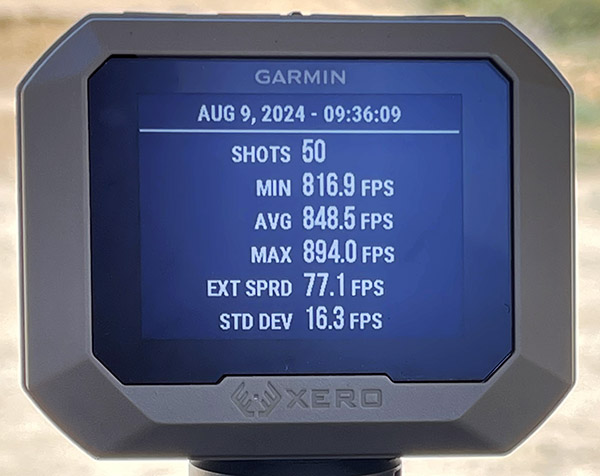
You can see the inherent accuracy in the .45 load I used in this portion of the test. Check out the very small standard deviation and extreme spread. Both are much smaller than the corresponding values for the 9mm and .22 handguns.
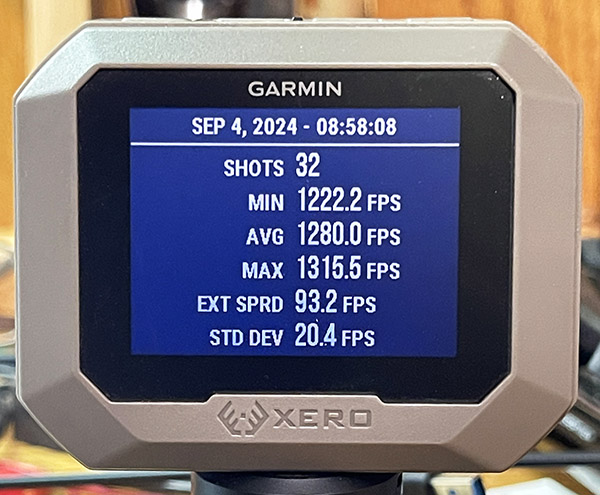
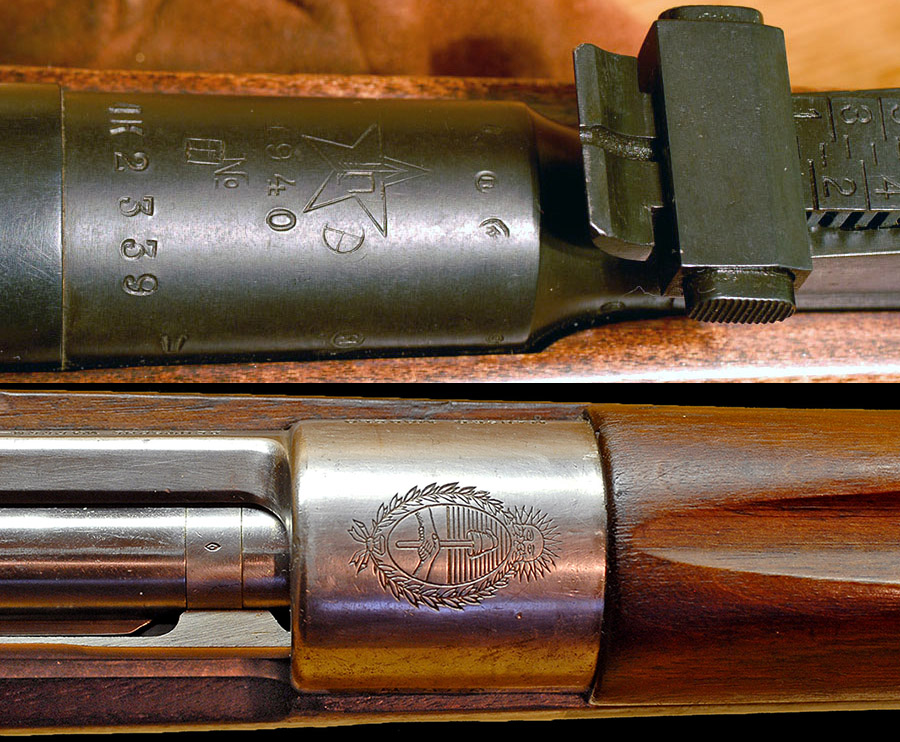
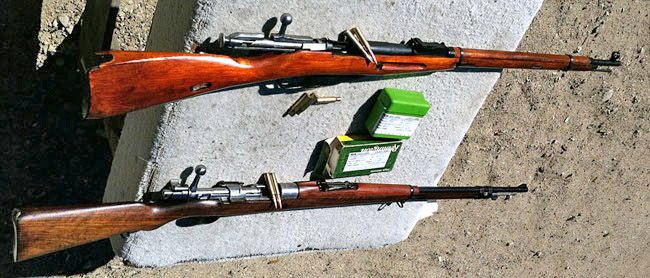
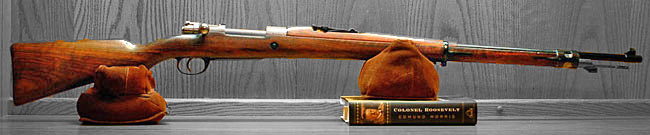
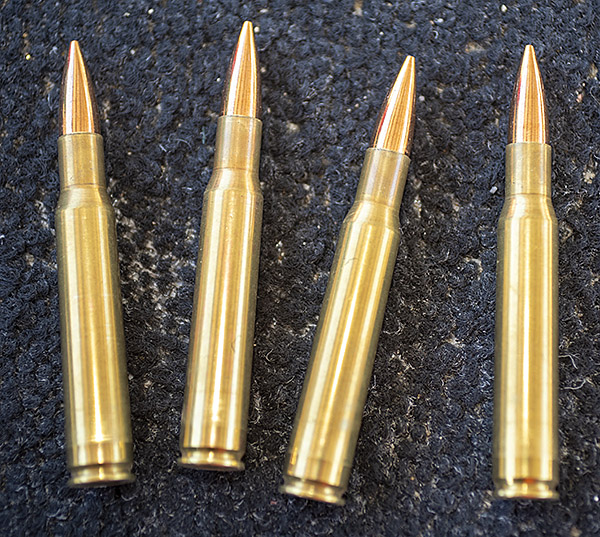
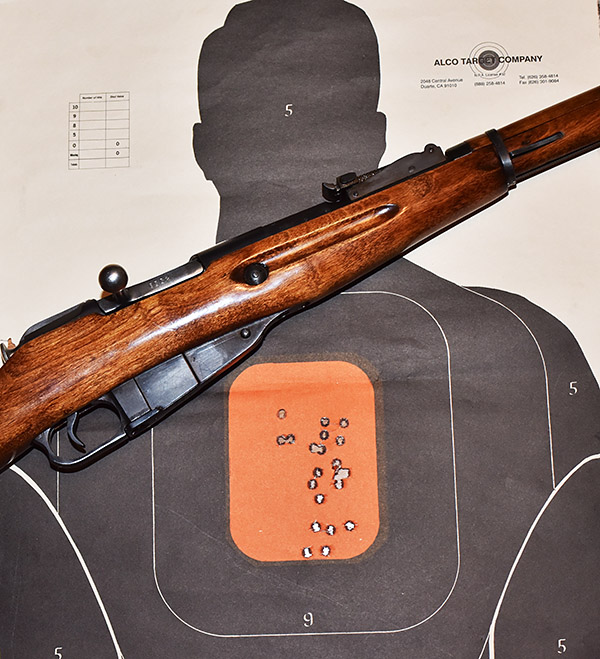
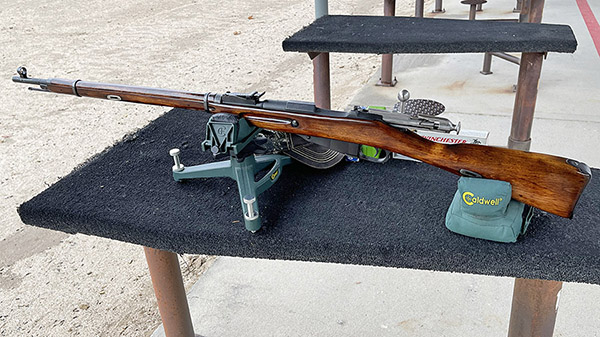
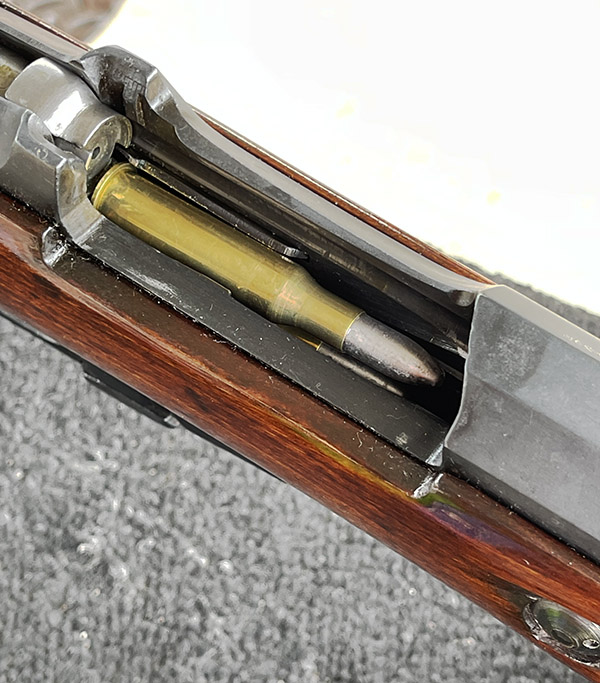
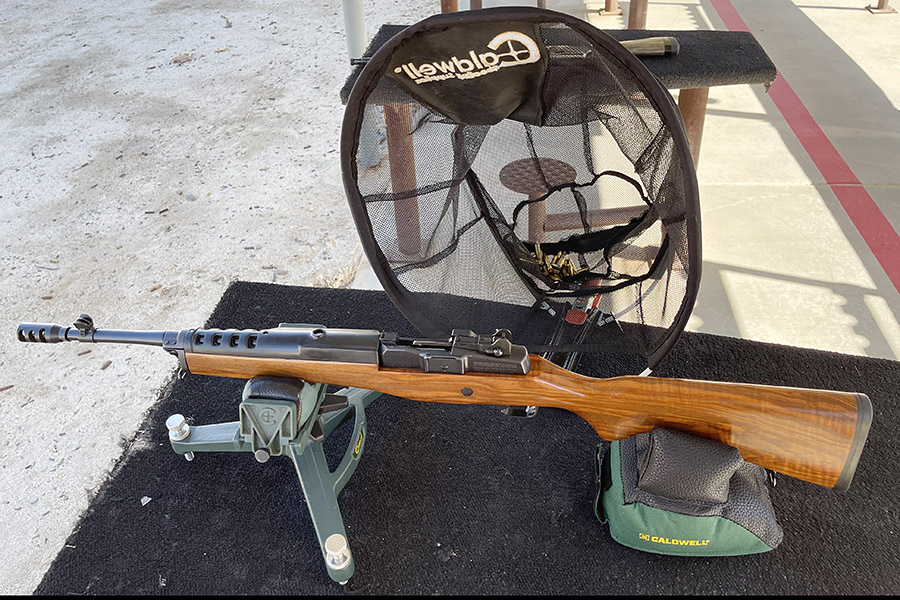
Mosin-Nagant Cast Bullets
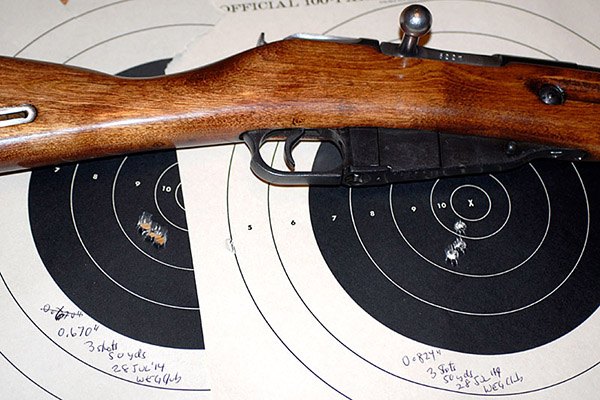
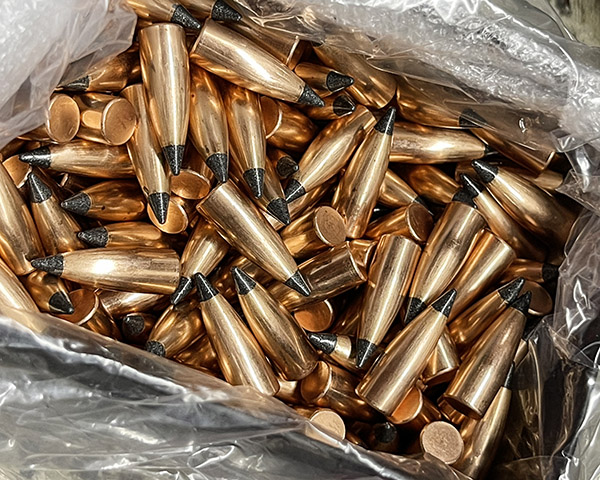
I next wanted to try cast bullets in the Mosin-Nagant 91/30 rifle. I knew the load I was using (a 173-grain cast bullet and SR 4759 powder) to be an accurate load from previous forays.
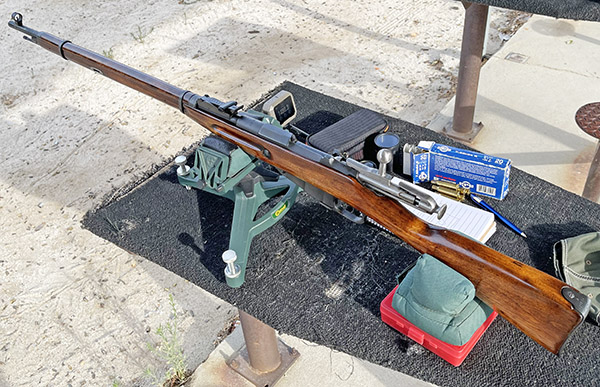

As I said above, I knew this to be an accurate load, and the Garmin showed why: It had a l0w standard deviation.
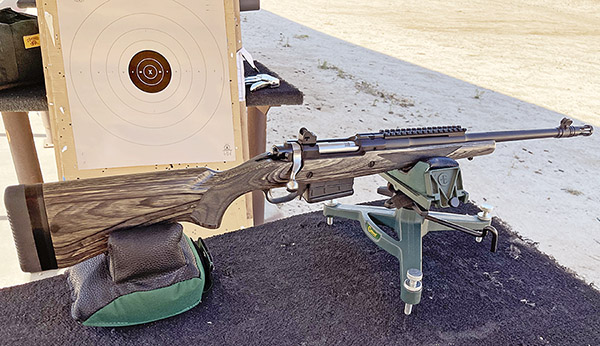
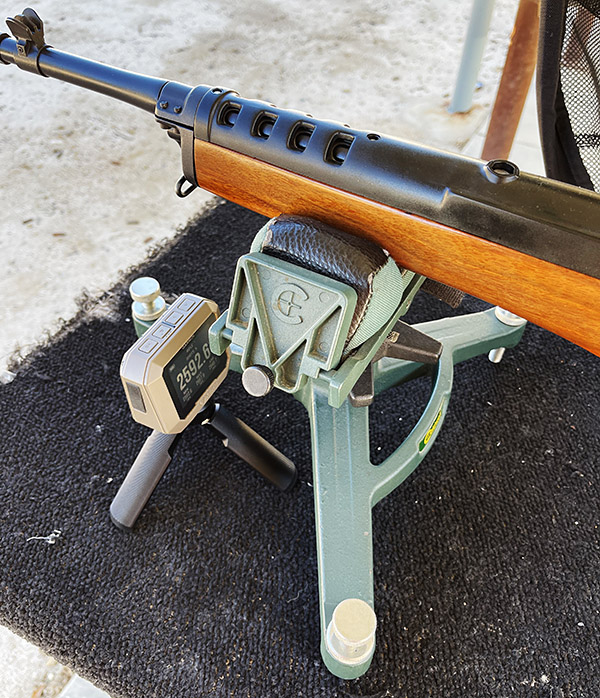
Mini 14 Jacketed Bullets
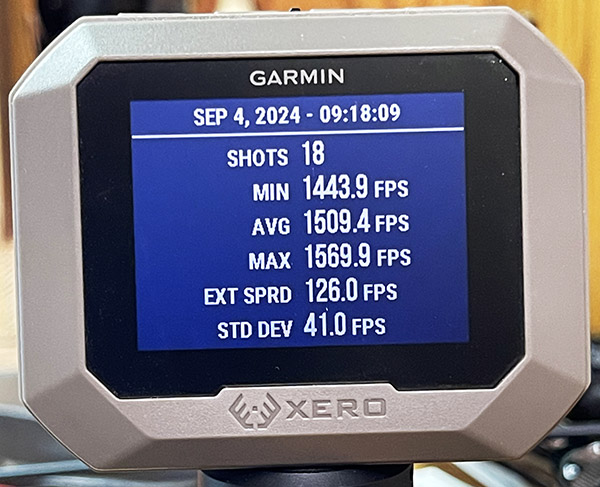
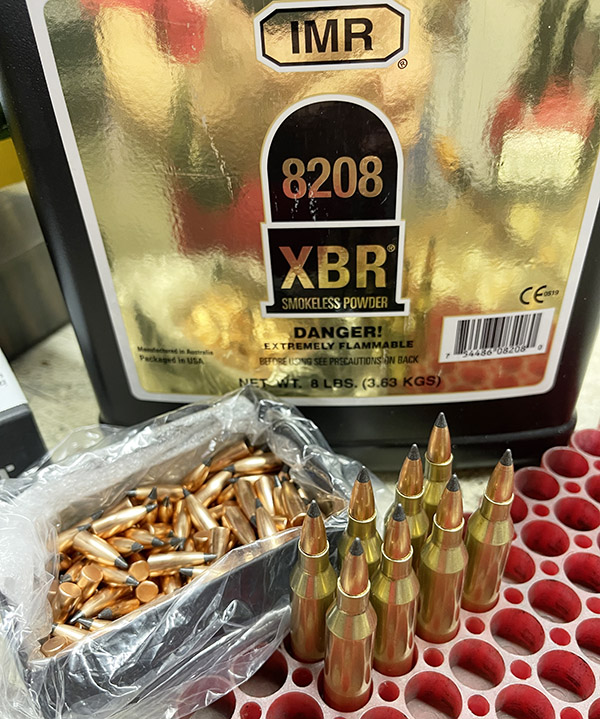
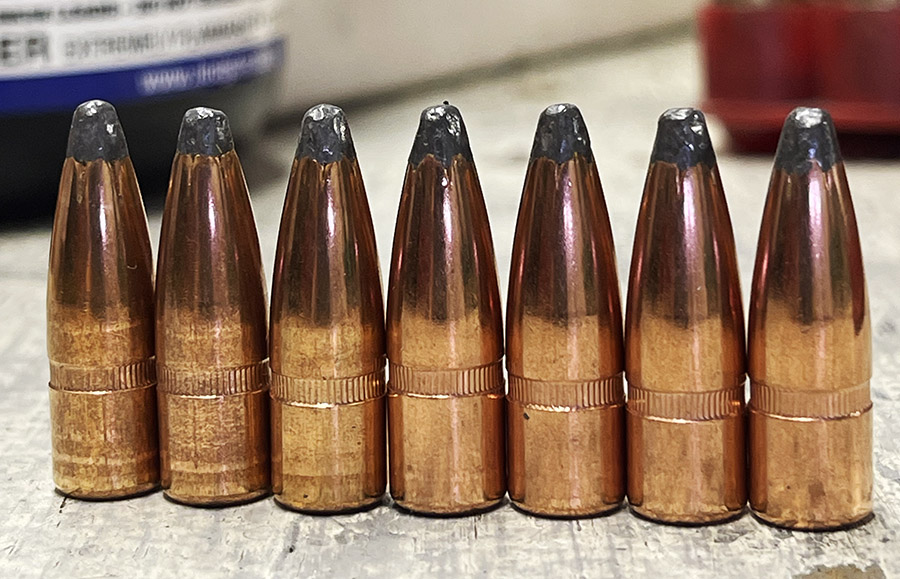
Finally, I wanted to see how the Garmin would do with a small bullet moving at higher speeds, so I ran a few shots through my faithful Mini 14.
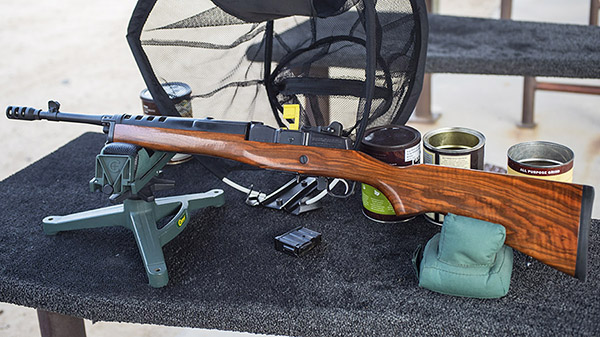
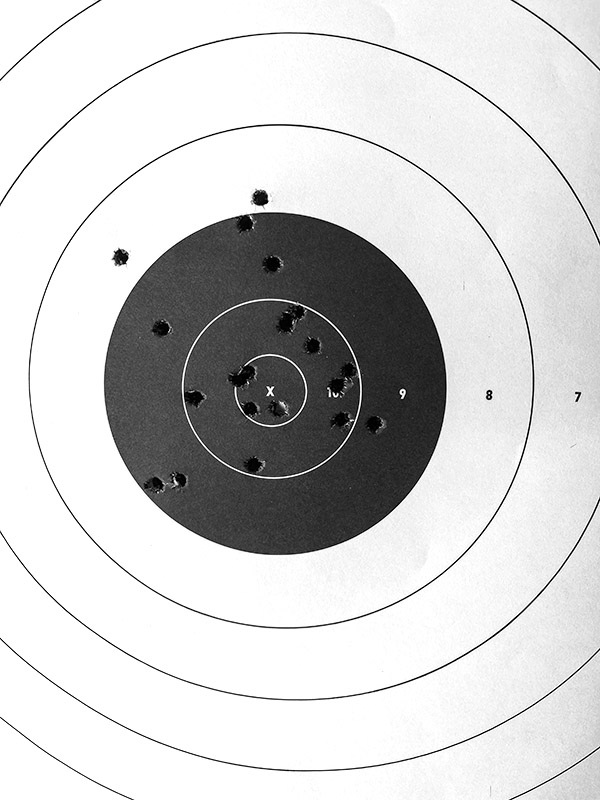
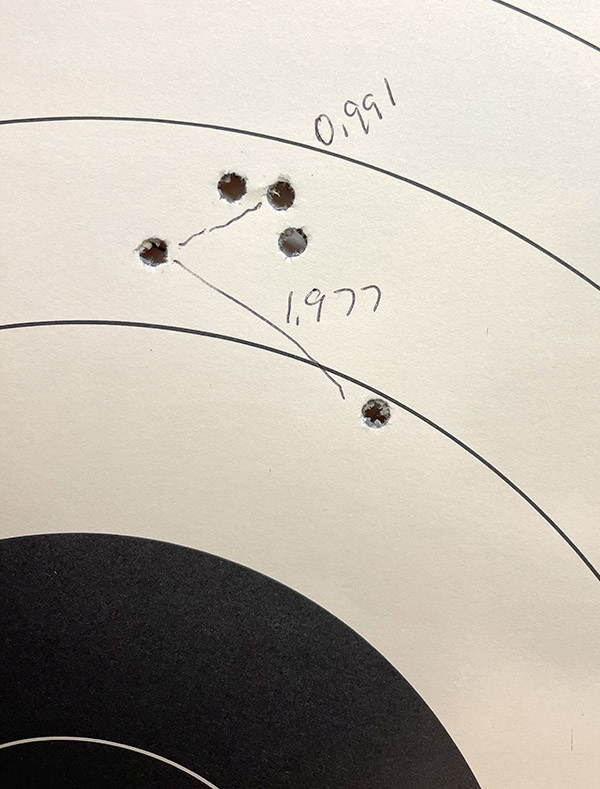
My accuracy loads for the Mini 14 have been a Hornady 55-grain full metal jacket boattail bullet and a max load of either IMR 4320 or ARComp. The results you see below are for the IMR load. You might be wondering why the velocity is a bit less than the expected 3000 feet per second speeds attained with a .223 cartridge. My Mini 14 has a 16-inch barrel.
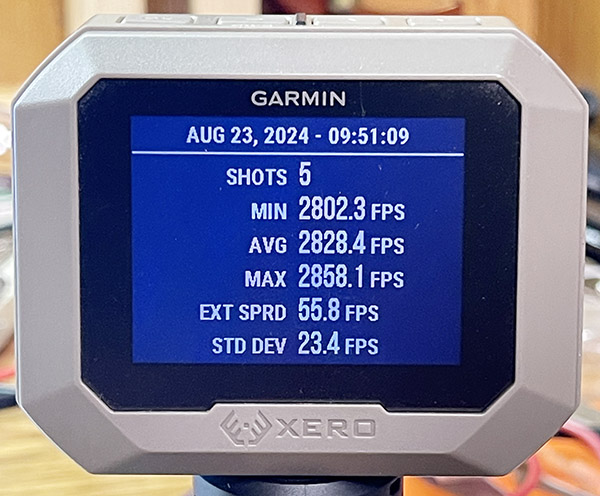
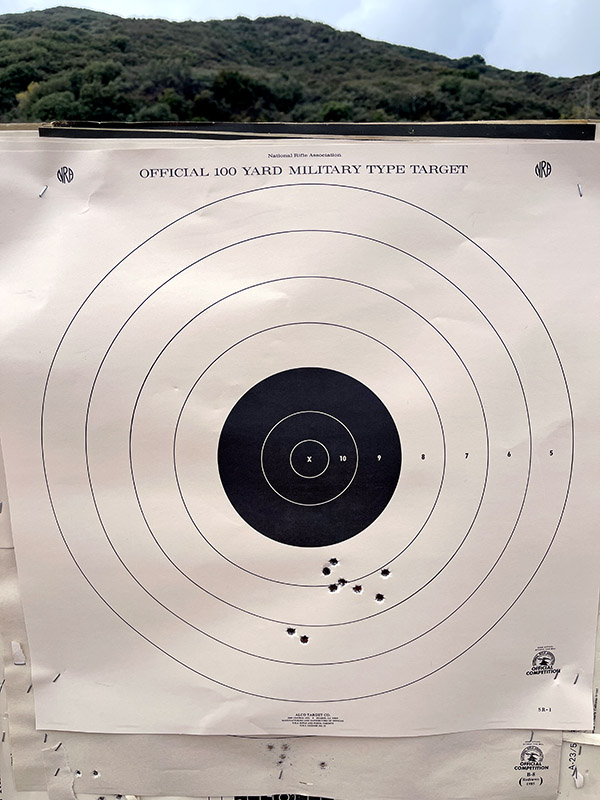
The results looked good to me. Those five shots went into less than 2 inches at 100 yards. Four of the five went into less than an inch.
The Bottom Line
There’s the good, the bad, and the ugly. The good is the Garmin chronograph has upped the ante by bringing an easily-used chronograph to the masses. There’s no screwing around wires or screens, and you don’t have to get in front of the firing line to set it up. This is a major breakthrough, and it’s what prompted me to finally pull the trigger on a chrono (well, that and my good buddy Walt telling me that any serious shooter and reloader needed a chrono).
The bad? There’s not much. I mentioned the tendency to pick up rounds fired from an adjacent lane on an indoor handgun range. I think the screen scrolling drill could be simplified a bit. The chrono occasionally failed to pick up a round (but that could be me not positioning it correctly). I think the chrono should allow downloading data sessions directly to a computer (without having to Bluetooth the thing to a cell phone and then email it to myself). These nits wouldn’t stop me from buying one, and they shouldn’t stop you, either. I love my Garmin chronograph. The Garmin engineers did a good job.
What surprised me (but maybe didn’t surprise me too much) was that the lowest standard deviation did not necessarily result in the tightest group. Barrel harmonics, bullet issues, and the guy behind the trigger also have a huge influence. I suspect the so-called accuracy loads in the Lyman reloading manual are based mostly (perhaps exclusively) on standard deviation. There are a lot of things that go into rifle and handgun accuracy. With a Garmin chronograph, you can get a better understand them.
Never miss an ExNotes blog:
Don’t forget: Visit our advertisers!