By Joe Berk
Command Sergeant Major Emory L. Hickman died way too young. He was 48 when he passed, and that was just a few years after I knew him. He was a tall, lean man with a salt and pepper crew cut, and like most of the noncommissioned officers I knew, he had a southern accent. I only knew him for a year and that was more than a half century ago, but during that year he taught me something I value to this day. Sergeant Major Hickman taught me how to shoot a handgun.
I first met Sergeant Major Hickman shortly after he was assigned to the Rutgers University Reserve Officers Training Corps detachment. The Army held these kinds of cush assignments out to very senior NCOs as they finished distinguished 30-year careers. Sergeant Major Hickman earned it: He served in the Korean and Vietnam Wars and he had the rows of ribbons showing that and much more. As with all Sergeants Major in the US Army, it was always “Sergeant Major,” never “Sergeant” or “Sarge.” Only a very tiny percentage of NCOs make E-9; addressing such men as “Sergeant Major” conveyed the respect they deserved. After I knew him, he was promoted to Command Sergeant Major, and just in case you ever encounter someone with that exalted rank, all three words should be used, as I did at the beginning of this blog.
The last half century has been a contest between my marksmanship skills going north and my vision going south, but thanks to the good Sergeant Major and what he taught me, I’m holding my own. I still sometimes dazzle folks at the range. What I’d like to do in this blog is talk about the fundamentals, tips, and techniques Sergeant Major Hickman taught me. I don’t shoot competitively these days, but I can still keep my shots in the black. If you use the tricks and techniques Sergeant Major Hickman taught me and if you practice a lot, maybe you will be able to do the same.
In 1973 when I picked up my MacManus 1911, my father and I both thought of ourselves as above-average shooters (Dad was a world-class trapshooter, and I did okay with a rifle). We assumed we could do well with a handgun, too. That is, until I came home with my 1911. We tossed a soda can about 20 feet out in our backyard and shot at it (in those days we could do that). I went first and emptied an entire magazine without hitting the can once. Dad had a laugh and then he tried. He didn’t do any better. We concluded that pistols were just not accurate.
I felt that way until I met Sergeant Major Hickman. He had heard about my MacManus award and he asked if I’d like to learn how to shoot the 1911. You know what my answer was. The Sergeant Major and I spent a lot of time on the Rutgers Campus Police pistol range over the next year. What follows is what he taught me.
1. Get A Grip
Forget all the Hollywood silliness. We don’t hold guns sideways like gangbangers, we don’t shoot from the hip, we’re not interested in how fast we can empty a magazine (the video above notwithstanding), and we don’t fire more rounds than the gun holds.
Back in the day, it was all about bullseye competition, and that involved shooting with iron sights and one hand only. Sergeant Major Hickman showed me how to stand at about a 30-degree angle to the target, place the pistol firmly in the web of my hand, close my eyes, and bring my arm up to point the pistol at the target. “When you open your eyes,” he said, “the sights should be on the bullseye.” He continued by telling me that if I had to twist my body or move my arm to bring the gun to the bullseye, my stance was wrong. When I could close my eyes, bring the gun up, open my eyes (both eyes), and the sights fell naturally on target, my grip and stance were correct. The grip should be tight, but not so tight that my hand trembled.
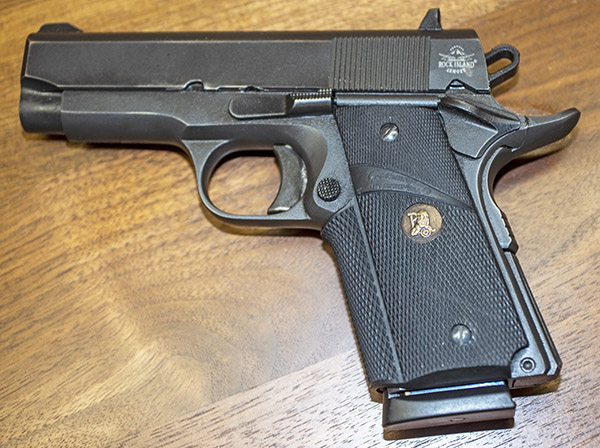
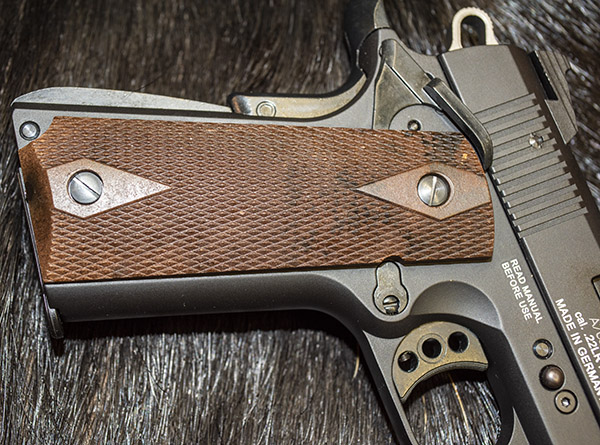
I like fancy grips, but fancy doesn’t put shots in the black. Over the years I’ve found the best grips for a 1911 are Pachmayrs. I have others that are prettier, but the Pachmayrs offer the best control and consistency. You can still get Pachmayr grips on Amazon.
2. Front Sight Focus
When I fire a round at a target, I don’t see the target. It’s a Jedi (read: Sergeant Major Emory L. Hickman) mind trick. When my gun fires, all I see is the front sight and the bright orange propellant flash. When I see the front sight outlined by the muzzle flash, I don’t need to see the target. I know the bullet is in the black.
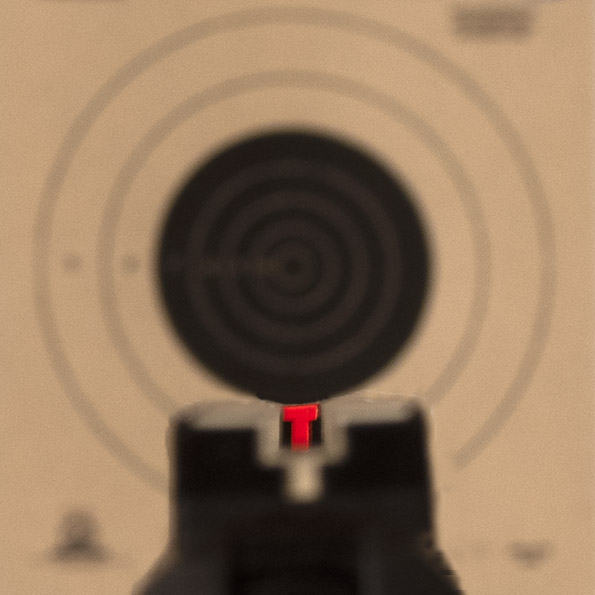
I start by putting the top of the front sight at 6:00 on the target’s black bullseye, but my focus quickly shifts to the front sight and it stays there until the firearm discharges. The target and the rear sight will be a blur, but the front sight will be sharp as a tack. It’s where all my concentration is, it’s the only thing I’m interested in, and per Sergeant Major Hickman’s instruction, I will have both eyes open. I’m not worried about what my other eye sees. My total focus, my total being, is on that front sight. That’s the biggest secret in handgun shooting. Other things are important, too, but not as important as front sight focus. Front sight only. It’s hard to do, but when you do it, this single thing will improve your shooting more than anything else.
3. Breath Control
When I’m ready to shoot, I take a deep breath, I let it partly out to what feels like a natural pause point, and then I start squeezing the trigger while continuing to focus on the front sight. Sergeant Major Hickman told me that’s what it takes. He went on to tell me that the Soviet marksmanship training unit (the Soviet Army’s pistol team) had researched what made the difference between simply hitting in the 10-ring versus hitting in the x-ring (the x-ring is a smaller circle within the 10-ring used for breaking ties). The Soviets found that their top target shooters, without realizing it, were actually firing between heartbeats. They didn’t realize they were doing this, but they were. That’s info only; we’re interested in holding our breath at a natural exhalation point for the second or two it takes to focus on the front sight and squeeze the trigger. Speaking of which…
4. Trigger Control
Point one on the topic of trigger squeeze: Keep your finger off the trigger until you are ready to shoot.
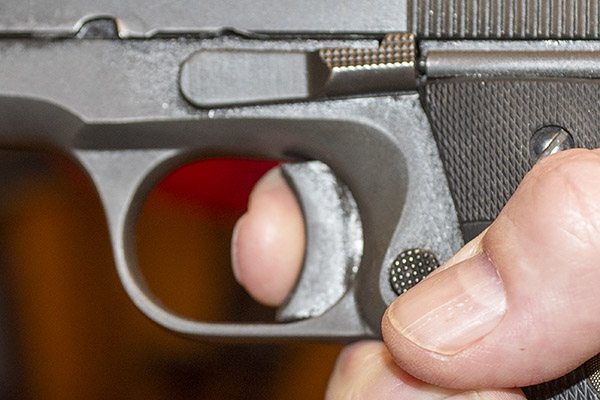
Sergeant Major Hickman taught me that when shooting a single action semi-automatic or a revolver in the single action mode, I should put the pad of my trigger finger (the part of my finger midway between the tip and the first joint) on the trigger. He explained that while I was focused on the front sight, I should start squeezing the trigger, but not think about it. The front sight will be aligned in the blurry rear sight, but it won’t be possible to make everything freeze on the target. The front sight will always have some motion on the target. The Sergeant Major told me not to worry about that. “The only way to make everything motionless is to be dead,” he said, “and you’re not dead.” Sergeant Major Hickman told me to simply hang on to the front sight and steadily increase trigger pressure. Just focus on the fundamentals, he said, and the groups will get smaller. Let the target swim around. Maintain a good grip. Hold the right stance. Focus on the front sight. Breath control. Trigger squeeze.
5. Be Surprised
What you want, the Sergeant Major said, is for the gun to surprise you. What you don’t want to do is anticipate the shot and then jerk the trigger. That will cause you to flinch (to jerk the gun in anticipation of the shot), and the gun will be pointed somewhere other than the target when it discharges. When I did it right, I was (and I still am) surprised when the gun fires. In fact, when I’m really doing it right and concentrating on the front sight, I do not even hear the gun fire. When that happens, you know you are on your way. Sergeant Major Hickman was right: Seeing the orange flash and not hearing your shots means the bullets are in the black, and that is a good feeling.
6. Dry Firing
You can’t do this with most guns chambered for the .22 Long Rifle cartridge, but you can dry fire until the cows come home with any centerfire handgun, and I do. A lot. I have a small black dot hanging in my office that I use for a target, and I spend a bit of time nearly every night dry firing a handgun at it. It is one of several tricks Sergeant Major Hickman taught me. I’m focused on the front sight when I do this, and I’m looking for it to not move when the hammer falls. I want the front sight to remain motionlessly centered in the rear sight groove (and the top of the front sight to remain even with the top of the rear sight) when the hammer falls. Doing this on a daily basis improved my shooting significantly some 50 years ago; doing it today on a regular basis keeps me sharp.
7. A Penny (or more) For My Thoughts
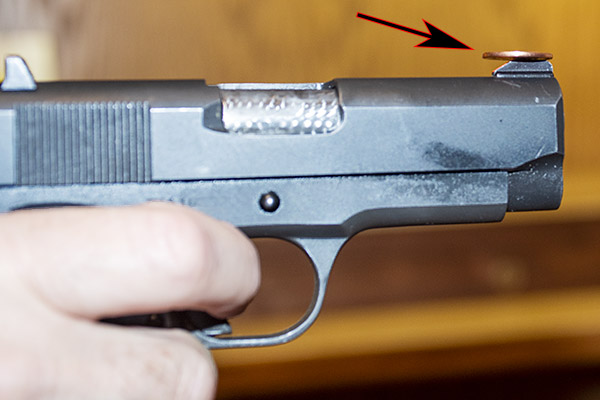
Here’s another trick the Sergeant Major taught me: Balance a penny on top of the 1911. Or a nickel. Or an empty case. You want it to stay put when the hammer falls. When that happens, it indicates that I didn’t jerk the trigger. When I can do that consistently, I know I’m doing well.
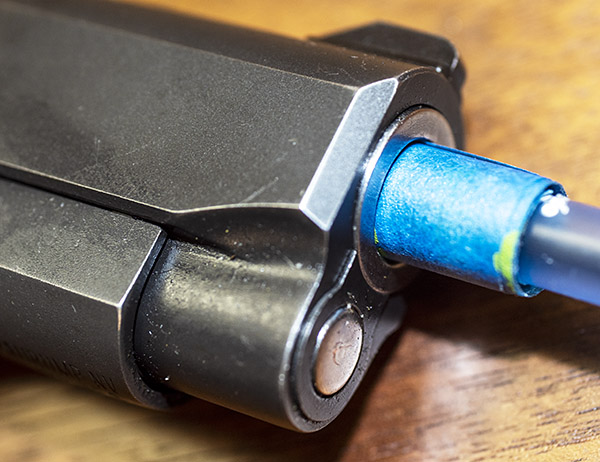
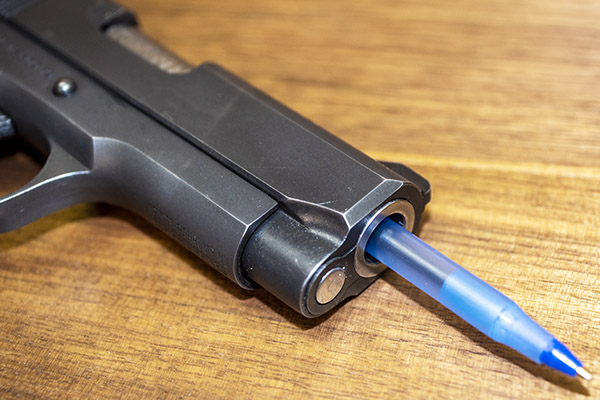
8. The Bic Trick
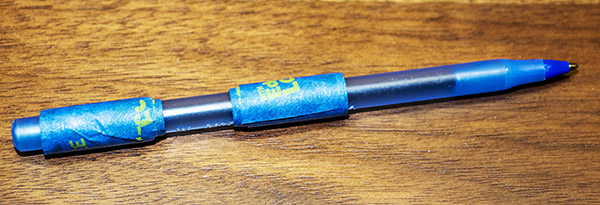
Here’s yet another cool trick Sergeant Major Hickman taught me: Take a Bic pen and wrap tape around it in two places so that the pen fits snugly but with no resistance inside the barrel. Put the rear end of the pen all the way into the barrel. When dry firing, the firing pin smacks the back of the pen and the pen will jump forward.
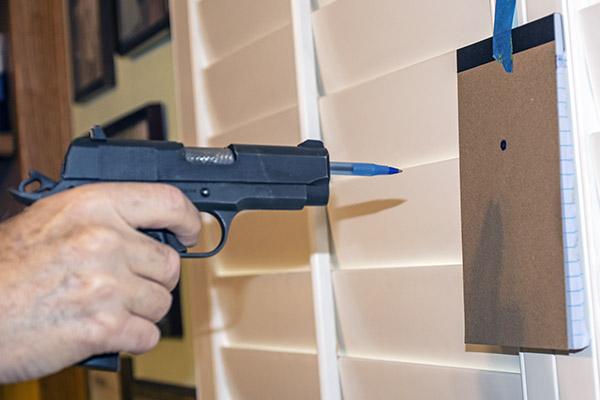
If you stand like you would when live firing, but with the pen’s tip a couple of inches from a target taped to a wall, the pen’s point will imprint on the target. Do that a few times and you’ll get a group, just like you would if you were firing live ammo. Do it a lot. It will help you to master the fundamentals described above, and your live fire groups will shrink. Trust me on this: They will shrink a lot.
9. Live Firing
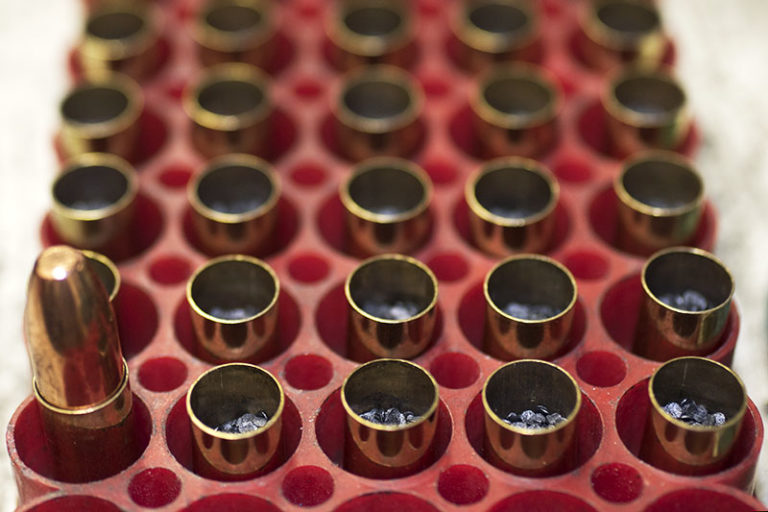
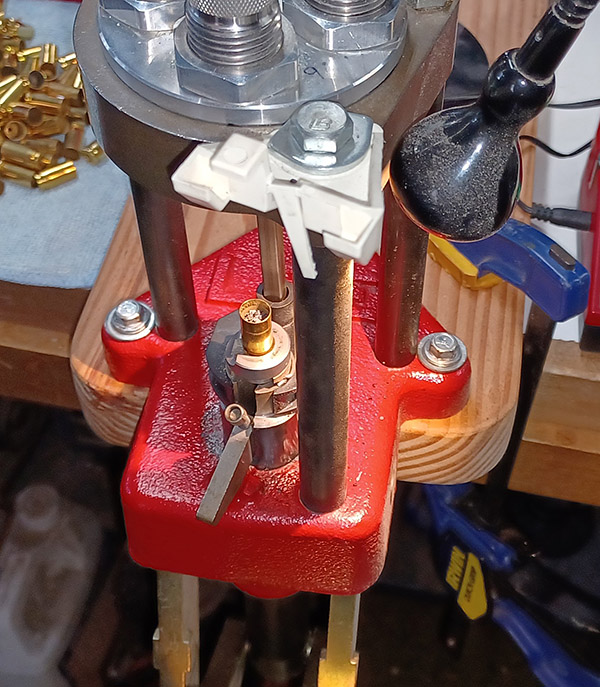
I have never been able to shoot a handgun well without substantial time on the range. Let me say that again: I did not get better without substantial live fire practice. I spend a lot of time on the range, and it helps to keep my skills sharp. I fire two to three hundred rounds through a handgun every week. If you don’t have a sponsor or you don’t reload, you better be rich because factory ammo costs are going to roll up pretty quickly. I don’t have a shooting sponsor, so for me, reloading is the way to go. Here’s a good place to get information on how to get into reloading.
10. The Surprise Empty Chamber
Here’s another great training approach Sergeant Major Hickman shared with me: Have a buddy “load” your gun, but without you seeing what he (or she) is doing. What you want your buddy to do is sometimes load a live round, and at other times, to load no round (or an empty case if the gun has a loaded chamber indicator). You want to not know if you are dropping the hammer on a live round or an empty chamber. That’s going to tell you immediately if you are jerking the trigger (or flinching). If it’s not a live round and the gun twitches when I drop the trigger, I know I still have work to do. When I can drop the hammer and the gun remains motionless, I know I’m making progress.
11. Empty Cases at an Empty Head
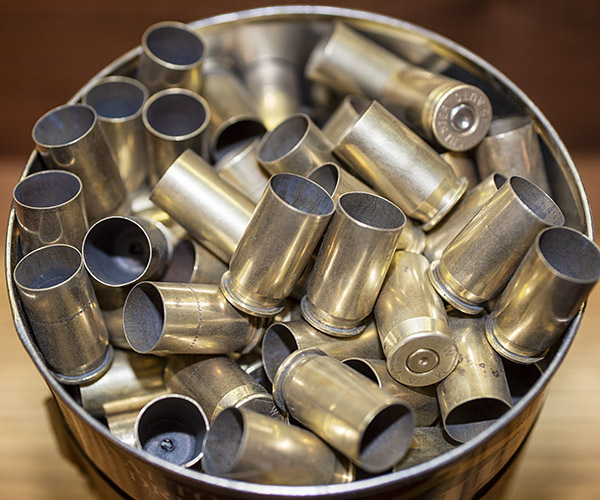
Sergeant Major Hickman used to stand behind me when I was shooting and throw empty .45 cases at my head. At first I felt the cases hitting my head and I reacted (the Sergeant Major wasn’t being gentle). But after I became one with the front sight (I can’t emphasize the front sight enough), I stopped feeling those .45 ACP empties hitting my head. I’d have little welts afterwards, but I stopped feeling the cases when they whacked me. I realize this is a trick that’s kind of out there, but it sure helped me hone my concentration.
12. The Right Load
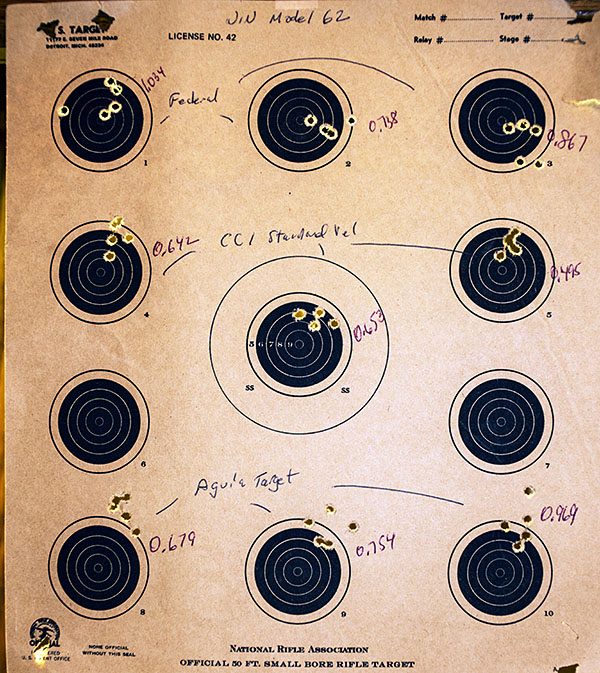
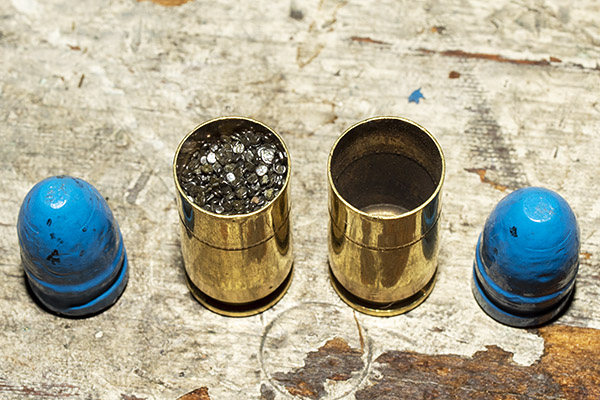
The last thing I’ll mention is that having a load optimized for your handgun really does make a difference. If you don’t reload, your options are limited to buying a bunch of different factory offerings and seeing what works. If you reload, though, you can develop a load tuned to your handgun. We’ve done a number of blogs on the optimal loads for different guns, and I’d invite you to peruse our Tales of the Gun page to read what we’ve found works best in our guns. I’ve found that a 230-grain cast roundnose bullet over 5.6 grains of Unique with an overall cartridge length of 1.250 inches is a very accurate load. Another favorite is a 185-grain cast semiwadcutter bullet over 5.0 grains of Bullseye with that same overall cartridge length of 1.250 inches. So does 4.2 grains of Bullseye and a 200-grain cast semiwadcutter bullet (and again, the same overall cartridge length). Be advised, though, that most 1911 handguns won’t feed these last two loads if the gun has not been ramped and polished. If you need your 1911 ramped and polished, look no further than TJ’s Custom Gunworks (he’s the best there is).
A Half Century (and a ton of lead) Later
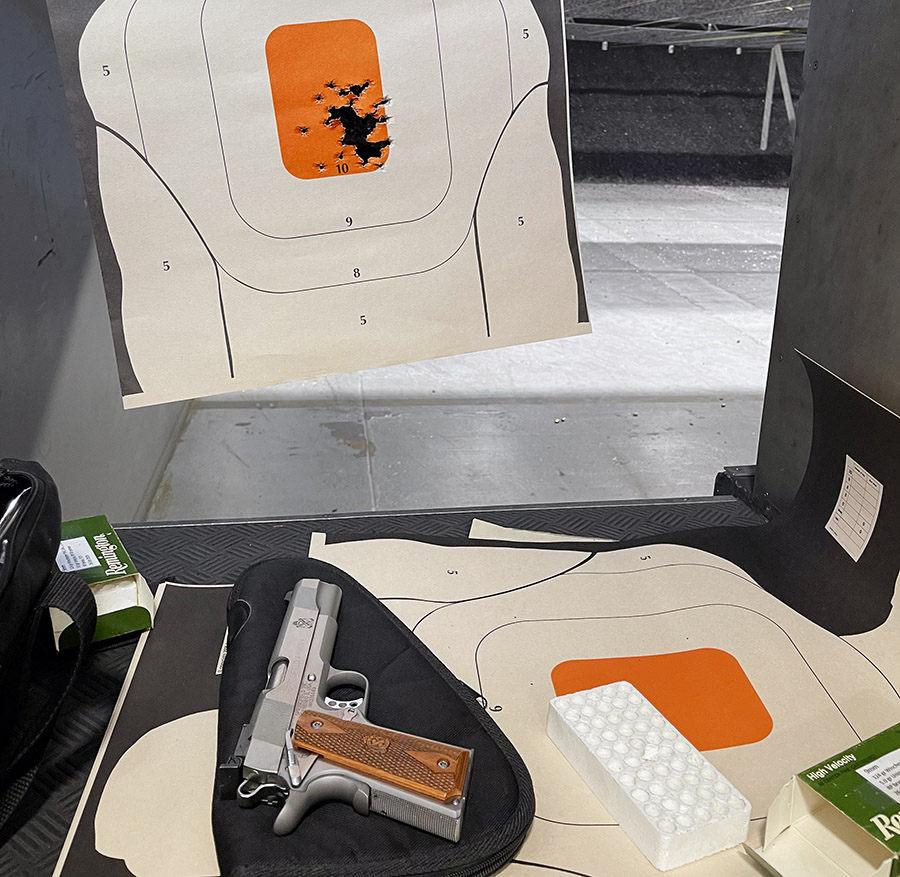
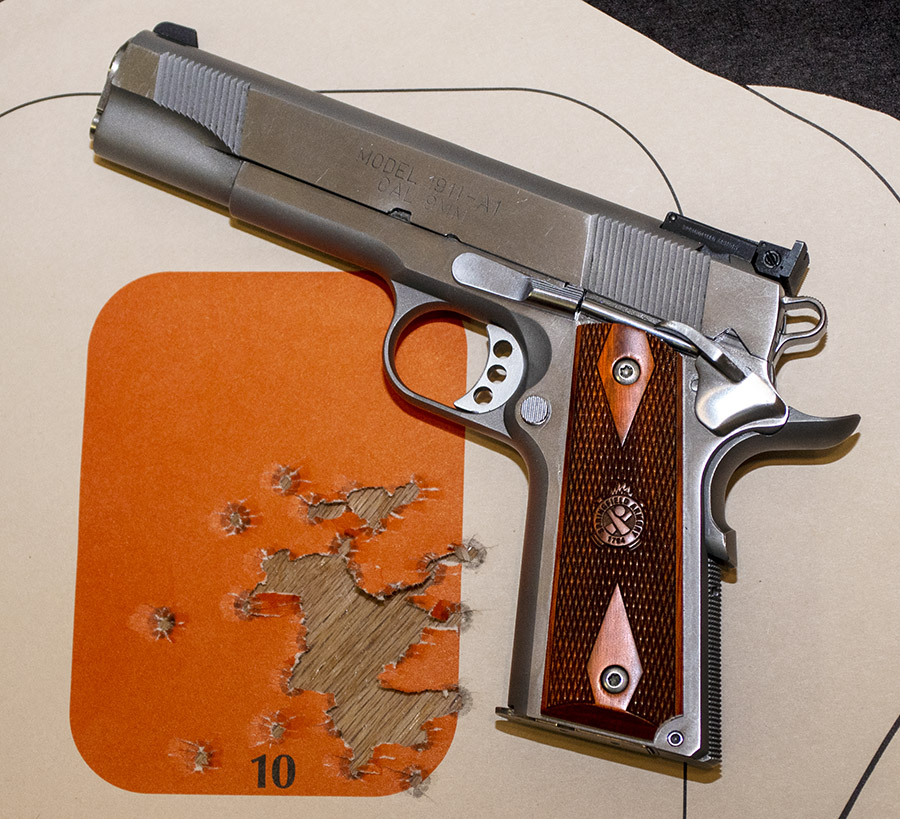
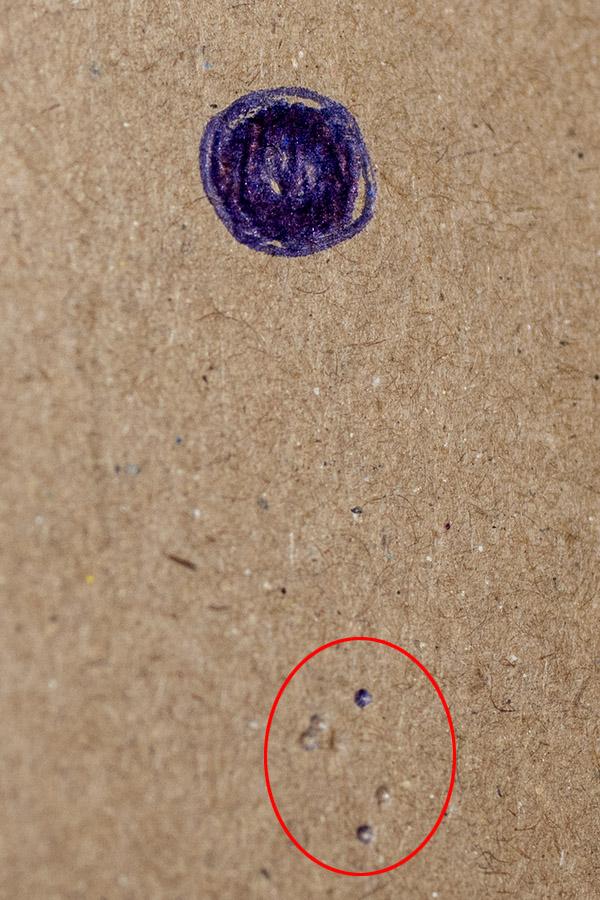
So here I am, 50 years later, writing about my 1911 mentor, Sergeant Major Emory Hickman. I remember that first range session with him like it was yesterday. After listening to him and practicing what he taught me, my skills improved to the point where I could easily keep all of my shots on paper, with 80 percent of them hitting the black bullseye. When I got to that point, I asked the Sergeant Major if I should have my 1911 accurized. In those days, I wasn’t even sure what “accurizing” entailed, but it sounded like the right question to ask. Sergeant Major Hickman smiled. “Sir,” he said (I was, after all, a Second Lieutenant), “may I put a few shots downrange?”
I handed the 1911 to Sergeant Major Hickman. He loaded a magazine, inserted it in the 1911, released the slide to chamber the first round, and became the visual definition of intense and perfect concentration. Five shots later, there was one ragged hole centered in the bullseye. That one ragged hole wasn’t much larger than the hole a single .45 bullet would have made. “Maybe you could get it accurized somewhere down the road, Sir,” he said. “but for now, I think it’s good enough.”
More Tales of the Gun!
Never miss an ExNotes blog:
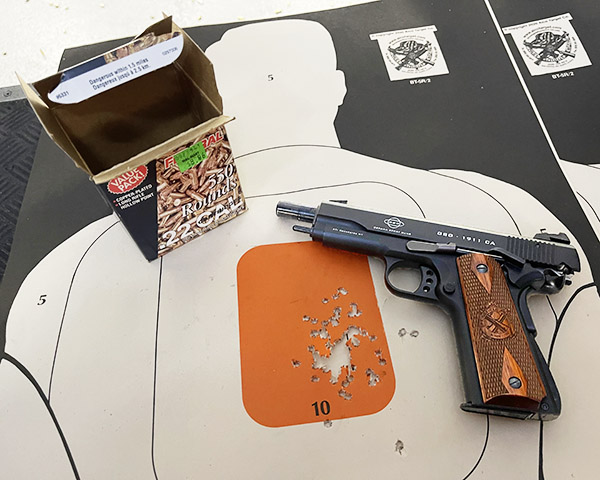
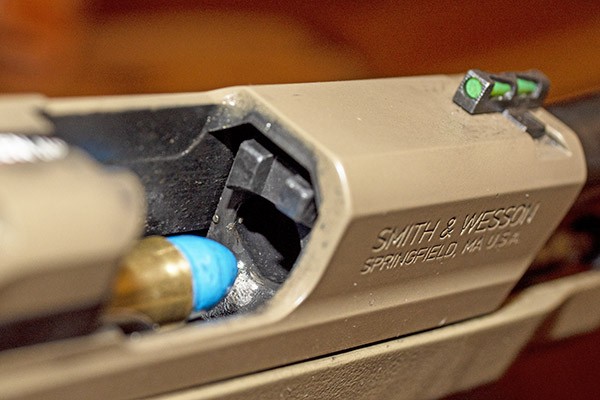
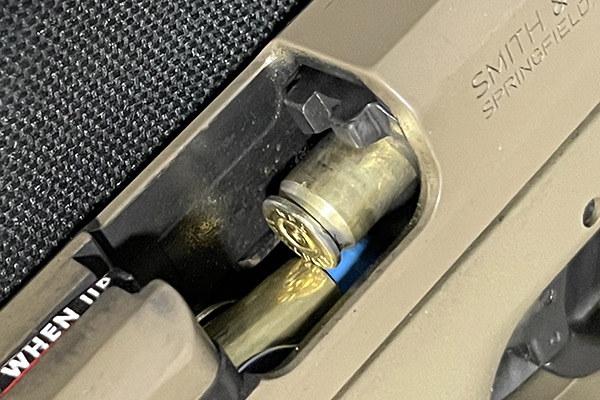
The 1911 featured in this story is a Rock Island Armory Compact 1911. My Rock Compact 1911 has been extensively upgraded by TJ (of TJ’s Custom Gunworks). This handgun is 100% reliable with any of the loads listed above (and factory hardball ammo).