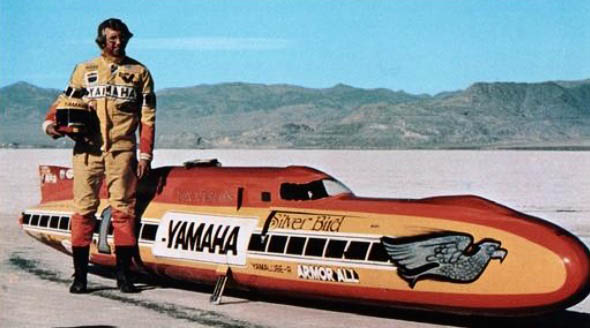
 Berk and I have a busy ExhaustNotes.us August planned. You’ve already read about his Three Flags tour on the new, untested RX4 Zongshen and I’m finalizing plans for an assault on the Bonneville speed trials. No, I won’t be racing Mini Moto Madness but seeing as how I’ve never been to the salt for Speed Week and I’m not getting any younger I figured this is the year.
 It wasn’t really my idea. It was Mike’s. Mike lives on a ranch in Carrizozo, New Mexico. I met Mike a hundred miles north at a little restaurant in Willard. I wanted shredded beef tacos but the restaurant was out of beef. I didn’t want to use up my private stash so I went back to the menu. That’s when Mike piped up and told me to try the pork tacos. I had three pork tacos with beans and rice. I recommend them highly.
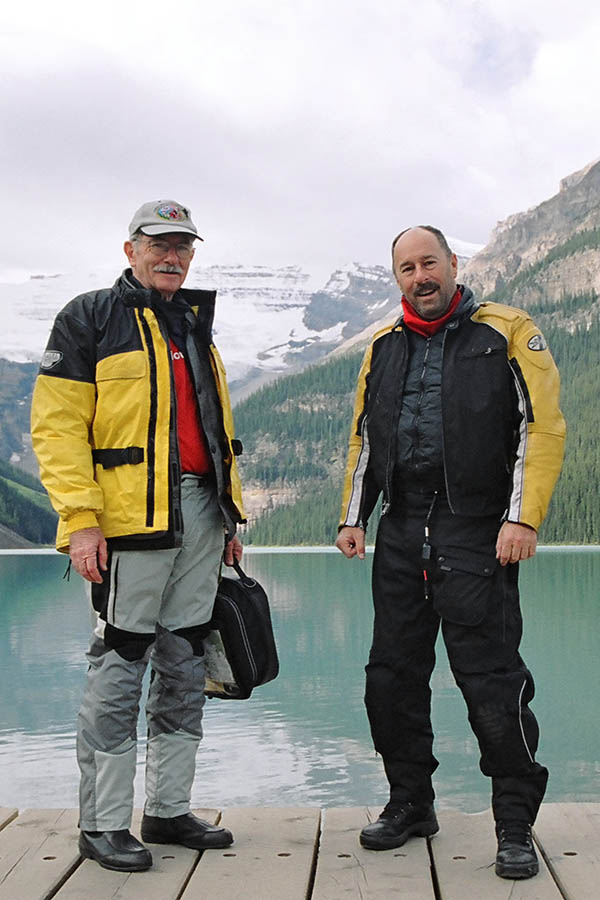
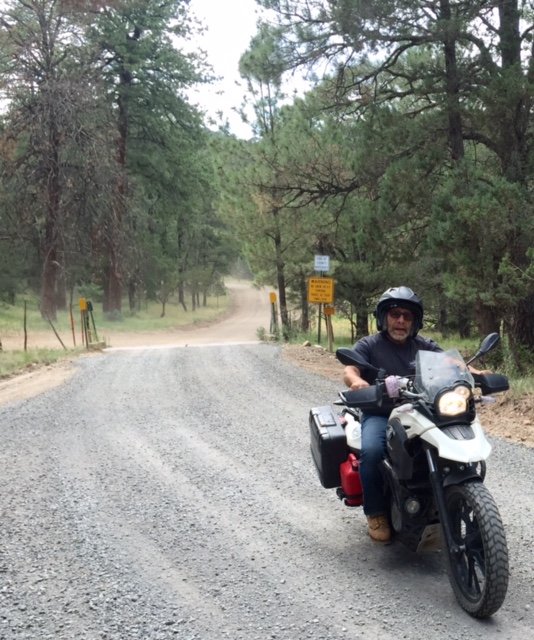
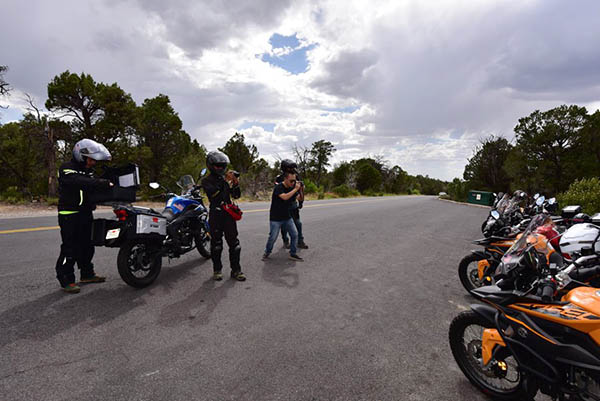
Willard is kind of a slow place. The intersection of Highways 60 and 42 is the main topic of conversation in town. Mike and I got to shooting the breeze like all motorcyclists do and it turns out Mike likes to ride dirt trails on his BMW thumper 650. I mean you had me at dirt, you know? We started doing a few rides and then the Bonneville thing came up. We’re going to try and hit a few dirt roads on our way north.
We need to make pretty good time on this trip so Godzilla, while reliable, is too stressed out at 70 mph leaving The Wedge, my Husqvarna 510. The Husky’s fork seals are leaking badly. I’ve bought new seals to install. That should be interesting as I’ve never worked on upside down forks. The clutch lever is broken from a spill I took in Big Bend Park. I’m going to cut the end off a donor lever and weld it to the stub remaining from the original lever. It should make a nice, Frankenstein looking part when I’m through. I know I can buy a new lever. I just feel more at home doing things the hard way. The drive chain is still in fair shape but with 11,000 miles on the thing I’m going to change it as a prophylactic measure.
The tires are new-ish on the Husky but slanted towards street riding and not so good for dirt. Mike’s heavy BMW 650 has decent dirt tires. I’m hoping my bike being 200 pounds lighter will even us up on the trails. I’ll also bring along a leaking plastic jug of fuel so that all my camping gear and clothing will be soaked with gas after 15 miles.
Motorcycle camping is not my idea of fun. Either you carry no gear and enjoy the motorcycle ride only to suffer as you roll around in the dirt trying to sleep at night or you bring enough equipment to camp comfortably and have a miserable ride on your overloaded bike stopping every few miles to repack.
 Mike and I will be at the KOA in West Wendover from August 12th to the 14th. If you’re around town stop by and visit us. Bring beer if you want us to be happy to see you. Our campsite is good for up to six people. I’ll have coffee. There will be fire. It’ll be fun. You’ll see.


 It’s sort of futile hopping up a 2-horsepower bicycle engine because the rear sprocket-to-spoke connection is so weak. Spindly running gear has never stopped a hot-rodder before and bicycle motor aficionados are hot-rodders to the bone. While Mini Motor Madness is on hold awaiting parts I wandered into the wonderfully inexpensive world of high performance engine goodies.
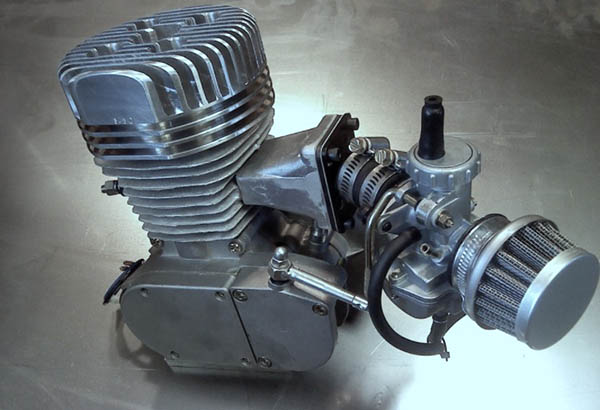
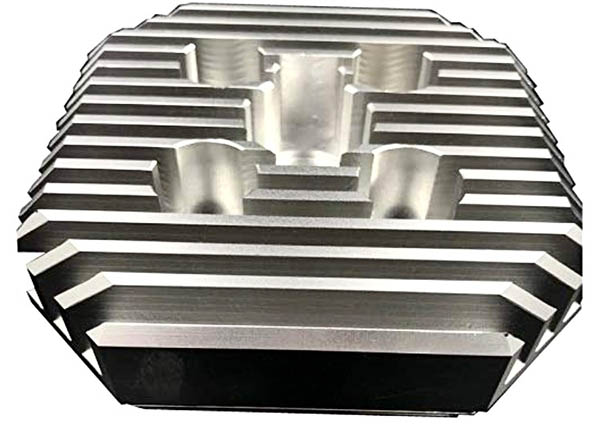 The bog standard bicycle motor is not heavily finned. Overheating doesn’t seem to be a problem but with an aluminum bore and a recommended 16:1 oil/gas ratio it is clearly something to watch out for. Like all parts for these little motors there are a zillion sellers insuring fierce competition and low prices for the thrifty Rodder. The increase in the quantity of cylinder head metal alone would be helpful in keeping things square and dampening noise. The large, deep fins must do a great job of lowering cylinder temperatures. A cooler cylinder means you’ll be able to run a leaner mixture without melting internal parts. Less oil means more room for fuel going through those tiny orifices in your carb. It’s like changing jet size by playing with the fuel ratio. Any compression increases would probably be nullified by the low-grade gasoline cheap mini motor fans cannot help but use.
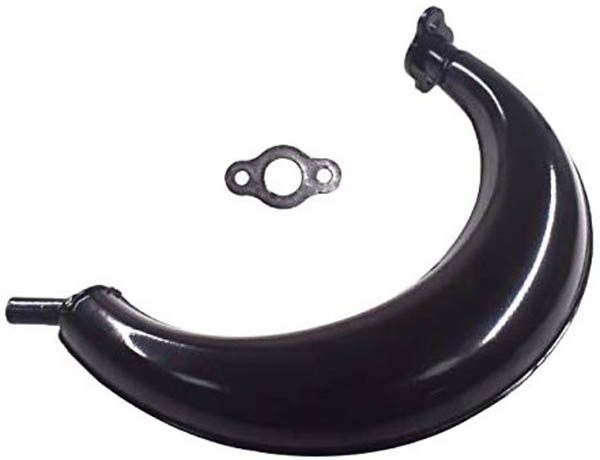 There is even more selection when it comes to exhaust systems. Two-piece, welded seam expansion chambers are the most numerous and various finishes are on offer to suit anyone’s budget. Expansion chambers are like free horsepower in that most times you won’t need to do much carburetor work to get the things in tune. Using a combination of black magic and sonic waves, expansion chambers most often move the powerband higher into the rev range and will allow the motor to spin up another few thousand RPM. Those extra RPM’s are a good thing for drafting Indian FTR750s on the long straightaways at The Sacramento Mile but a chambered motor may not get you over that last vertical shelf of a long, rocky hill climb. It’s the one where you don’t dare downshift for fear of losing momentum.
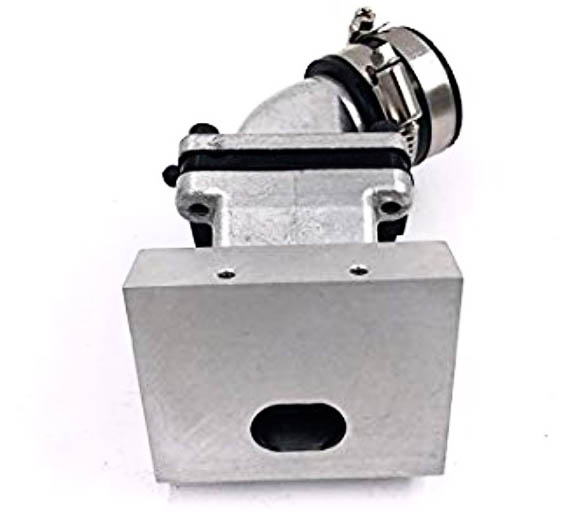 No matter how well designed, reed valves are an obstruction in the intake tract of a mini motor. They make up for this by stopping the constant re-carburation of the fuel mixture due to the reverse air pulses created by a sloppy piston port intake. Reeds also allow huge holes in the piston skirt to extend the degrees of rotation a crankcase can draw in the fuel/air mixture. Since nothing can blow back out the carburetor, an extra transfer port can be carved into the intake side of the cylinder wall. Combined with an expansion chamber, reed valves can more than make up for blocking the intake tract. Even without all the piston/transfer port butchery low speed running is improved by the cleaner intake signal.
 With all the excitement focused on pumping more air through your mini motor you’ll find the stock carb wanting. Large carburetors are really cheap online so why not go all the way? For less than $200 you can convert your mild-mannered, reliable mini motor into an atomic bomb ready to explode between your legs at any moment. Sure it’s stupid. Sure you will burn more fuel and annoy all you neighbors, but when have those things mattered to a Rodder?


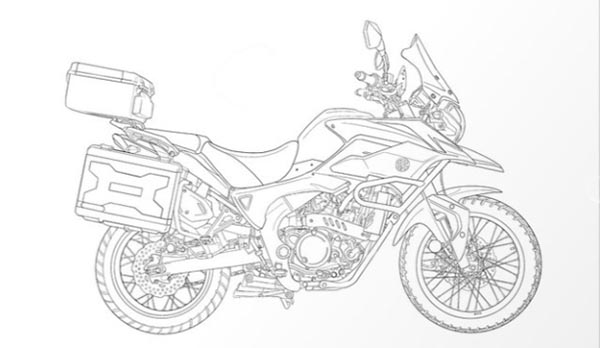
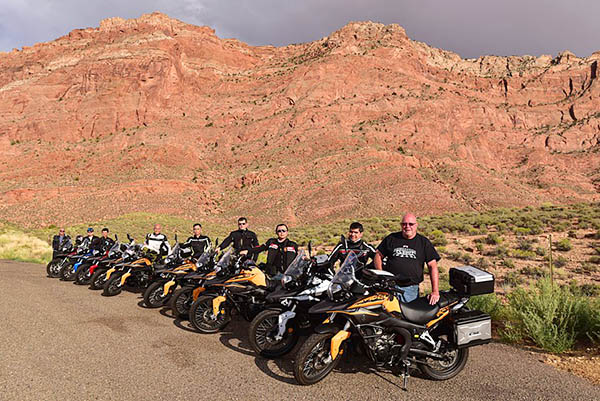
 I am getting thoroughly pumped up about riding the 2019 Three Flags Classic this year on the RX4. There’s just something about the Three Flags Classic that’s magic, and I haven’t been this excited about getting out on the road in quite a while. It’s going to be grand and it’s going to be a blast, and you’ll be able to follow my personal ride from Mexico through the western United States on up into Canada right here on the ExNotes blog. I’ll have tons of great photos and the writing will be as good as I can make it. You’ll be able to follow first hand my further impressions of the

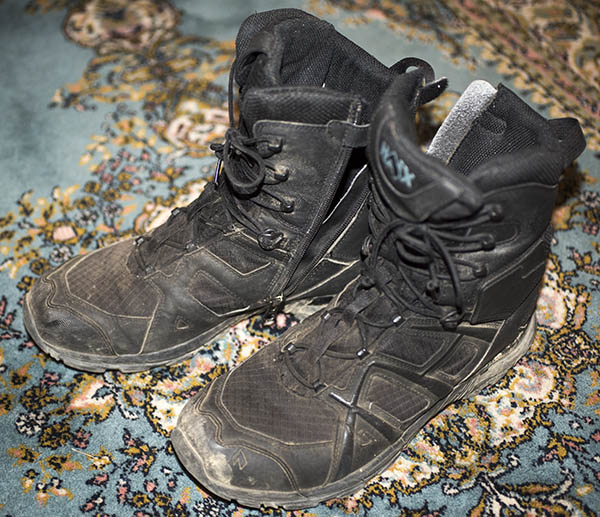
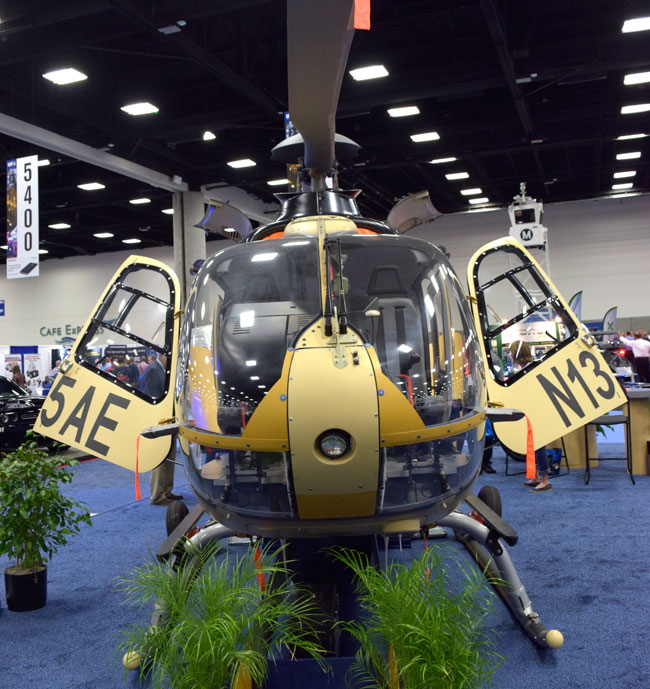
 I had a to have a police connection to get in to the event, so Mike deputized me as the Administrative Assistant to the Chief of Police. My new position included a cool official-looking police ID card and I asked if I could get a gun out of the deal. Mike’s answer was a curt “No,” but hey, I tried. We had a hell of a time at that convention. There was all kinds of interesting gear on display. Guns. Helicopters. Police motorcycles. Patrol cars. Surveillance equipment. You get the idea. Oh, yeah. And boots. I’ll get to that in a second.
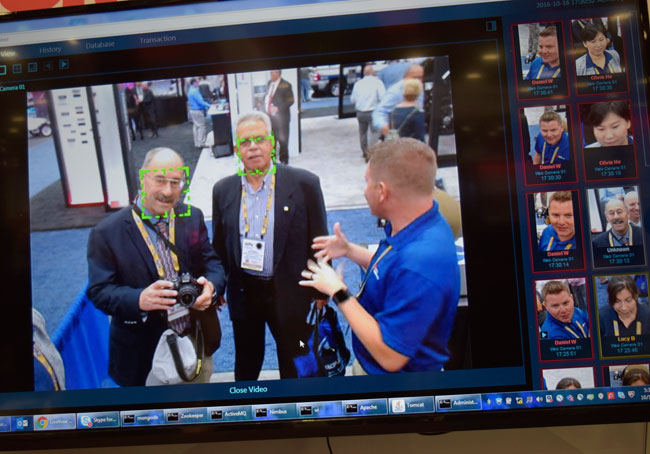

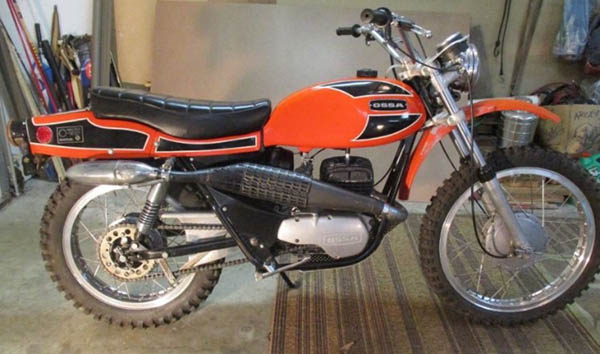 I must have been around 15 years old the first time I saw an Ossa Pioneer. It was at Haines City motocross track. Mike Mills’ mom was divorced and her boyfriend gave us a ride way out to Chrome Avenue in his boat tail Buick Riviera . What a car! The Riviera smelled great inside not only because it was new, but because the boyfriend wore cologne. This was the first time I had been around a grown man that used cologne. All the other adult men I had known up to that point smelled like dirty socks. I smell like dirty socks right now.
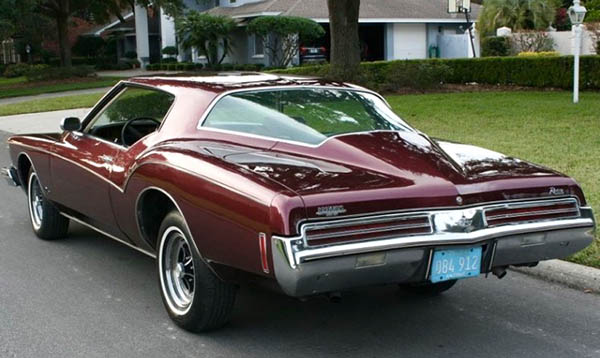 Mostly Bultacos and Maicos were racing in Haines City back then but one guy had an Ossa Pioneer with the lights removed. The rider was good. He would get crossed up over the jumps and finished in the top 5 against real race bikes. I loved how the rear fender blended into the bike. That fiberglass rear section had a small storage area inside. One of the bike magazines of the era tossed a loose spark plug in the storage and went scrambling. The plug beat a hole in the rear fender and they had the nerve to bitch about it. Hell, I knew at 10 that you have to wrap stuff in rags on a motorcycle.
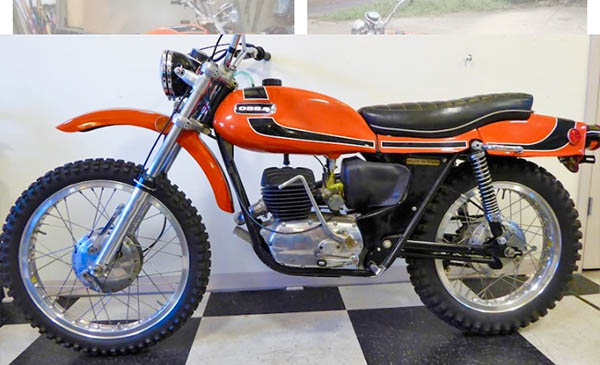 It rains most everyday in Florida and it started pouring. The races kept going for a while but finally had to be called because it was a deluge. You could hardly see to walk. There was no cover so we huddled in the leeward side of the ticket stand out by the entrance. It rained harder, the wind was howling. Wearing only shorts and T-shirts we were getting colder and colder. My lips were turning blue, man.
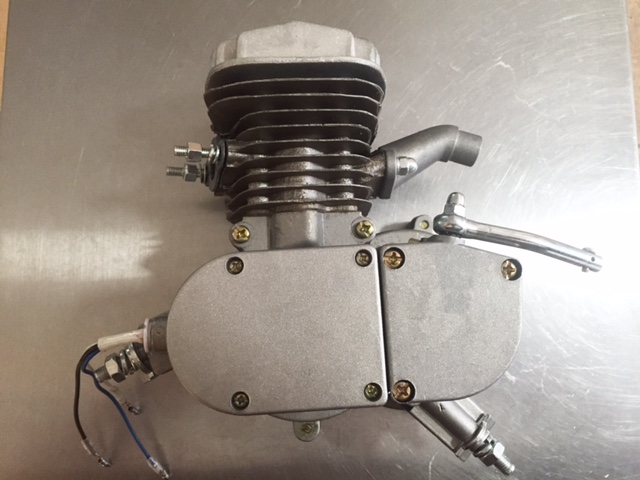 I know what you’re thinking: Yet another ExhaustNotes.us project to be half completed and then shunted aside to gather dust in Tinfiny’s ferrous expanses. I can’t blame you, that’s been the pattern throughout my life. It seems like I get a lot done but I don’t get anything Done with a capital “D.” My shed is littered with the semi-cool and the semi-finished.
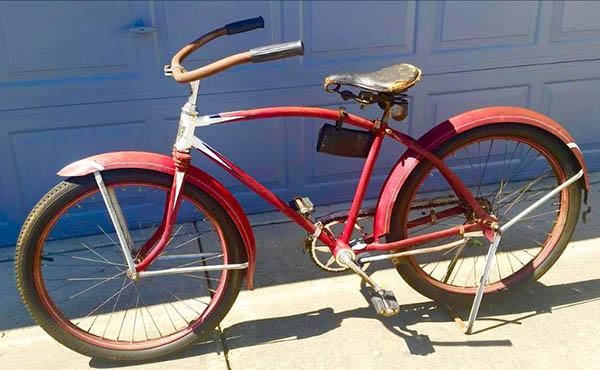 I started looking at new bikes, which led me to China’s little mom & pop store, Wal-Mart. Wally-World has a sweet 26” Huffy standard style bike for only $88 delivered to my door. Just think: new tires, shiny paint and no rust anywhere! At that low-low price why bother with garage sales and repairing trashed bicycles? So I took the plunge on a white-framed example that should look striking combined with The Jewel’s black fuel tank and chain guard. Assembly is not included with mail-order bikes but would you want some ham-fisted Wal-Mart garden center employee messing with your brand new ride?
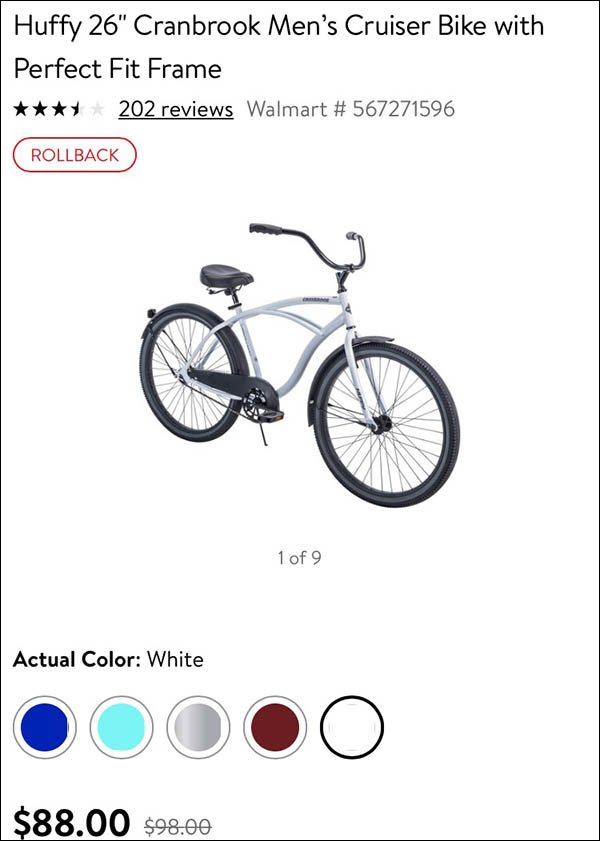 I’ve also tapped into a knowledge base at the Facebook page, Motorized Bicycle Builders. These gnarly veterans of the tiny-engine wars have seen it all and done it all. They have given the $88 Huffy two thumbs up providing I scrap the stock wheels, buy heavy-duty replacements, strip off the fenders and add a front brake. Unfortunately, this is valuable information that I will have to learn the hard way.