The story goes something like this: I tend not to upgrade things until I have to. I’m convinced there’s conspiracy at the highest levels between the software companies, the computer companies, and maybe the government to force us into upgrading things that 25 or 30 years ago we didn’t even need. I thought I had taken a huge leap into the future when I bought my first cell phone. It quickly was obsoleted numerous times and then I thought I was absolutely state of the art when I bought an iPhone 6s just a few years ago. Wow, that thing had features. A phone like that, I thought, might last me the rest of my life.
You read the blog a ways back about me getting down to one motorcycle. I sold the RX3 and the TT250 and got good money for them. Geico, my insurance company, told me I would get a refund for the unused portion of my policy because I had sold the two bikes. I knew it wouldn’t be much, because my annual premium for all three bikes (the RX3, the TT250, and my Royal Enfield) was only $77. It wasn’t; I received a check in the mail for $25.
You might wonder why I switched from talking about conspiracies and cell phones to motorcycles. Bear with me; this is where it gets interesting. A couple of years ago I started depositing checks using my iPhone 6s. It had a cool banking app that basically took a picture of your check and saved a trip to the bank. The 6s did that well, although the last time I used it, it told me I needed to update my software. I didn’t. Screw this upgrade stuff. It was working okay and I don’t intimidate easily.
Except when I tried to deposit this last check from Geico, the phone wouldn’t do it. It told me who’s the boss. Time’s up. You need to update your software from ios 12.5 to ios 13.0. So I tried, but then when I went into the 6s settings, it told me I already had the latest software. A bit more digging, and the conspiracy I alluded to above became obvious. A 6s can only go up to ios 12.5 I needed to get a new phone to go to ios 13.0. Sonuvabitch. They got me again.
Okay, so I shopped around online, which is pretty much how I do everything these days, and within minutes I was confused by all the iPhone options. Gresh did a blog last year about upgrading his iPhone and at the time, I think he got whatever was the latest and greatest from Apple. I did the same and I ended up with an iPhone 12 Pro, which is about the same size as my old 6s but a little heavier. After screwing around backing everything up to the Cloud (it was the first time I ever used the Cloud) and then downloading it to my new phone, I was in business again. I tried the banking app, it worked, and that’s when it hit me: I had just spent $1300 for a new phone so I could deposit a $25 check.
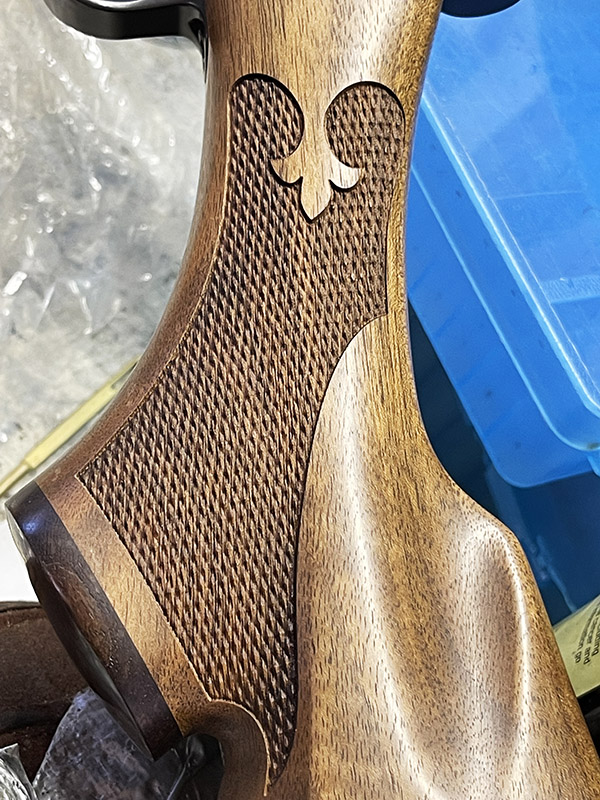
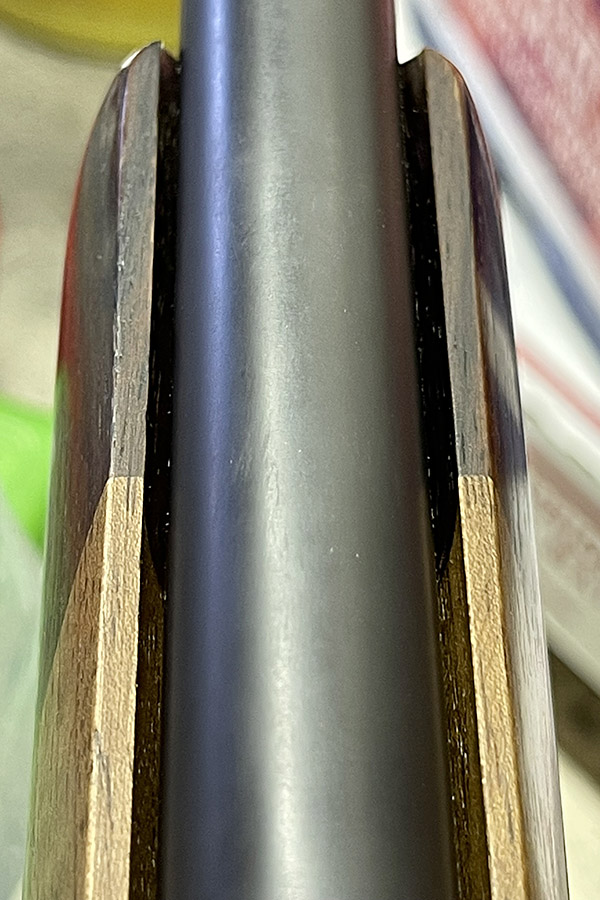
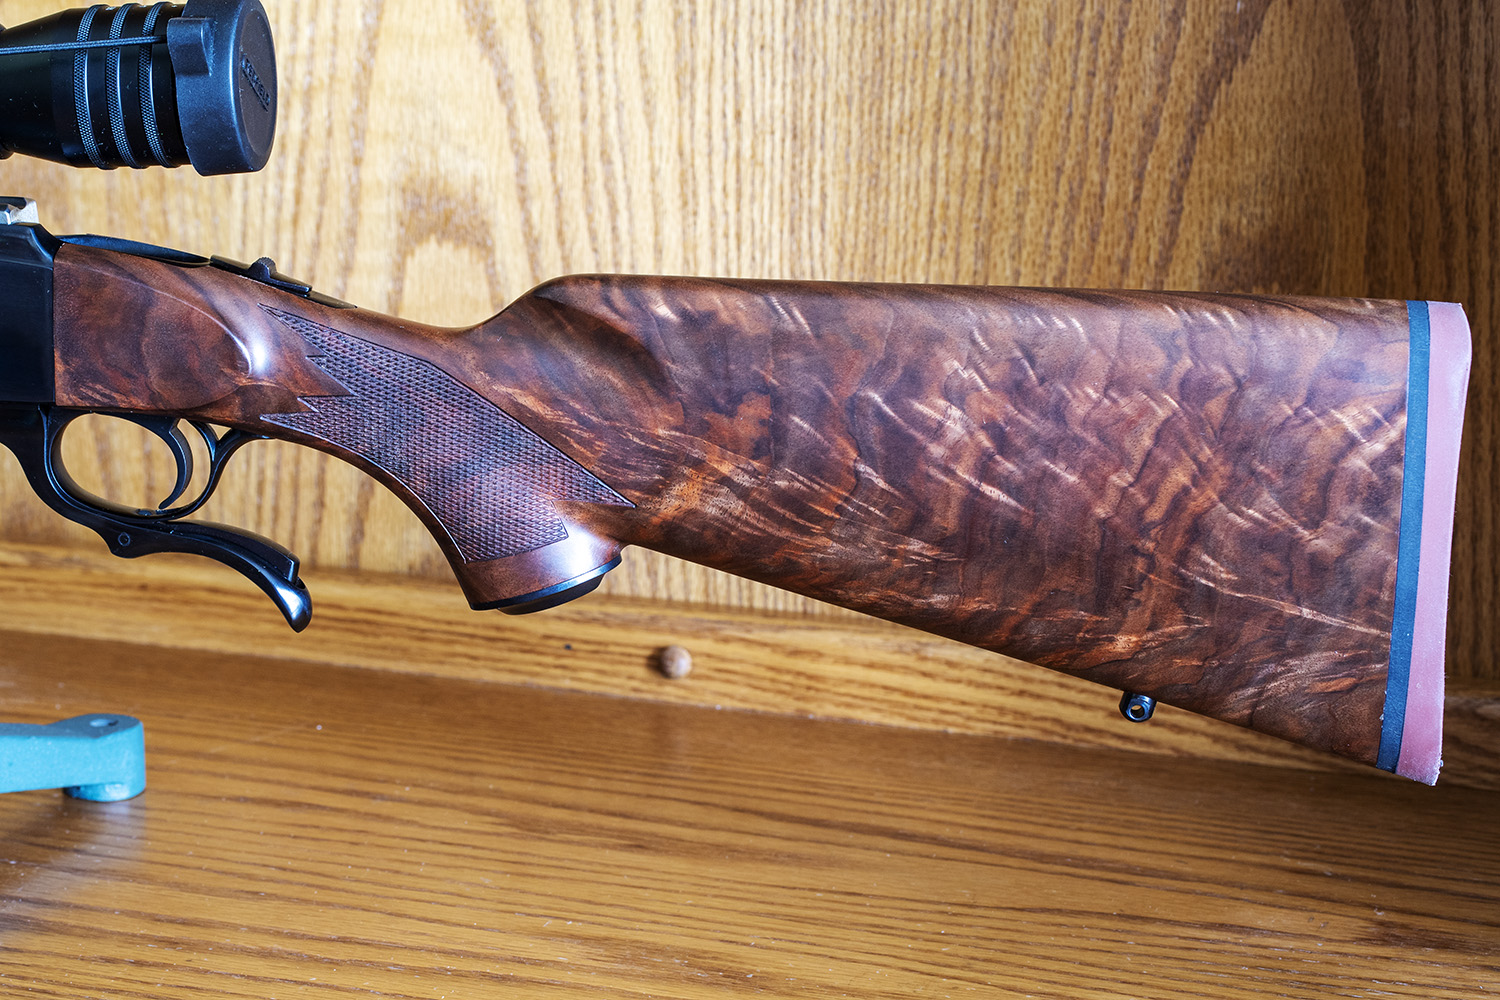
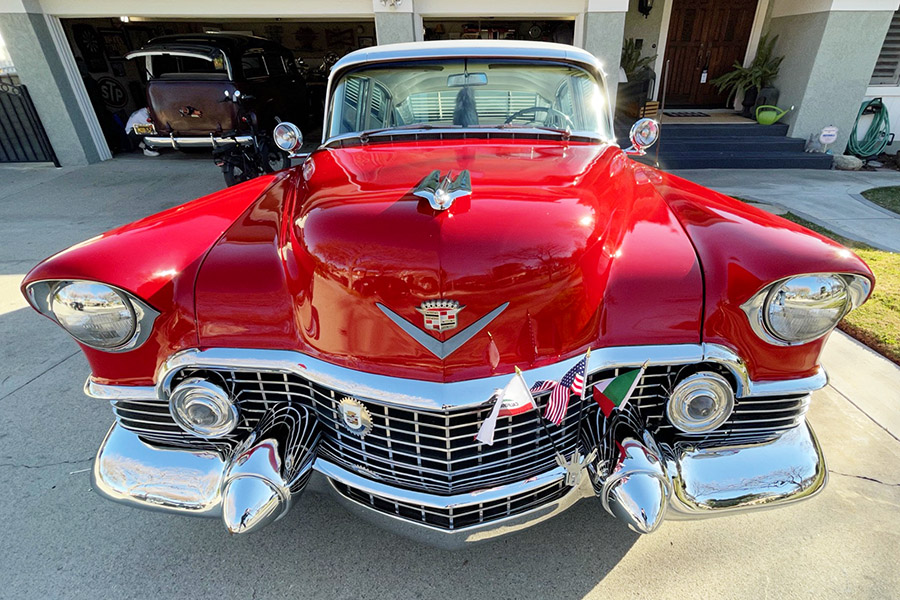
The 12 Pro has more features than I’ll ever need, or use, and you and I both know that within another two or three years it will be obsolete. But the new camera feature is kind of cool. It has a wide angle, a portrait, and a close up lens (which they designate as 0.5, 1.0, and 2.5 on the camera app). I’ve just started playing with it.
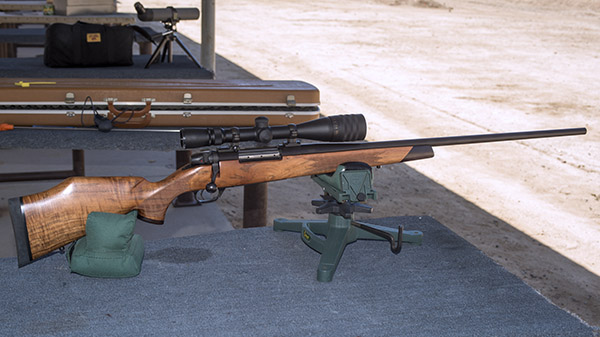
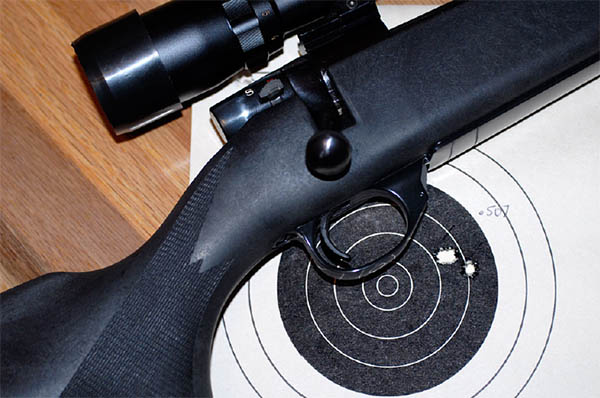
On a walk around the neighborhood, I grabbed that wide-angle shot of the ’54 Caddy Fleetwood you see at the top of this blog, and I shot another with the portrait lens of my Colt Python and five rounds of hollow-point .357 Mag ammo below.
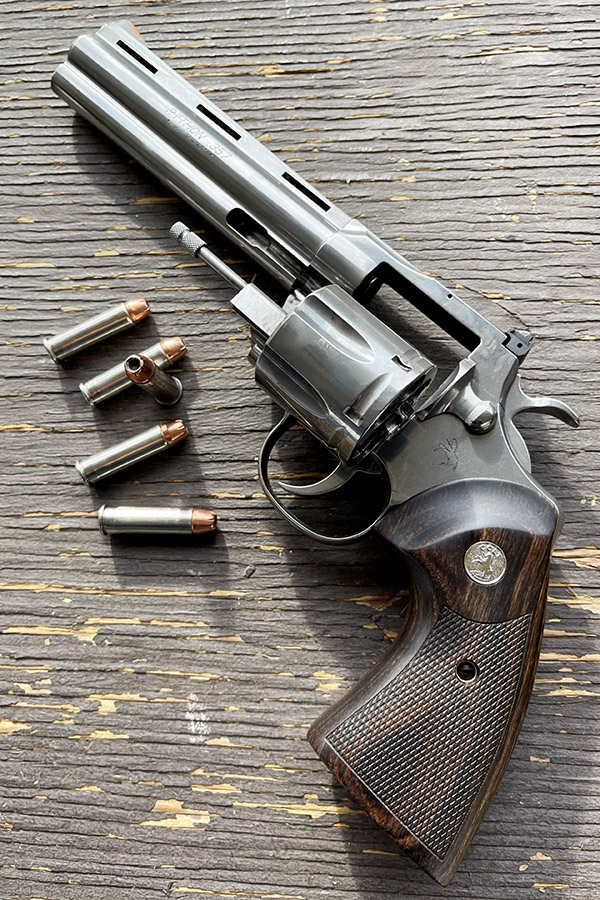
The camera in the 12 Pro is good, and it looks like it might be a little better than the camera in the 6s I retired. The images are still only 72 dpi, which is okay for blogging and other Internet stuff, but not for print publication. But it’s not bad, and it might eliminate the need to lug my Nikon around. I like using the Nikon, though, so I’ll probably still take it with me on my adventures.
I suppose I could start studying all the new features on my iPhone, but I’m not going to bother. By the time I make a dent in doping out everything on the 12 Pro, it will be obsolete.
Never miss an ExNotes blog. Sign up here for free!


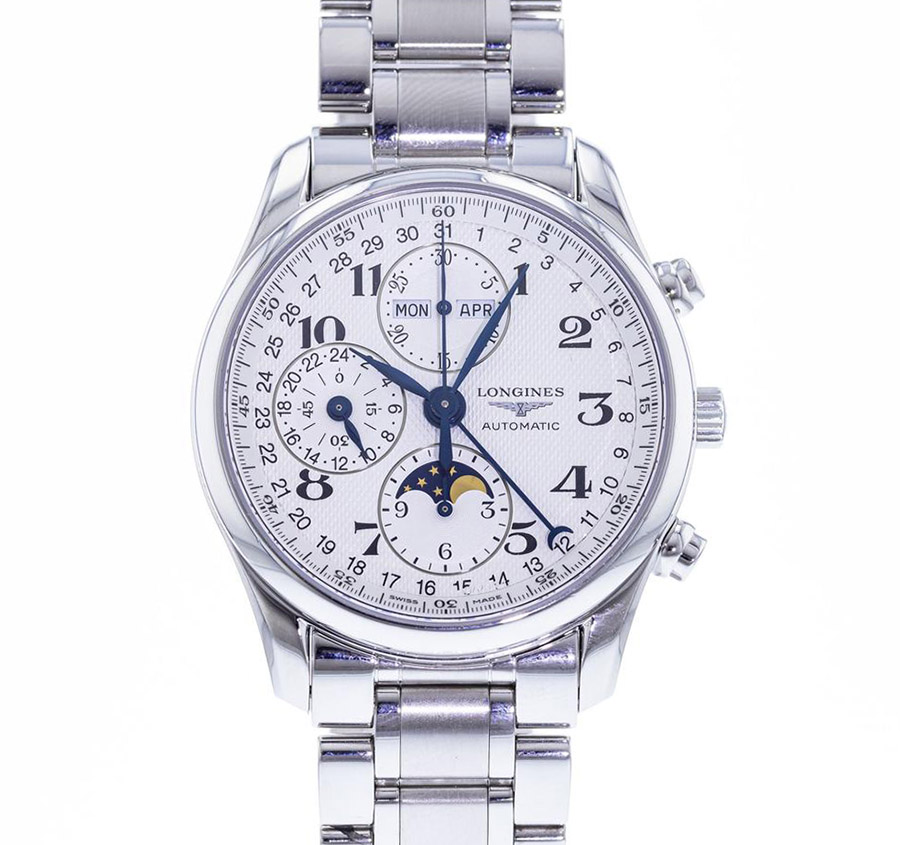
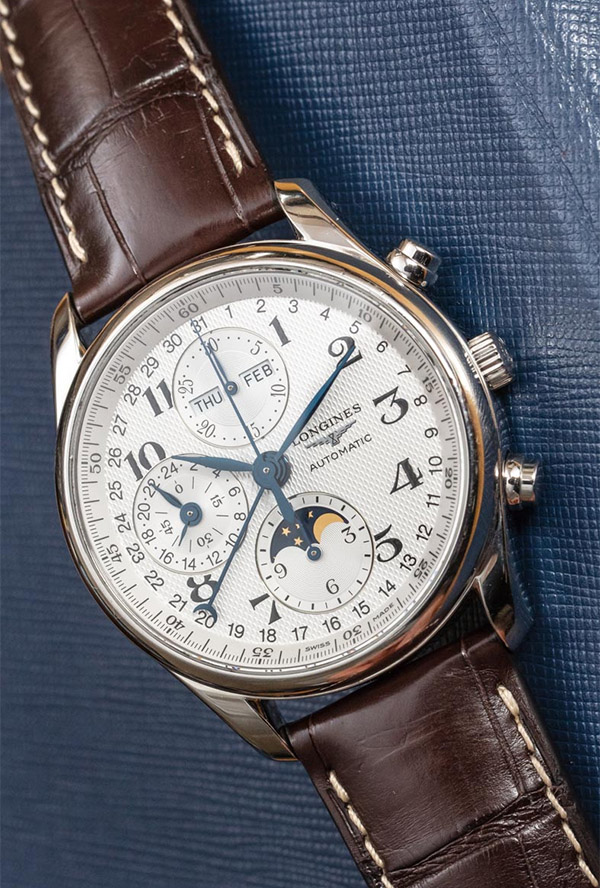 The store where I saw the watch was fittingly in the high rent district (the Stanford Shopping Center, in the shadow of Silicon Valley and the big bucks that reside in that region). The price was pegged at MSRP, but the dealer came down quickly and without my asking. Not all the way to Internet levels (where these