I love shooting and writing about the Mini 14. Having said that, let’s get to today’s main attraction, and that’s how to get the best accuracy out of a Ruger Mini 14.
Tip 1: Refine Your Shooting Techique
There’s a lot to say here. I won’t spell it all out, as we’ve covered this topic before. Focus on the basics and refer to our earlier post on Mini 14 Marksmanship.
Tip 2: Reload Your Own Ammo
Ah, this statement will light up the trolls: There is no great factory ammo for the Mini 14 and bulk ammo is generally inaccurate. That said, mark my words: Some troll will post that he shoots 200-yard half-inch 10-shot groups offhand using iron sights with (fill in the blank) bulk ammo. Why such individuals aren’t competing at the international level instead of wasting their time posting comments on Facebook I can’t say. Trust me when I delicately suggest they are not honest information brokers.
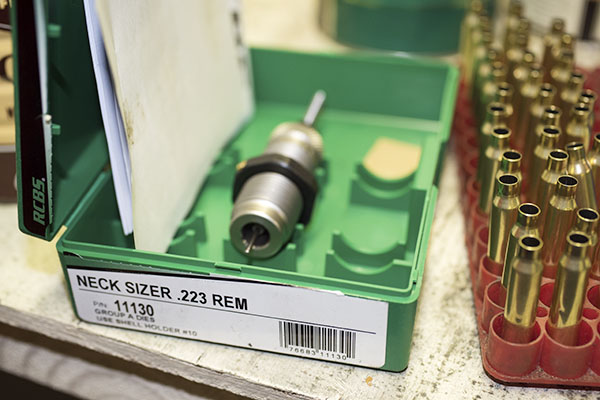
You might consider my experience and that of many others when I state that you really need to reload your own ammo to attain optimal accuracy. For starters, there’s the issue of the chamber size. With the exception of the short-lived Mini 14 Target Model, all .223 Mini 14 rifles are actually chambered for the 5.56 mm NATO round, and that chamber is actually slightly larger than .223 Remington ammo. For this reason, neck sizing brass that has been fired in your Mini 14 will assure a much better chamber fit and accuracy will improve significantly. You can read more about that here.
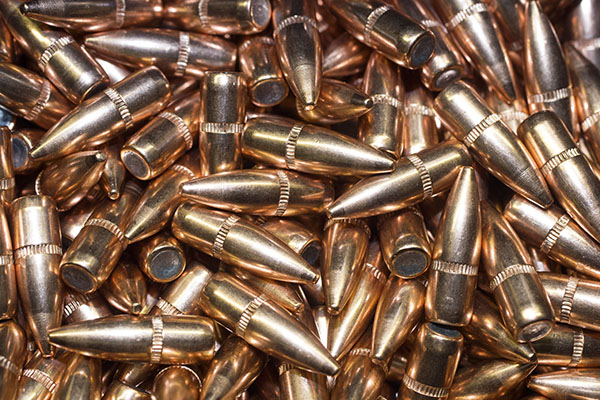
Regarding the specifics, I’ve had great luck with Hornady boattail full metal jacket bullets of either the 55-grain or 62-grain persuasion crimped in the cannelure with the Lee factory crimp die. I’ve also found that the more expensive Hornady V-Max bullets are quite accurate. As for powders, my best results are with IMR 4320 (no longer available unless you have a stash), ARComp (a superb powder), IMR 4198, and Winchester’s 748. Other folks report good results with Varget (I have that powder, but I haven’t tested it in my Mini 14). My most accurate Mini 14 loads are with charges near the upper end of the charge spectrum. As always, start low and work your way up watching carefully for pressure signs as you increase the charge. I never go above the max charges listed in my load manuals (and neither should you).
To get the best reloading results, you might also consider:
-
- Sorting your brass by manufacturer.
- Trimming the brass.
- Cleaning the primer pockets.
- Cleaning the brass.
As you read this part of today’s blog you might be thinking “but I don’t reload.” If that’s the case, I have but one word: Start. You can get a good handle on the reloading process and the equipment you’ll need in our prior posts on this topic.
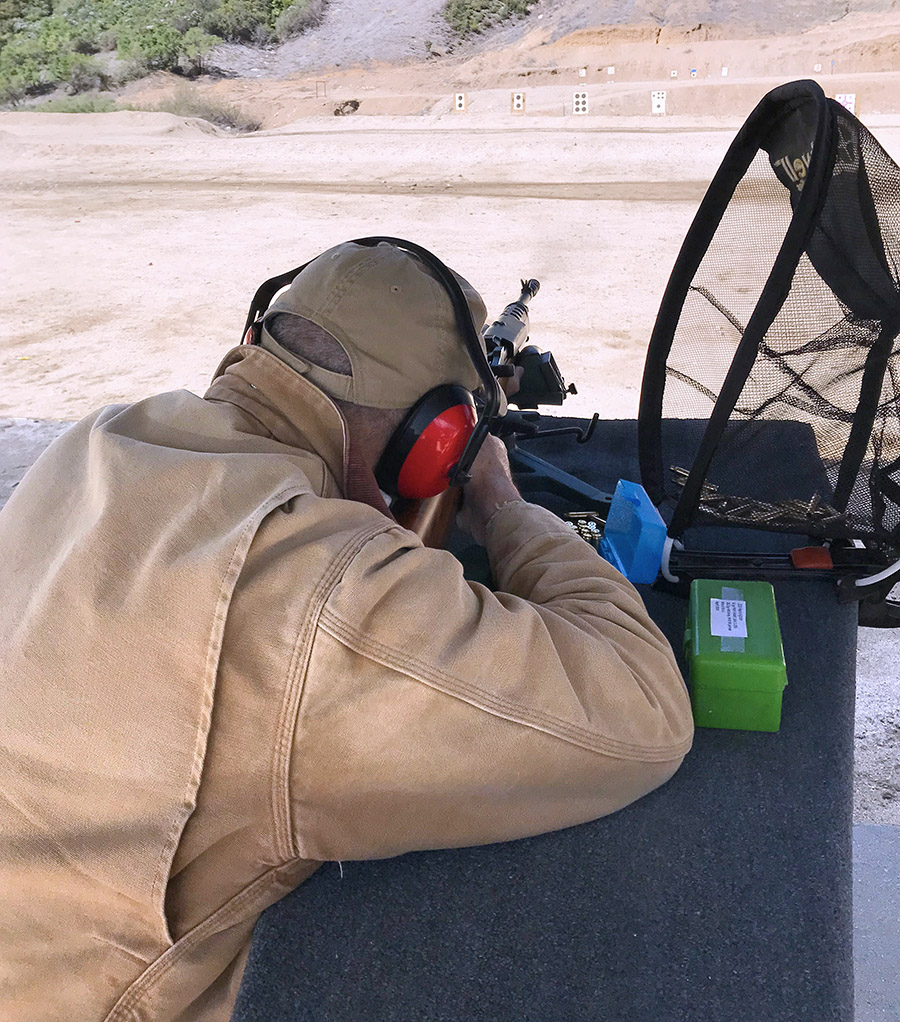
Tip 3: Let the Barrel Cool
This might have been listed under Tip 1 (Refine Your Techniques), but I see so many Rambo wannabees on the range I want to include it as a separate point. You know the kind of inbred I’m talking about: The guy (it’s always a guy, and typically a younger guy) who wears camo gear (but has never been in the military). He’s the guy who loads 20 or 30-round magazines and rapid fires all of them as if the ability to shoot 30 rounds in under 3 seconds somehow equates to shooting skill.

I think that guy’s name is most likely Richard Rambo, and you don’t want to be like him. Don’t be a Dick.
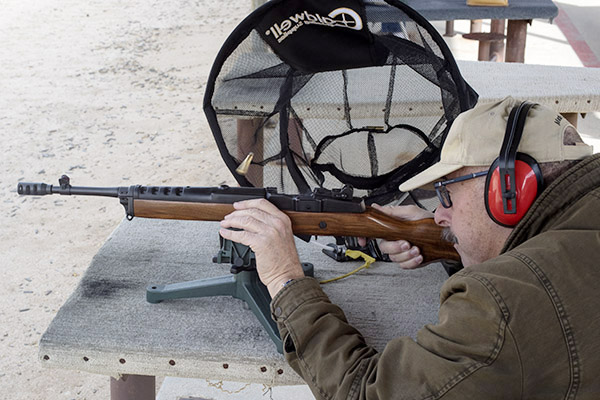
I only shoot 5-round magazines, and I let the barrel cool between shots and between magazines. The Mini 14 has an assymetrically-contacted, relatively thin barrel. Heat that barrel up via rapid fire and your rifle will string its shots. If you’re shooting for accuracy, let the barrel cool.
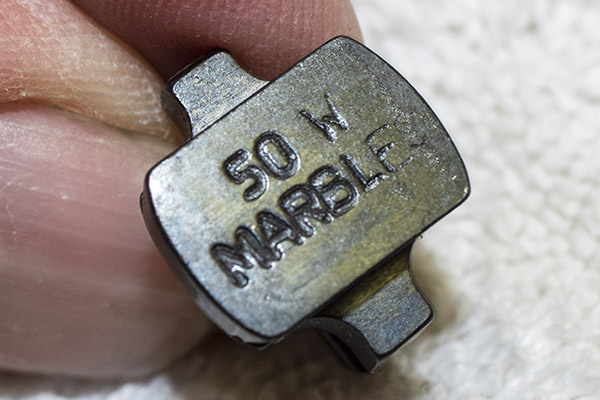
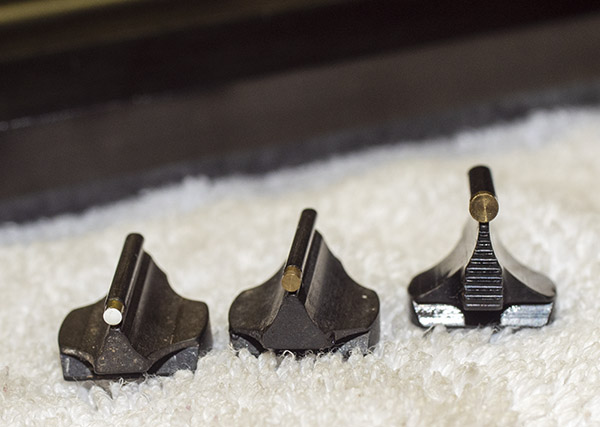
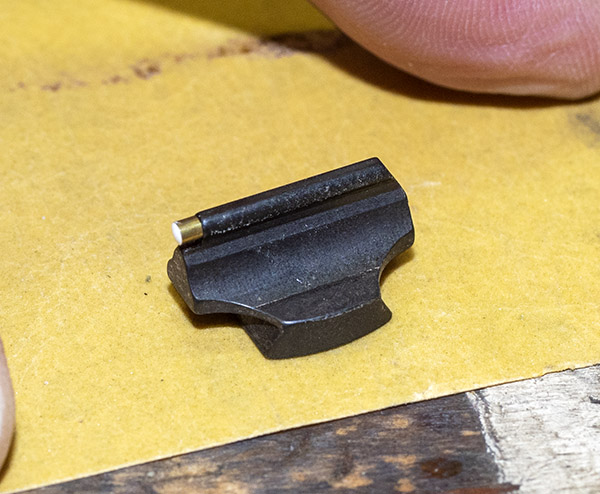
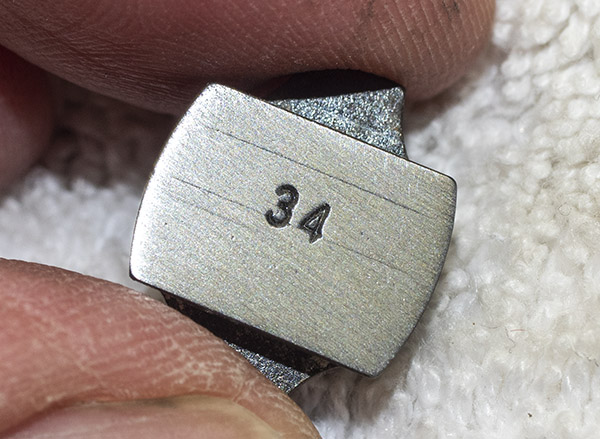
Tip 4: Install A Tech-Sights Rear Sight
There’s an after market rear sight manufacturer, Tech-Sights, who offers a dramatically better rear aperture sight than the stock Mini 14 setup. Get a set. They are more easily adjusted and they will make your rifle easier to shoot accurately. Make sure you LocTite them in place during the installation; if you don’t, they will shoot loose.
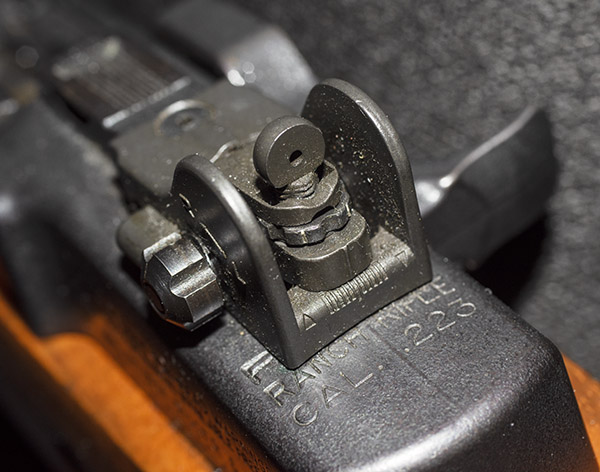
You could put a scope on your Mini 14, but I’ve never had good luck with a scope on a Mini. Even with LocTite, the scope mounts always loosened after surprisingly few rounds, and before they did so, the group sizes really weren’t any smaller. Tech-Sights is the way to go.
Tip 5: Clean the Rifle
The good news about the Mini 14 is that it seems to run forever without cleaning, and the bad news about the Mini 14 is that it seems to run forever without cleaning. I say that because accuracy will degrade long before reliability does, and if you’re fundamentally lazy like me, you’ll shoot hundreds (and sometimes a thousand or more) rounds before you clean your rifle. Yeah, it will keep shooting, but the accuracy won’t be there. Clean your rifle (including the bolt’s innards, the action, and the bore) after every range session.
Some folks will tell you the bore needs to be fouled before the rifle will attain its best accuracy. They suggest you shoot a couple of magazines through a clean bore before testing for accuracy. I haven’t found that to be the case; my Mini 14 is accurate with a freshly-cleaned bore. In fact, my rifle doesn’t even display the typical first-shot-through-a-clean-bore flyer that other rifles exhibit.

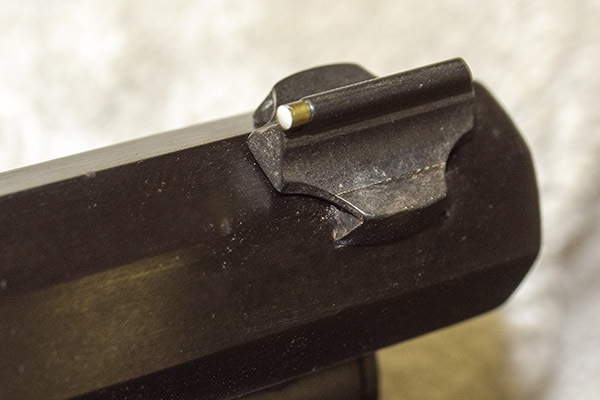
When you clean your Mini 14, take care not to let the cleaning rod drag at the muzzle’s edges while doing so. Give it a good soaking with Hoppes No 9 using a cleaning patch, let it soak for an hour, and repeat that until all the black powder residue is out. Then let it soak for a few hours with Hoppes No 9, run a patch through the bore, and repeat that over the next two days to get the copper traces out. I know I’m done when there’s no green or turquoise on the patch.
For the bolt, I spray the hell out of it with carb cleaner. Taking the bolt apart is a nonstarter for me (you need special tools to do so), so I just spray it well (outdoors, of course). Then I go to work on the other action components, using a brass brush on the piston and its surrounding areas to get all the carbon residue gone. When everything is squeaky clean, I’ll lightly oil it all as I’m reassembling the rifle, except for the firing pin in the bolt. I leave that dry.
Tip 6: Glass Bed the Action
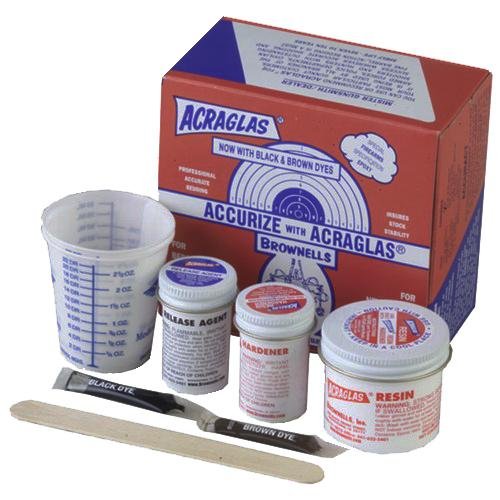
After seeing the positive accuracy impact on my M1A from a glass bedding job, I did the same on my Mini 14. I use AcraGlas from Brownell’s when I bed a rifle. Other folks have had good luck with Marine-Tex.
Bedding a Mini 14 is different than bedding a bolt action rifle. The Mini 14 action beds along inside edges of the stock, and along the top edge of the stock where it contacts the bottom edge of the upper receiver. It doesn’t take a lot of bedding material, and you don’t want to slop it all over. You just want capture some at the rear of the receiver where it interfaces with the top of the stop, and under the receiver interior rails where they interface with the stock’s interior near the magazine well.
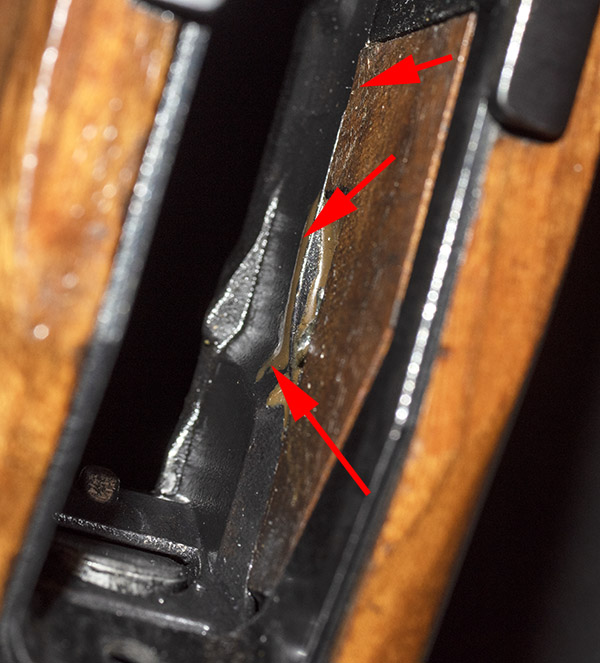
You’ll feel movement between the receiver and the stock of a Mini 14 that hasn’t been glass bedded; once you glass bed the action that movement disappears (if you’ve done the bedding job well). That’s what you want. This is one of the more significant tips in this article; a good bedding job will improve accuracy significantly.
Tip 7: Practice (A Lot!)
You want realize your rifle’s accuracy if you are an occasional shooter. I find if I don’t shoot my Mini 14 for a few weeks, my edge disappears and I need a couple of range sessions to get back in the groove. When I take my Mini 14 out every week, the groups get smaller and they stay small. It’s funny how that works.
Parting Shots
Some folks like to use a barrel brace under the Mini 14 barrel just forward of the stock. It’s the thing that resembles an M1A gas chamber and makes the Mini look like an M14. I’ve never tried those, so I can’t say if they work or not. It seems gimmicky to me. Folks (including yours truly) have tried shimming the receiver where it mates with the stock, with the idea that this will remove any play between the stock and the barreled action. I’ve tried that (before I went with glass bedding) and I found that the shimming approach made no difference in accuracy. If you want to get rid of the play between the barreled action and the stock, glass bedding is the way to go. I’ve also played around with smaller gas plugs. More testing showed that while these did reduce how far the Mini 14 tosses spent brass, accuracy stayed the same while reliability decreased, so I went back to the stock Ruger gas port.
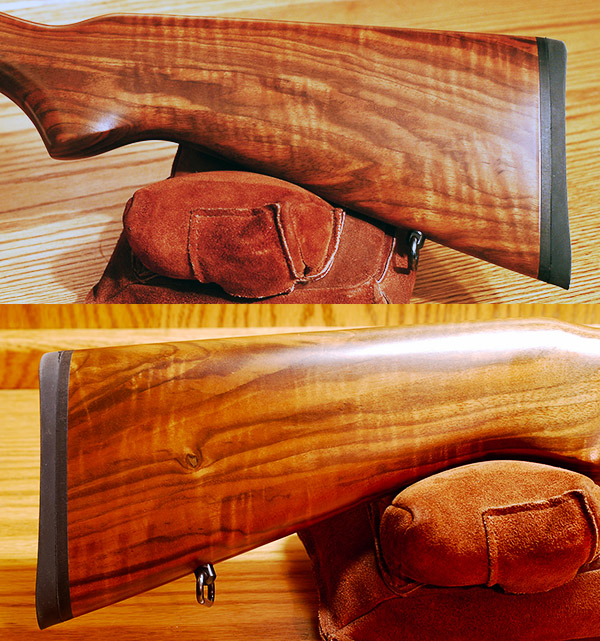
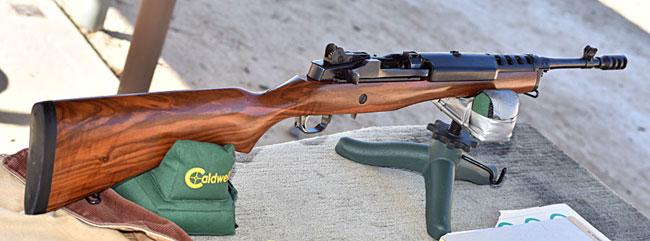
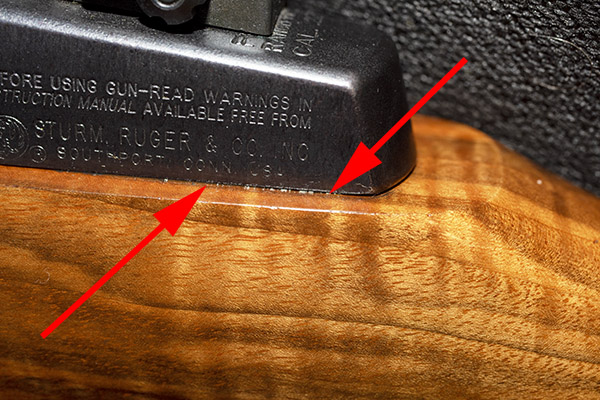
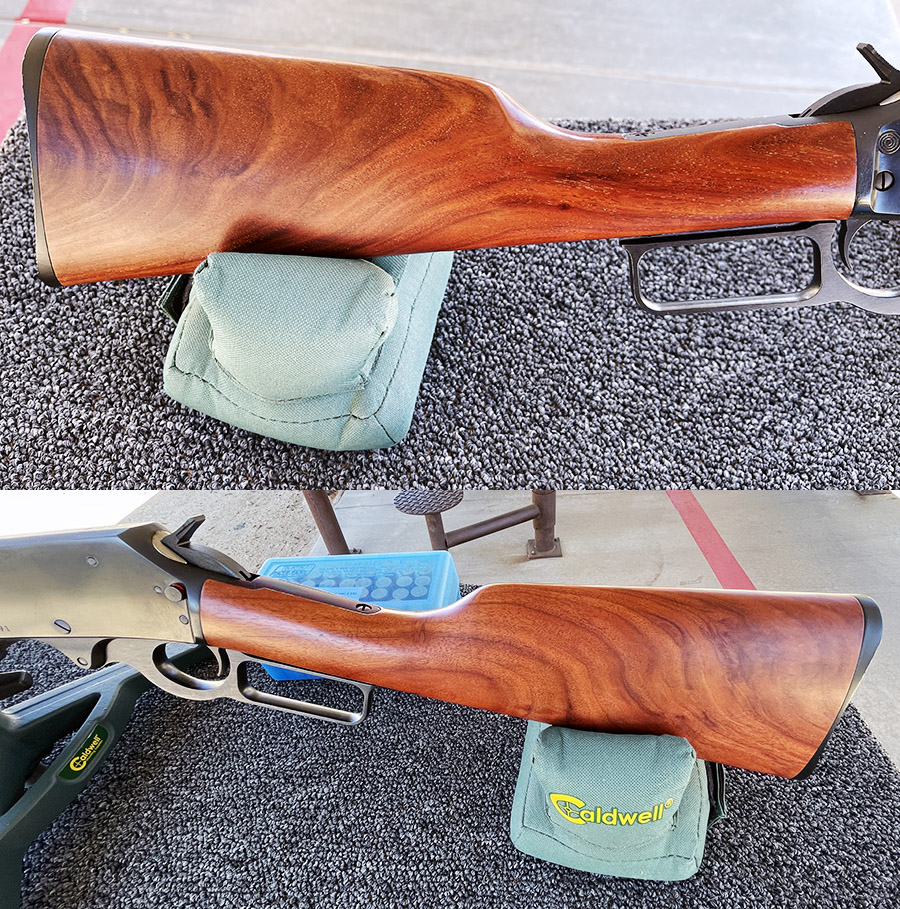
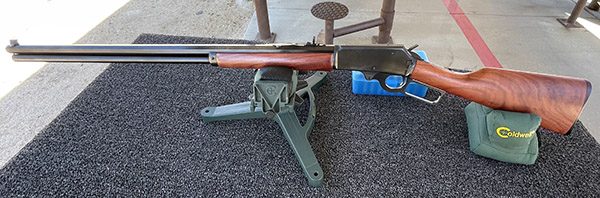
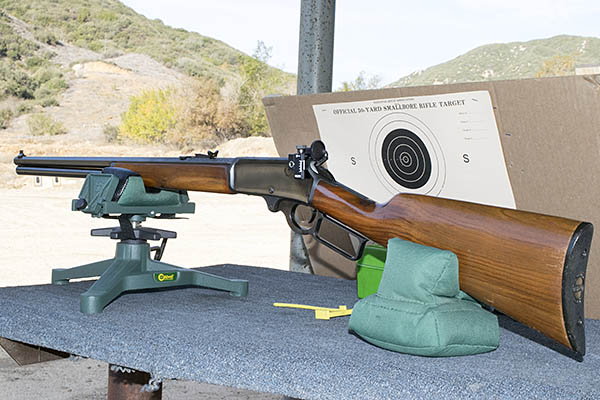
A lot of folks ask about my Mini 14 and its Circassian stock. A dozen years ago Davidson’s (a large Ruger distributor) commissioned a run of Mini 14s with Circassian walnut. Most had plain, straight-grained lumber, but a very small number were superbly figured. I watched Gunbroker.com for several months and when the one you see here appeared, I pounced. I bought it new for $699. My attitude has always been you can’t pay too much for a gun; you can only buy it too early. And no, this one is not for sale.
More Tales of the Gun!
Never miss an ExNotes blog. Subscribe for free!


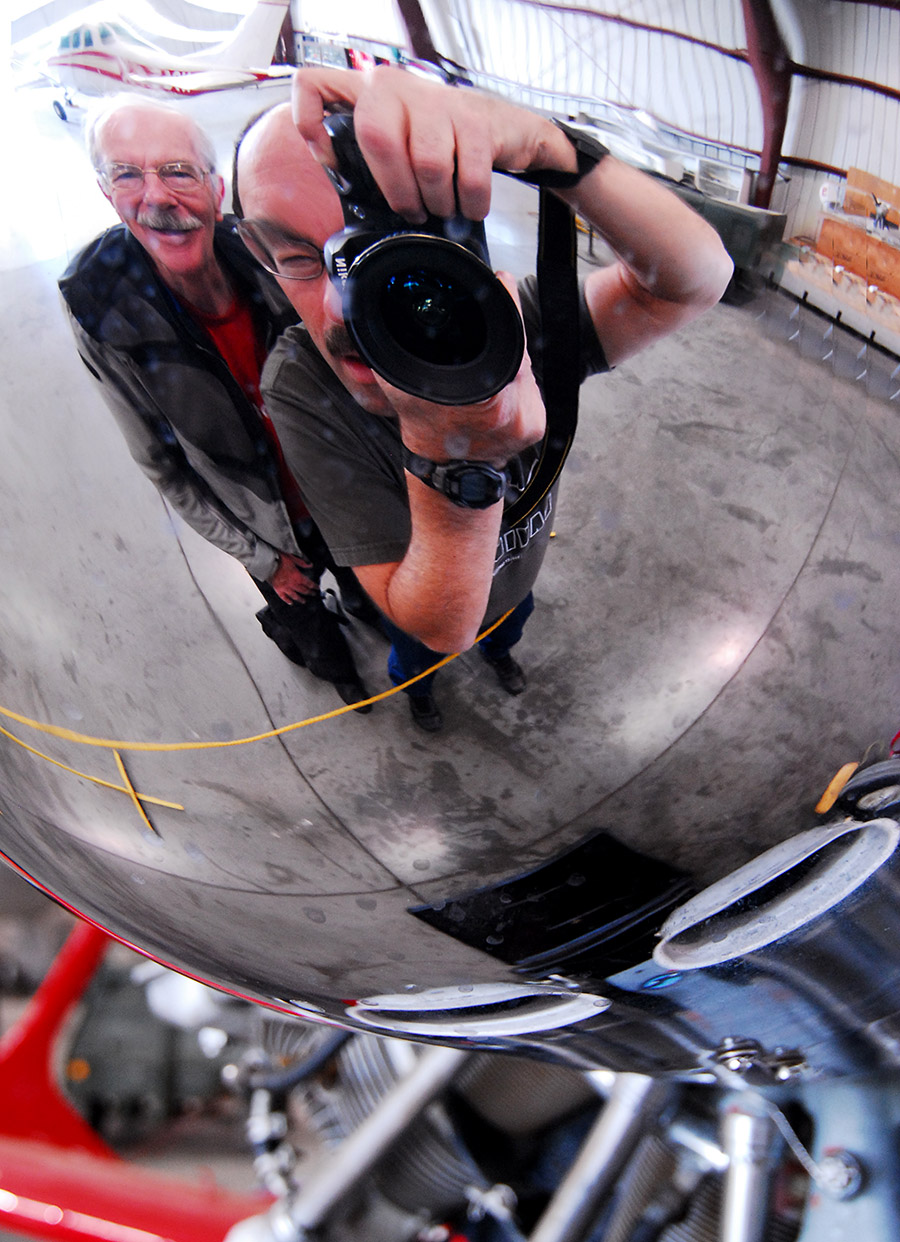
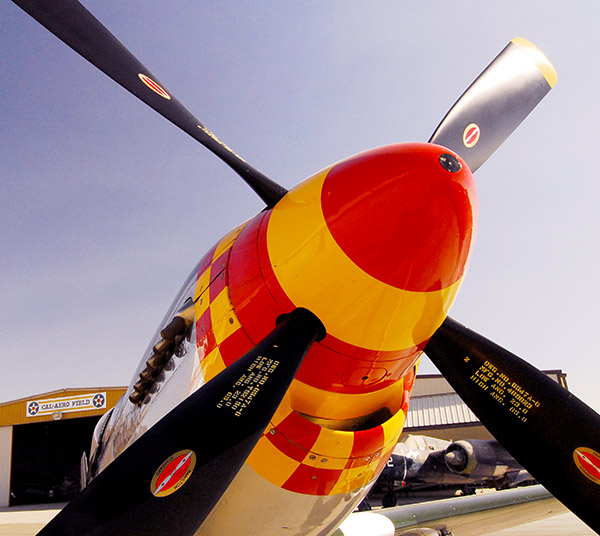
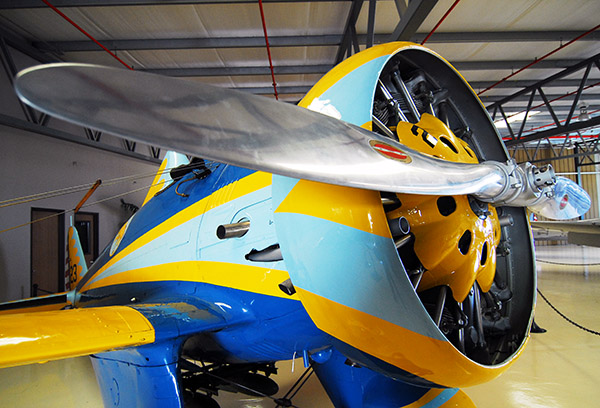
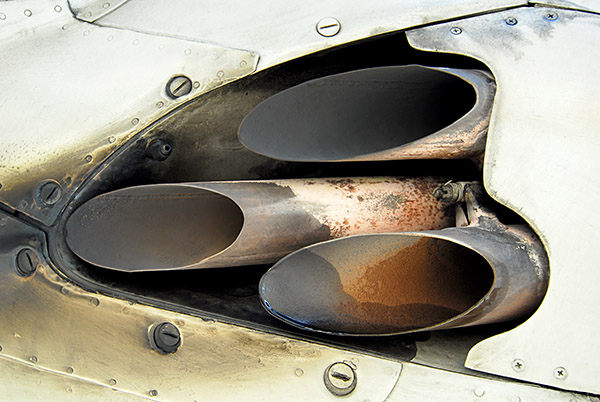
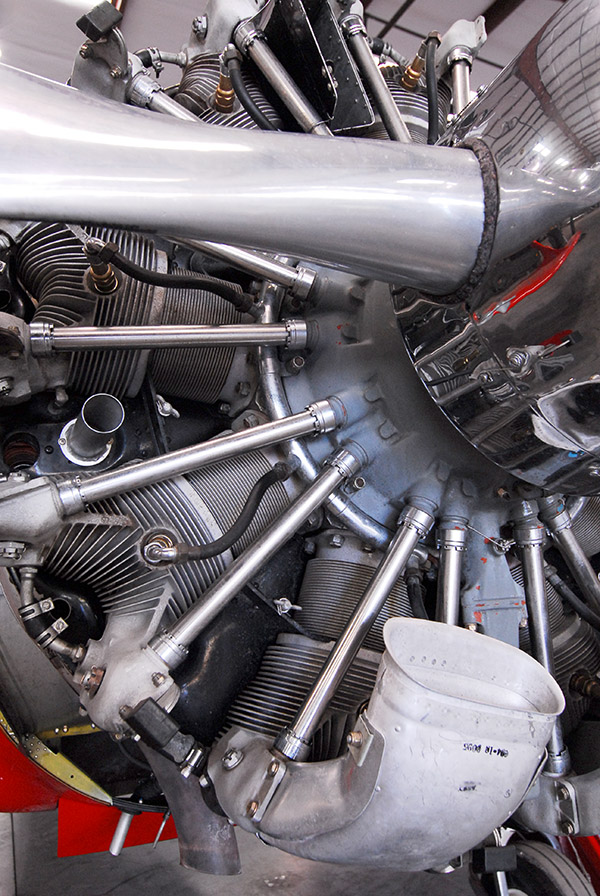
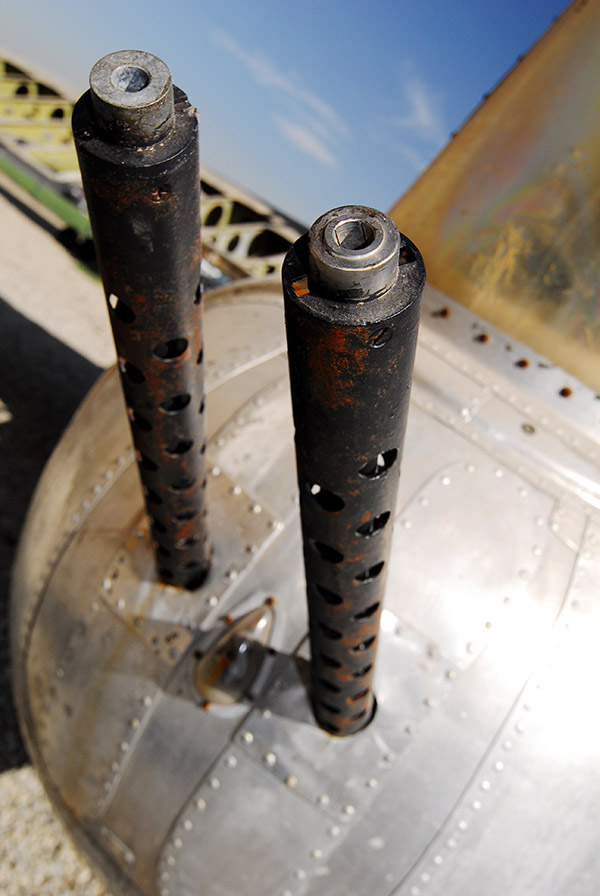
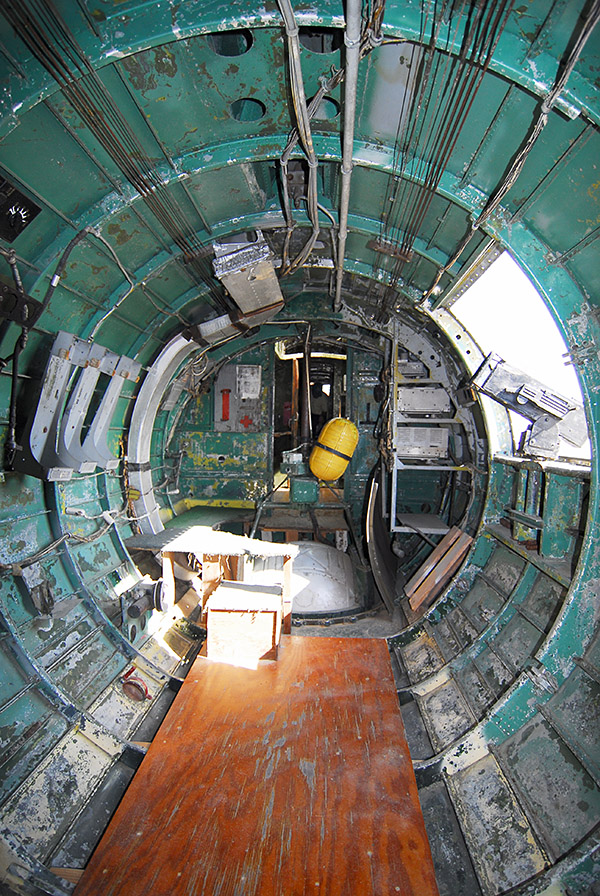
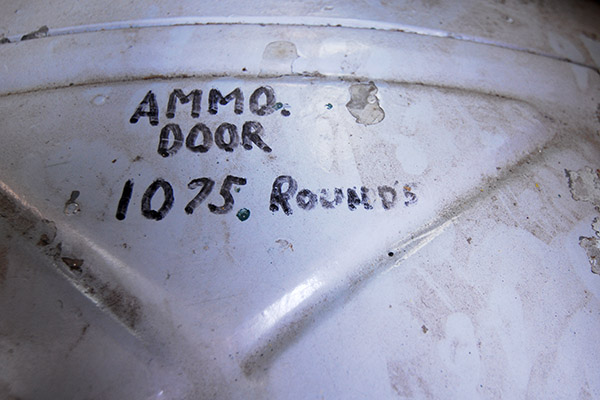
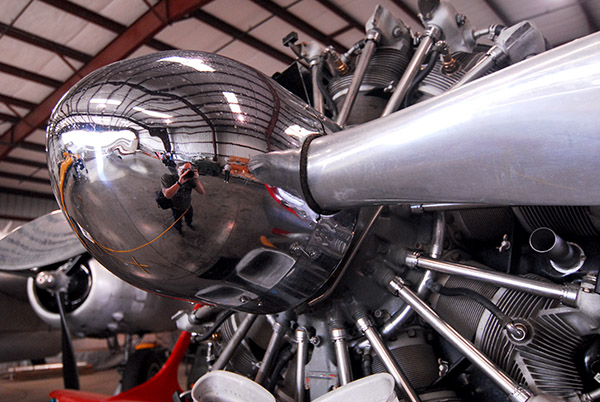
 From there, it was a quick ride to the Chino Airport’s Planes of Fame Museum. I’ve always loved that place. The idea was to grab an interesting photo or twenty in a place jam packed full of interesting photo ops. Trust me on this, boys and girls…if you’ve never been to the Planes of Fame Museum, you need to go.