By Joe Gresh
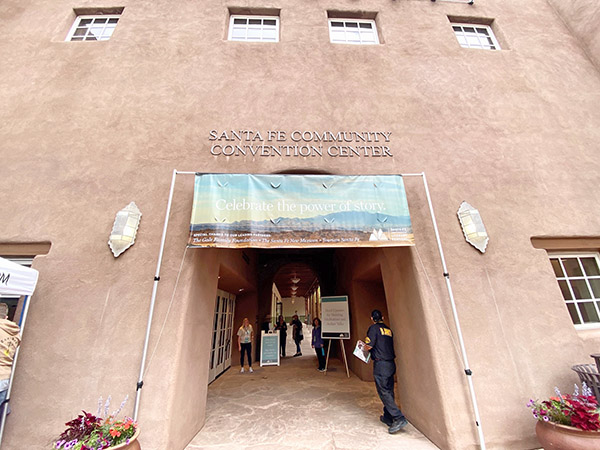
Dun colored, in a city of dun colored buildings, The Santa Fe Community Convention Center sits off Grant Street a few blocks from the city’s central plaza. The building is U-shaped with a large, exposed to the elements, interior courtyard paved with red bricks. The courtyard is sunken and drops down several steps lower than the floor grade of the main building. Surrounding the bottom courtyard is a low retaining wall with a wide, red brick cap. This cap is almost two feet wide and situated at just the right height for sitting on a sunny day.
Strings of tiny, white Christmas lights crisscross between the courtyard trees and metal tables and chairs are set up under the trees. Two food trucks, one selling African food, one selling Indian food, are at the far right end where a large gate allows entry for vehicles. There is a wooden bandstand constructed on the side nearest the street. On the bandstand students are reading poetry.
The poetry is depressing. Rape, murder and loneliness are the themes explored and the young poets sometimes break down and cry while they are reading their work. There is a lot of sadness and misery in this world; I don’t know why we can’t do better. Between each reader a relentlessly upbeat emcee comes on stage and asks us to “Give it up” for the previous poet, by which she intends for us to applaud. We applaud but the emcee is not the boss of us.
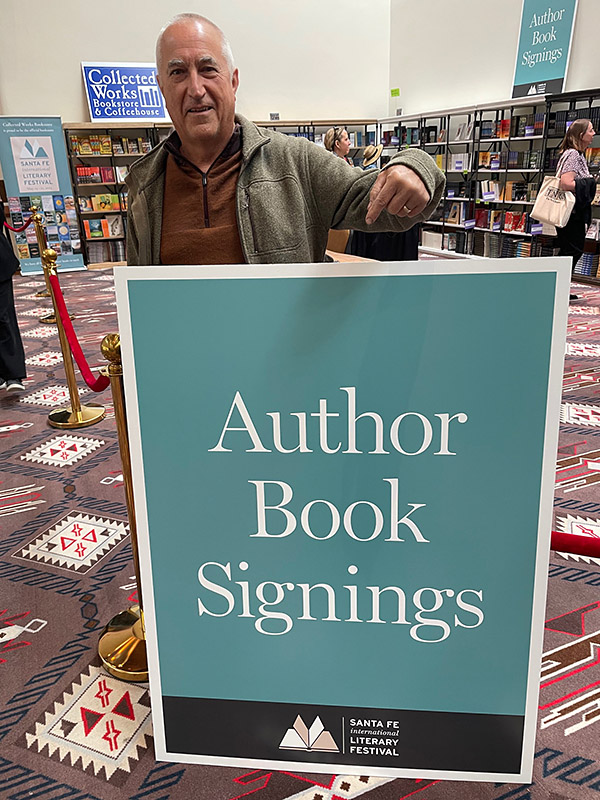
Entering the Convention Center from the street, the left side has a room where vendors sell Literary Fest swag and where the featured authors go to sign the books they are selling. CT bought me a T-shirt. From this vendor area a hallway leads up a few steps to several large rooms where the authors are interviewed but we can’t go in yet. We have to line up outside to get our ticket QR code scanned.
The line runs along the outer perimeter of the courtyard and out through a walkway, then the line turns left and goes on for another hundred feet. The festival is well attended and well staffed. The line moves along. As we near the door to the vendor area the line turns 180 degrees to enter the hallway for the lecture rooms. This is the spot where the Line Jumpers practice their craft.
It’s a confusing, swirling area because you can go into the vendor section without attending a lecture. Next to double glass doors there are people making the sharp 180 turn towards the lecture’s security bag-search area mixed in with people trying get to the vendor area. Amongst all this to-ing and fro-ing the Line Jumpers float in the margins just outside the main scrum. With alert eyes and coffee mugs in their hands, the Jumpers strike when the staff glances away a moment or stops to explain the traffic situation to an attendee.
When you are standing in a line for long periods of time you get to know your surrounding line mates. It’s easy to see who hasn’t paid their dues. A tiny old lady lingers near the door watching for an opening. She can’t weigh more than 90 pounds soaking wet. Sensing a weak link in the force she pounces as we approach the turn. She is carrying two large cups of coffee from the coffee kiosk on the street. At Starbucks the coffee would have had a Latin sounding name to describe their size. Something like Ponderosa or Grande. I move to the left to block her advance, too late.
The professional Line Jumper has nerves of steel and without looking me in the eye she says, “I’ve lost my people.” And shoves past me. I don’t know what I’ve lost my people means. Yeah right, I tell her. She waves the hot coffee cups like they are some kind of a get out of jail free card and pushes on. “ You’re cheating, butting in front of people who have waited their turn a long time” is the best comeback I can think of. She ignores me and brushes past a few more people. Security lets her in and just like that another brick in the thin veneer of American civilization tumbles to the squalid streets below.
My anger at the Jumper has cast a cloud over my mood. I’m trying to be a better person and do my best to let it go. I tell CT that I’m choosing to not let the Jumper sour me on humanity in general. Maybe she has a medical disability that didn’t manifest itself as she bulled her way through the crowd of rule-followers like she was the featured attraction in Pamplona, Spain. I’m letting it go…I’m letting it go…
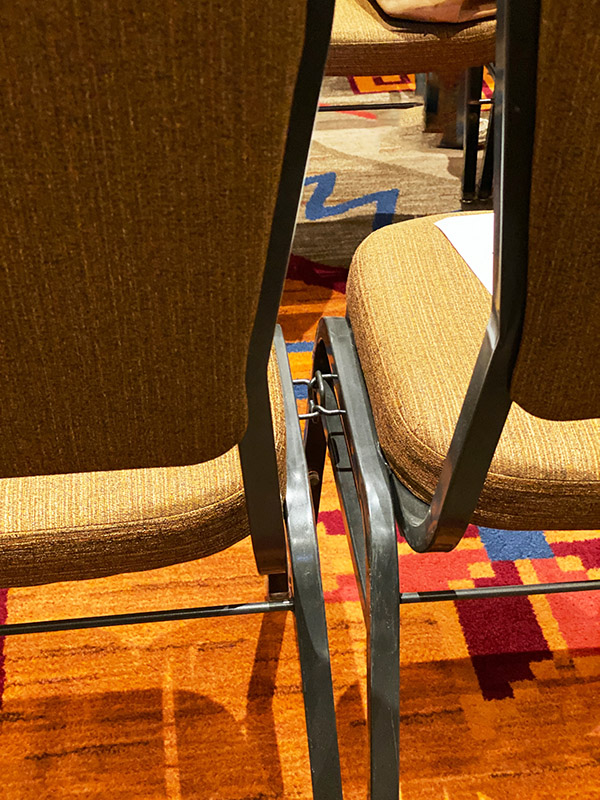
Inside the big room are rows of chairs that have a hook and loop type of attachment on the seat base. This makes it easy to maintain the correct spacing when setting up rows of hundreds of chairs. I didn’t bring my tape measure to the lecture but if I had I would have given the layout a quick quality control inspection. On stage there are a couple old fashioned looking chairs, a table and glasses of water.

The convention center is a multi-use building, thus the floor is level, not sloped like a theater. Seating is first come, first served. I see the Line Jumper lady already has her seat selected. In case a tall guy or a woman with a salad bowl on her head sits in front of me I get an aisle seat so I can lean outboard to see the stage.
The featured authors are on stage for about an hour. Some of them read passages in their books. Above and behind the author and interviewer is a large screen. It’s funny but I’m not sure if it was a projector screen or a liquid crystal display. The screen image lags behind the live stage view a few milliseconds so if you miss something you have to be fast if you want to see it again. There is a different interviewer for each show keeping the thing fresh feeling. There are two large shows in the morning with everyone in the same room. These sessions are for the more popular authors. In the afternoon, several smaller sessions run in tandem so you have to pick one or the other.
The festival was a two-day affair and the second day was a repeat of the first except with different writers and interviewers. The Line Jumpers were out in force the second day but I have risen above the mundane concerns of everyday life and no longer cared if they butted in ahead of people that waited an hour.
Literary fests are great places to learn about new authors and old authors you never heard of. I gained some insight as to why my writing is so poor and have taken inspiration from my fellows. Mostly time is the determining factor in quality writing. It’s all well and good to write a best selling novel in three weeks, one long scroll submitted and the money rolls in. Here at ExhaustNotes we tend to crank out volume product. There’s no time for introspection or craft. Most of the writers at the festival described how hard it is and how long it takes to write a book. Seven to ten years was not unusual. We bought a couple books from Ed Yong. He writes science-y type stuff and was a great interviewee. I haven’t read his books yet but when I do I’ll post a review here.
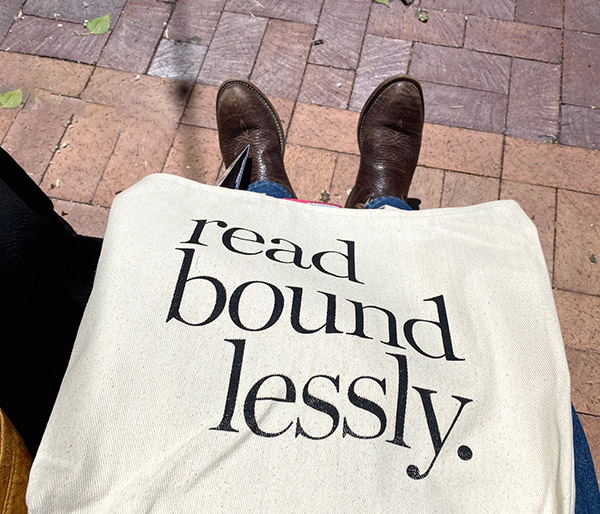
As we were leaving the convention center the festival, organizers sent a text to CT with the news that all swag was 25% off. We were halfway to our motel but naturally we had to go back and load up on t-shirts and tote bags. We also bought a couple of neat, insulated thermos bottles that look like Michelob Ultra cans except they have literary fest logos on them. If you get a chance, go to a literary festival. They are nothing like Daytona or Sturgis although some of the forms are similar. I had a great time but one thing I didn’t learn from all the lectures I attended was how to end a story.