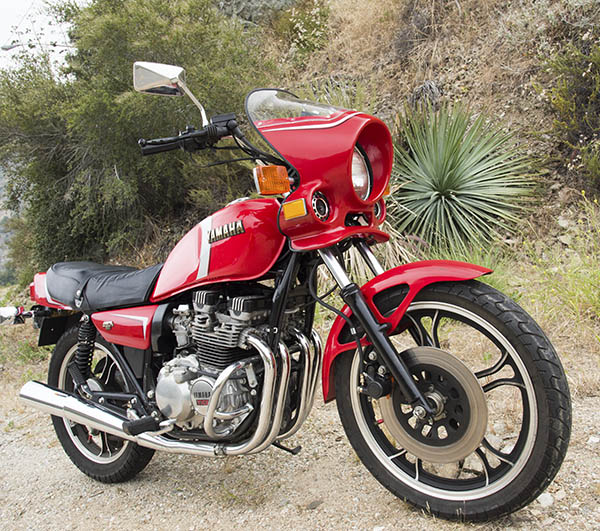
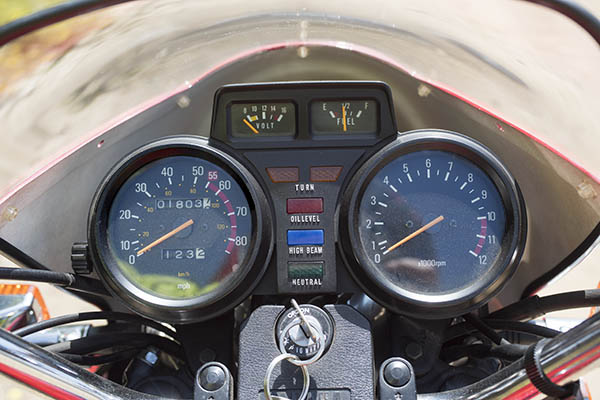
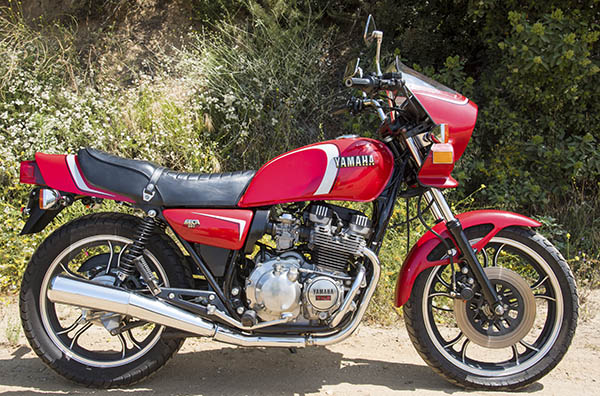
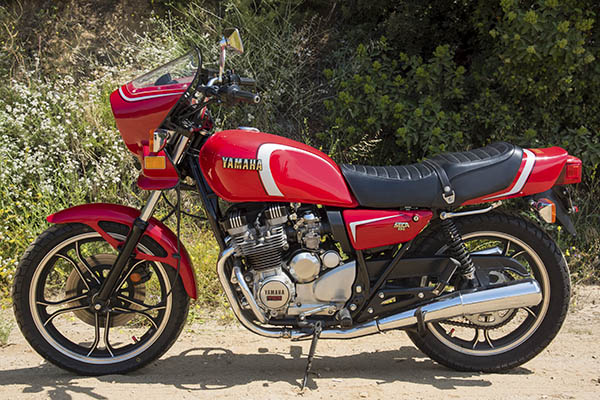
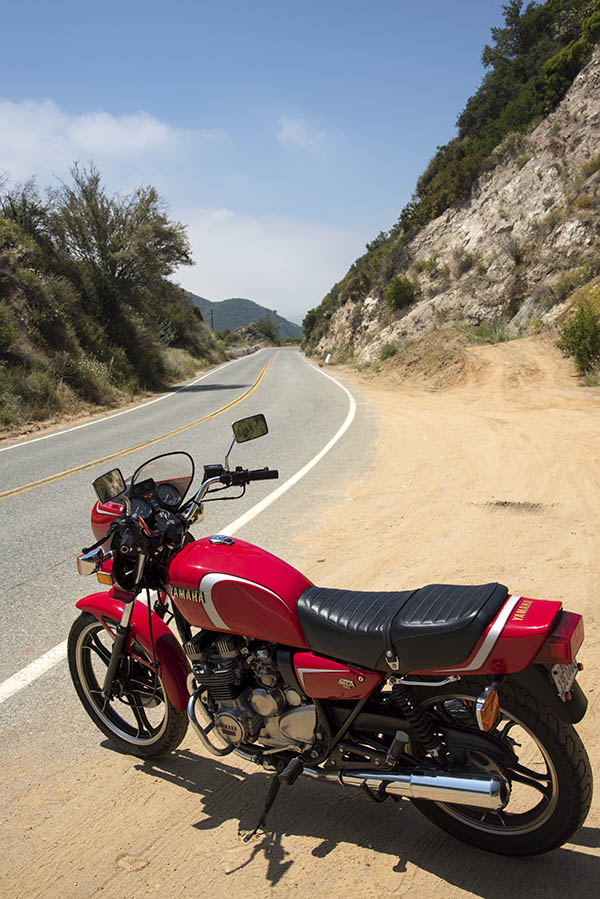
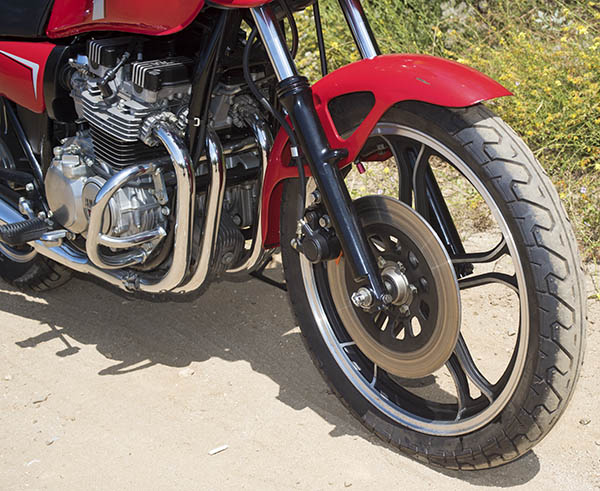
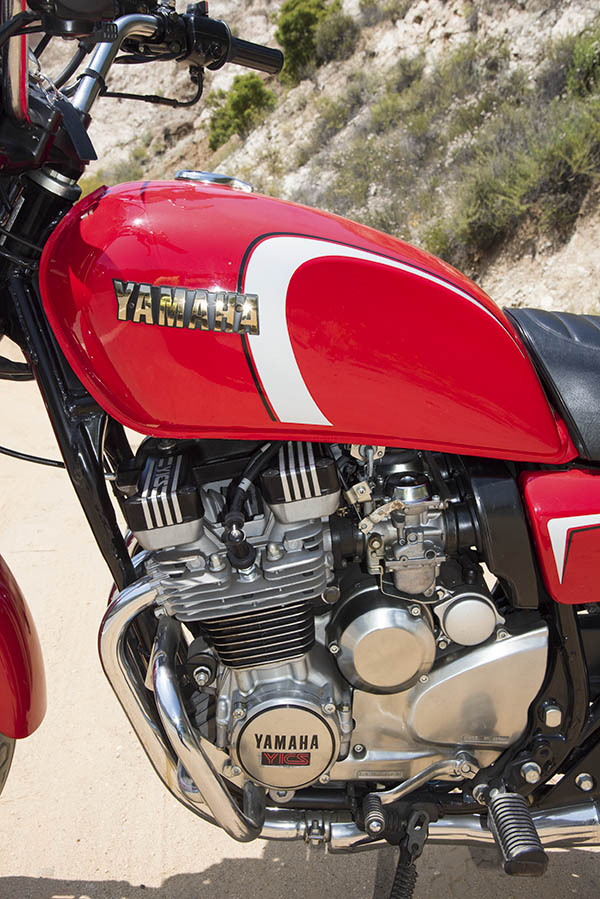
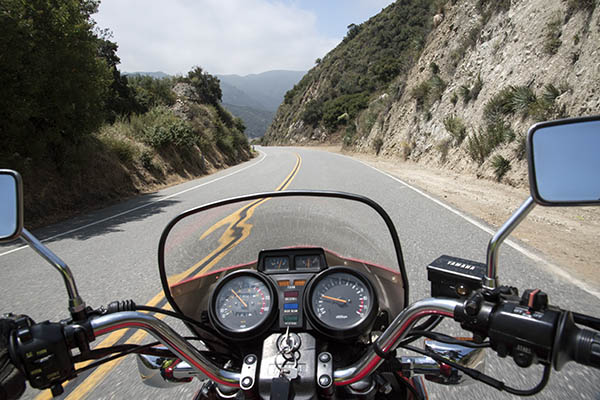
Hey, Motorcycle Classics magazine is running my story on Tecate in the next issue! You can read it here. More good news: I have another story in that same issue. Buy a copy if you’re not already a subscriber!
Author: Joe Berk
Reloading Part II: The first steps
In our first post on this topic, we talked about the equipment and components needed for reloading the .45 ACP cartridge. In this blog, we talk about the reloading process. We won’t cover all of it here (we’ll get about halfway through), and we’ll cover the rest of the process in a subsequent blog or two. In our first blog, we discussed the basic equipment. In this blog, we’ll talk about a few more bits of equipment that I use, but they are not essential. You can get by without them.
If you want to catch up with the first blog on this topic, you can do so here.
Let’s say you’ve been to the range, you’ve made .45-caliber holes in your targets, and you’ve collected your spent brass. That’s the only part of the reloading process I don’t like…at my age, bending over and picking up all that brass is a pain-in-the-you-know-what. But I still do it. In fact, if I see somebody leaving brass on the ground, I’ll collect it. I grew up collecting brass to reload, and leaving brass at the range feels to me like a crime against nature.
So we’re home, and you’ve got your fired brass…
This next step I’m going to show you is an optional one, and that’s cleaning the brass. You don’t need to do this, and I reloaded .45 ammo for a lot of years without ever cleaning my brass. I always do it now, though, and I do it for two reasons: Cosmetics and accuracy
Here’s how I go about doing it. I dump the brass into my vibratory tumbler and let it rock for a couple of hours.
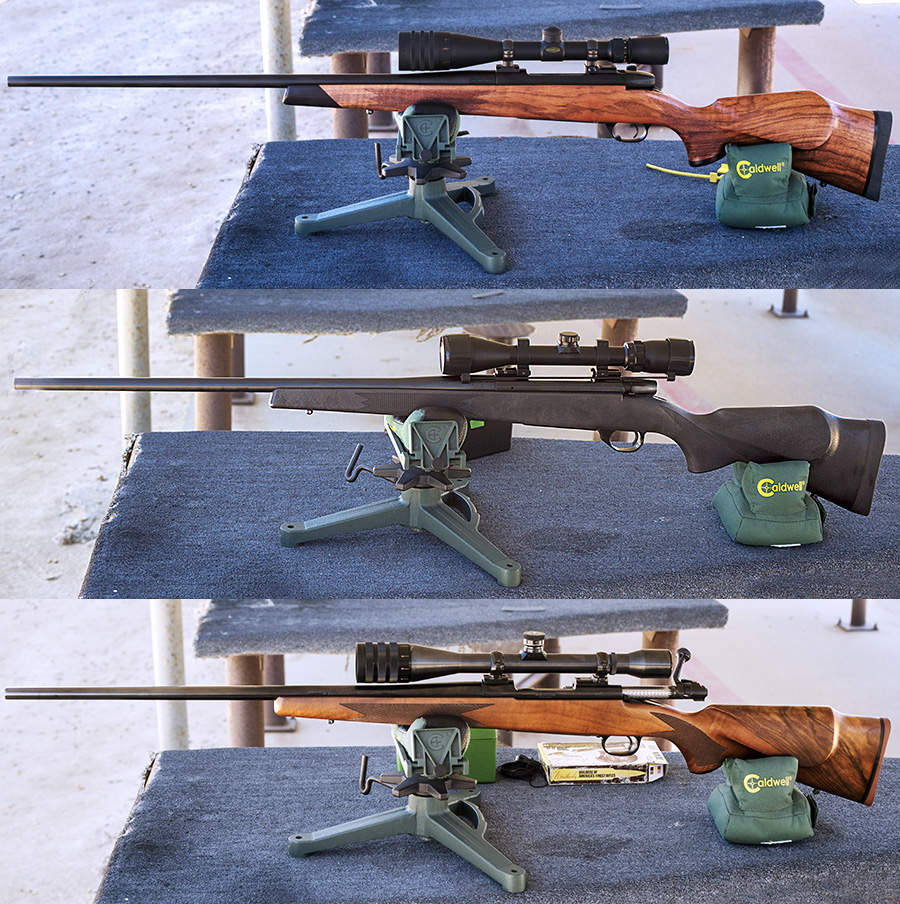
Like I said above, I tumble my brass. One of the reasons is that I like bright, shiny ammo (it just looks cool). But a far more important reason is that it makes the ammo more accurate. When you tumble the brass, you’re cleaning it on the inside and the outside. The outside is cosmetic. The inside affects the grip the brass case has on the bullet. We’re not interested in making it shiny on the inside; we’re interested in making that grip consistent. I’ve found over the years that a consistent inside case surface (where the case interfaces with the bullet) makes for a more accurate cartridge. It’s extremely significant in a rifle (I’ve seen 100-yard groups shrink from 3 inches to a quarter of an inch in my .30 06 Model 70 Winchester just by tumbling the brass). The accuracy improvement in a handgun is not that significant, but it’s still there. You don’t have to do this (you can reload the brass without tumbling it), but it’s something I do.
Here’s what the brass looks like after it’s been tumbled….
Now we’re ready to start the resizing operations. We’ll want to get our ammo trays ready…
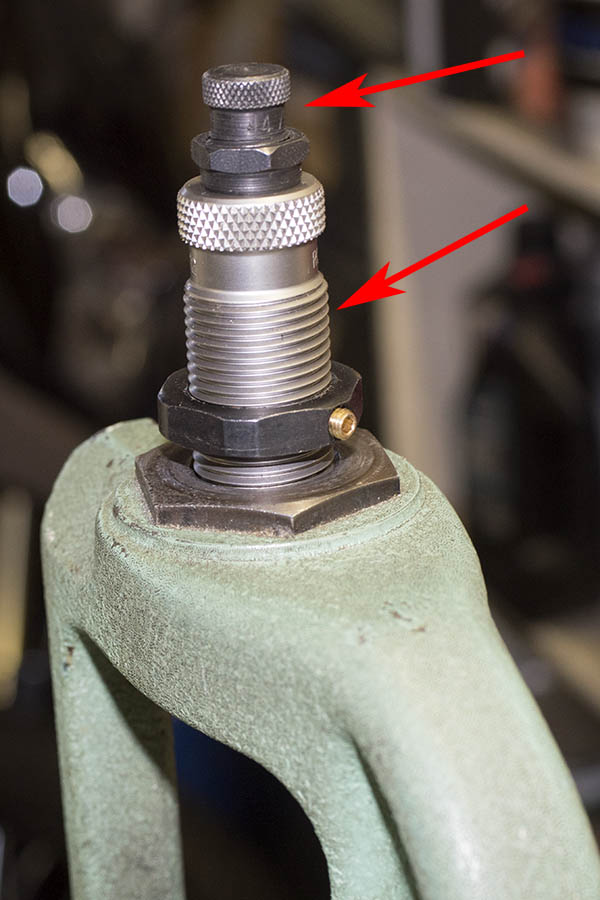
The next step is to install the first of our reloading dies (the resizing die) in the press. We’re going to use this die to squeeze the cartridge case back to its unfired case diameter and simultaneously knock out the fired primer.
At this point, we’re ready to start resizing and depriming cases. Here’s what that looks like.
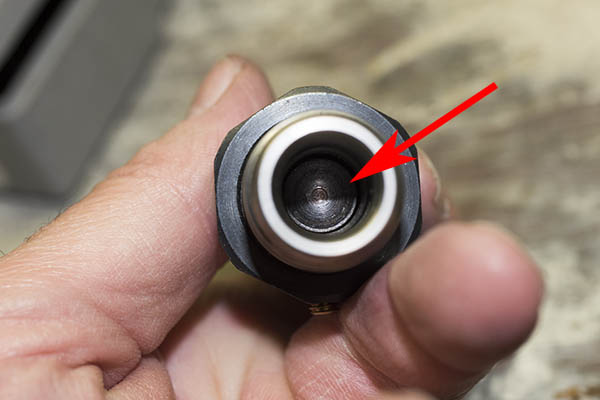
This is what the case looks like after it has been resized. Note that the primer is no longer in the case. Also, note how funky the primer pocket is. It’s gunked up with combustion residue.
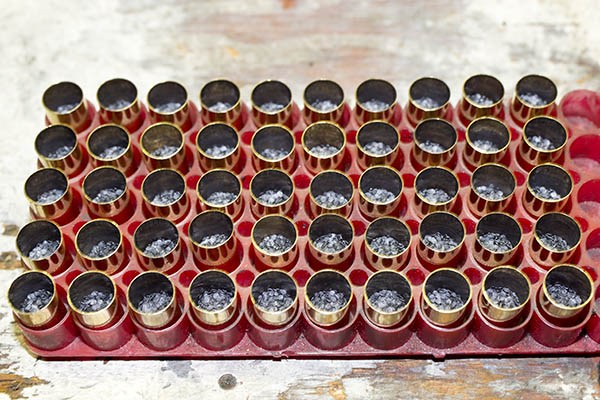
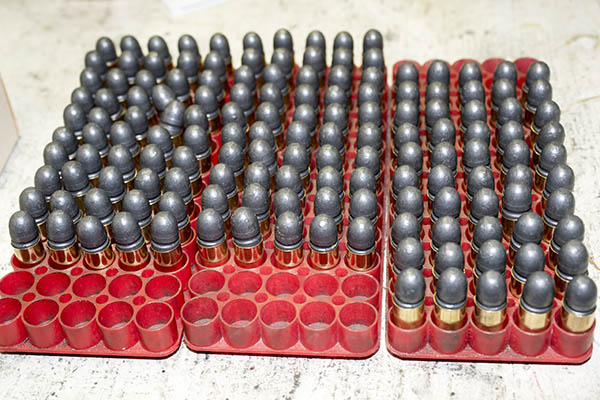
As each case comes out, I’ll place it in the reloading tray, like you see below.
When I reload, I’ll generally do between 20 and 200 rounds in a batch. I reloaded 150 rounds in this batch.
I use reloading trays that hold 60 rounds, and the reason I like these is that for a group of 50 cases I can track which case I’ve performed an operation on and which ones remain. Each time a case undergoes a reloading step, I move it over such that I always have 1o open spots between the cases that have undergone a reloading step and those that have yet to undergo the step.
Ah, but those primer pockets. Remember how dirty they were after we pushed the primers out? Well, this is another optional step. I clean the primer pockets. I do each case manually, one at a time, using a primer pocket cleaning tool.
Like I said, primer pocket cleaning is optional. I reloaded for a lot of years and won more than a few matches without primer pocket cleaning, but these days I do it on every case. The reason we want the residue gone is that the residue can interfere with the new primer seating fully in the case (we’ll talk more about that in the next .45 ACP reloading blog). Having the primers all seated to the same depth will theoretically make for more accurate ammunition (less variability always equals more accuracy). It won’t effect functioning if the primers are at slightly different depths in a 1911, but if you’re reloading ammo for a revolver, a primer that is seated above flush (one that sticks out beyond the cartridge case base) can interfere with the cylinder turning.
At this point, we’ve got cleaned, resized, and deprimed cases. We’re ready to bellmouth the cases, install the primers, charge the cases with propellant, and seat the new bullets.
So that’s it for now. Stay tuned; this series will continue right here on the ExNotes blog!
A cool T-shirt, a cool review, and the Wizard of Oz…
A quick few updates today, folks…
Good buddy Chris sent this photo to us a yesterday wearing a T-shirt he said was made with ExhaustNotes in mind. I think I agree…
More good news…you can now buy Destinations through Motorcycle Classics magazine. They gave a nice review, and if you click on the photo below, it will take you to the MC store.
Things are hopping in Colorado. I got caught in a hail storm yesterday on a drive through the eastern part of the state, and the weather was ominous. They tell me a tornado touched down about 6 miles from where I was. The weather is similarly imposing today…here’s a photo showing the skies a few minutes ago…
Fun times. There’s a joke in that photo somewhere about not being in Kansas anymore.
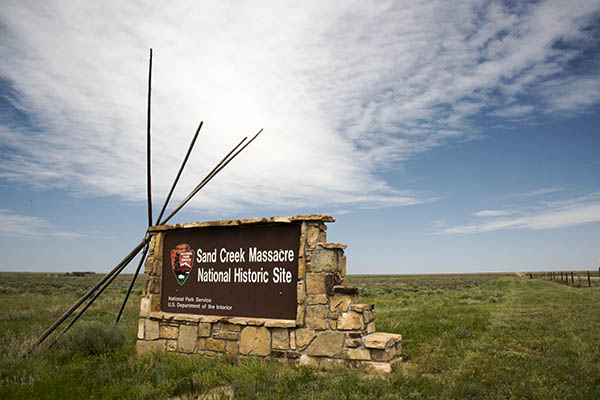
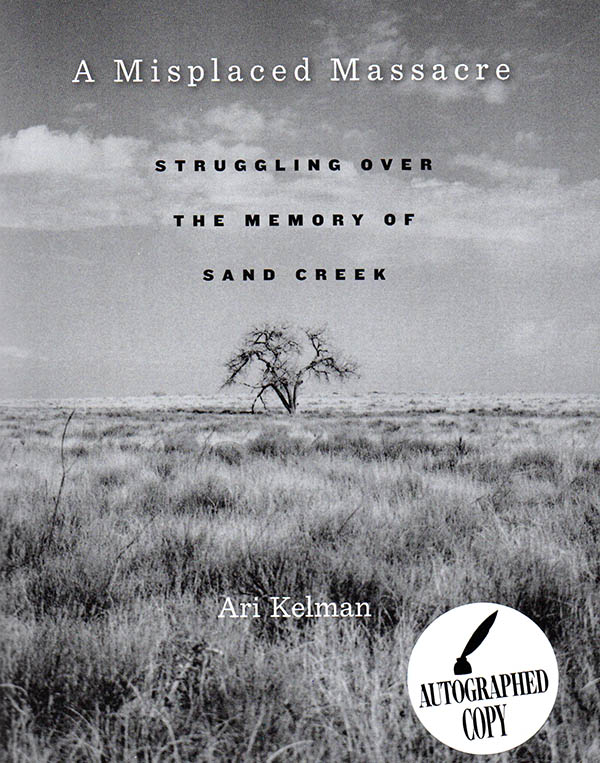
Sand Creek National Historic Site
I’m on a secret mission in eastern Colorado, and when I saw the sign for the Sand Creek National Historic Site yesterday, I knew I had to exit the highway and visit it. Sand Creek is one of our newest national historic sites. It’s about 180 miles east of Denver and let me tell you, it is remote. The last 13 miles were on a county highway, but don’t that descriptor fool you. It was a dirt road.
The short story (and I hate to do a short story on something this significant and this tragic) goes like this: On November 29, 1864, a group of volunteer US Cavalry militia soldiers led by Colonel John Chivington of the US Army attacked a peaceful village of Arapaho and Cheyenne Native Americans early in the morning. There were 675 US Cavalry soldiers, and a somewhat smaller number of Native Americans. The Native Americans thought the Army came in peace, and they came out to greet the Army. The Army attacked. The Cheyenne and Arapaho fled; the soldiers ran them down and slaughtered approximately 230 women, children, and old people. The Indians were mutilated and soldiers kept body parts as souvenirs. It was unquestionably one of the darkest moments in US history.
I visited with the US Park Ranger at the Sand Creek National Historic Site and he told me a bit more about the place. I was the only person out there yesterday afternoon, so I had the run of the site without having to worry about other people crowding my photographs. The Ranger told me to watch out for rattlesnakes (they’re out in force this time of year) and sure enough, I saw one, but it slithered away before I could get a photo. I wasn’t going to follow it into the weeds.
If you’re out this way, it’s a good place to stop and think. I had not heard about the Sand Creek Massacre story until I saw the sign pointing to the National Historic Site and I took the trip out there. Most people have never heard of Sand Creek and the events that occurred here.
Reloading Part I: Equipment and Components
I’ve had a few requests for a blog on reloading. You know, not just favored loads for different cartridges, but how to go about reloading. I know it can be a bit intimidating if you’ve never done it, but (trust me on this), learning how to reload adds an entirely new dimension to shooting, and many of us view reloading as being as much fun as shooting. In fact, one of my friends often jokes about shooting…he says it’s what we do so we get to reload ammo again.
A very cool guy named Roy Johnson taught me how to reload when I was in the Army. I was assigned to Fort Bliss, Texas, and Roy ran the Rod and Gun club there. Roy was a colorful El Paso fixture, and they named the road to the Rod and Gun club Roy Johnson Lane when he died. I was 22 years old when Roy taught me how to reload, and I’ve been reloading ever since.
I thought I would approach this topic in two or three parts, with the first blog focused on the equipment and components you’ll need to reload, and a subsequent blog or two on the actual reloading process. I had to pick a cartridge, so I thought I would start with the first one I learned to reload: The .45 ACP.
With that as a backdrop, here we go…
Reloading reverses the process of firing a bullet, and reversing that process requires several pieces of equipment.
One part of the equipment list is the dies that force the fired brass case back into shape (the brass expanded during firing) and knock the used primer out of the case.
I stick with RCBS dies, as I’ve learned over the years they work best, but there are other manufacturers out there. I also use Lee dies for a few of the cartridges I reload (they are typically less expensive than RCBS dies, and they are as good). An added advantage of the Lee dies is that they include the shellholder with the die set, so you don’t have to buy a separate shellholder and pay extra for it. I don’t care for Hornady dies, but as they say, your mileage may vary. I’m the guy doing the writing here, so I’ll share my experiences and preferences, and I like RCBS and Lee. A new set of RCBS carbide dies are a little north of $50; Lee dies are typically $10 to $15 less than the RCBS dies (and like I said earlier, the Lee dies come with a shellholder).
I use carbide dies for pistol cartridges. A carbide die has a super-hard carbide insert that interfaces with the brass case, and it allows you to squeeze the case back to its unfired configuration without having to lubricate the case first. The downside is that carbide dies are slightly more expensive than non-carbide dies. For straight-walled pistol cartridges, there are three dies in a set. We’ll discuss in more detail what each does in Part II of this series.
You will also need a reloading press and a shellholder for the brass cartridge case. I use an RCBS Rockchucker press I bought new nearly 50 years ago when Roy Johnson taught me how to reload. A good press lasts forever.
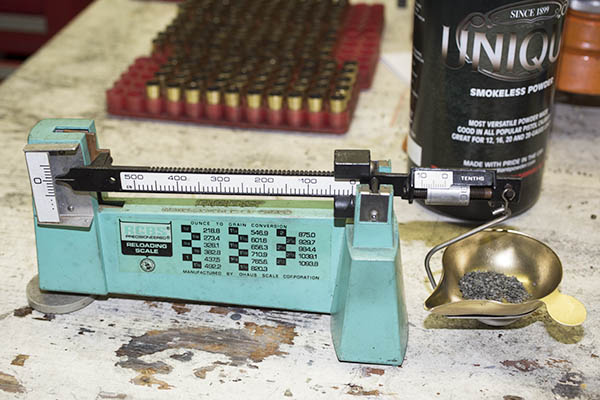
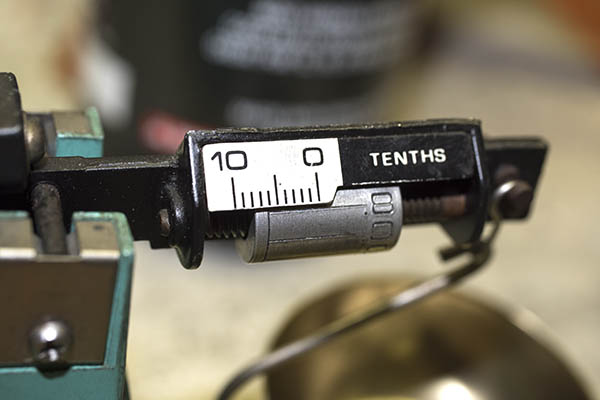
A scale is necessary for measuring propellant charges (also referred to as powder). Several companies offer scales specifically designed for reloading.
It’s a good idea to have reloading trays for the cartridges. These are relatively inexpensive, and they seem to last forever, too.
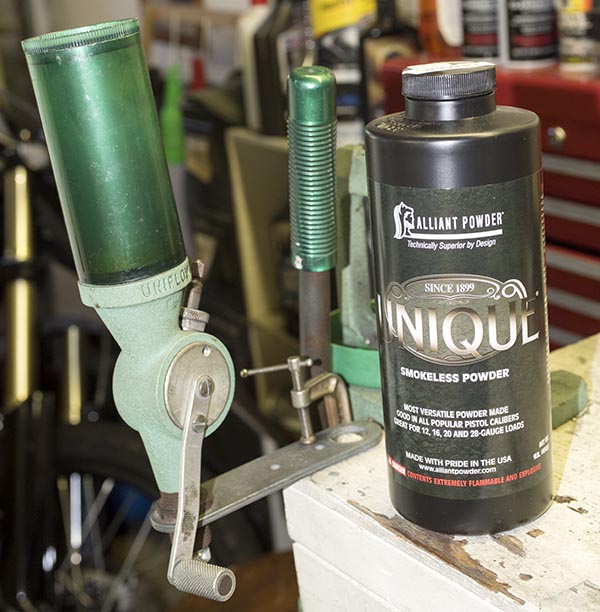
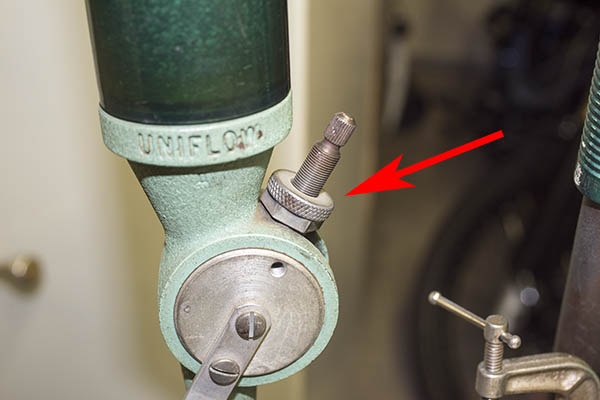
A powder dispenser allows you to dispense the correct amount of propellant in each cartridge case.
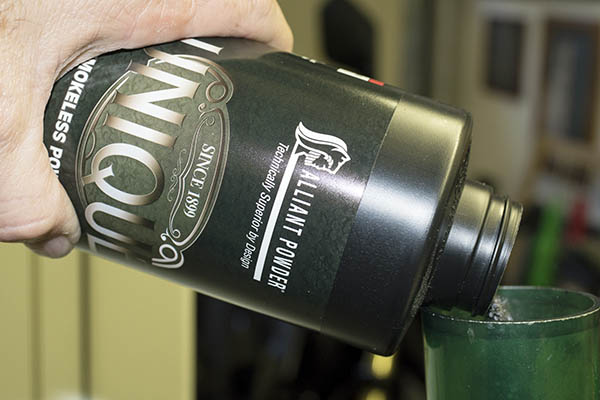
At this point, we’ve covered the equipment necessary; let’s now turn to the components. One is the propellant you see in the photo above. As seen in the photo below, for the .45 ACP cartridge, I prefer Unique.
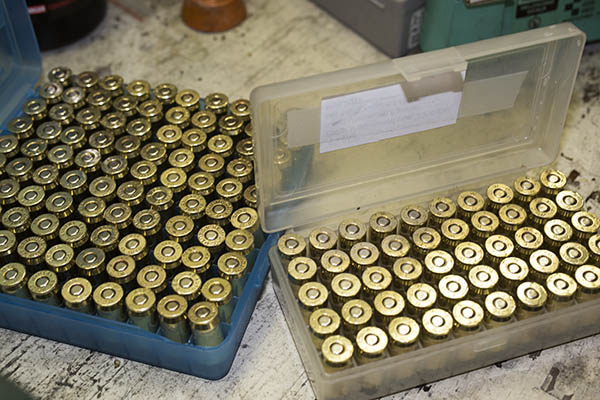
You’ll need previously-fired cartridge cases. You can also buy new brass that has never been loaded if you don’t have any, or you can buy factory ammo, shoot it, and save the brass. I don’t think I’ve ever purchased new brass for the .45 ACP, mostly I had plenty available from my days in the Army. The .45 ACP cartridge is a relatively low-pressure cartridge, and the brass seems to last forever. I’ve been reloading the brass you see here for a long time.
You’ll need primers. The primer is the little cap that the firing pin strikes when you pull the trigger. There are two or three companies making primers these days. I usually buy whatever the shop has in stock. I haven’t found that primers make a difference in accuracy or reliability for handgun shooting.
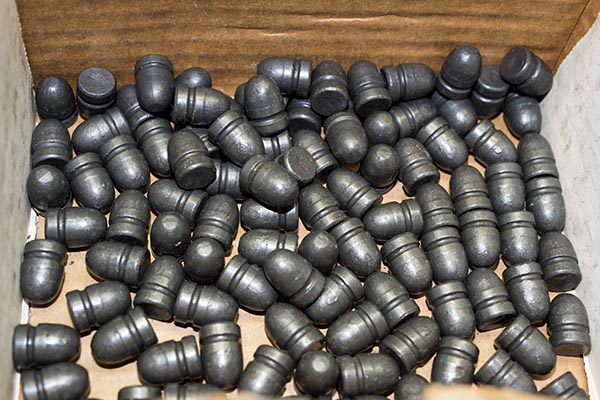
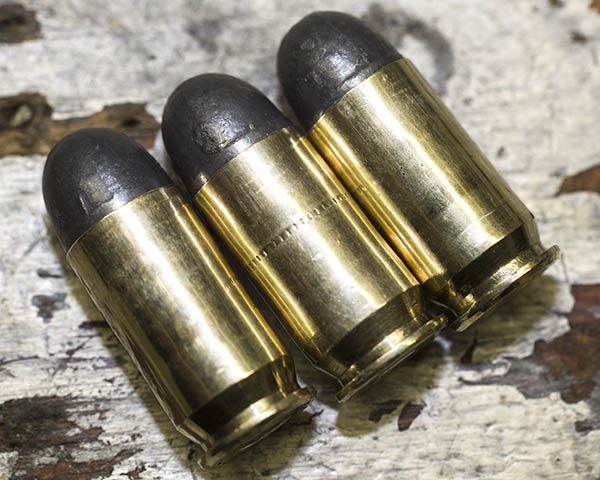
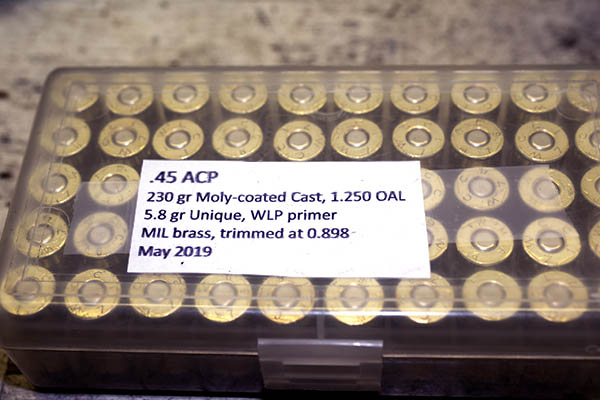
And finally, you will need bullets. I’m using moly-coated 230-grain roundnose lead bullets these days, like you see in the photo below, mostly because I have a bunch of them in my reloading locker. Many other bullet configurations are available.
There’s one other item I strongly recommend you purchase, and that’s a reloading manual. These manuals list different loads for different cartridges and different bullets and propellants. The whole idea here is to experiment with these combinations (within the parameters provided by the manuals) to find the recipe that produces the best accuracy and reliability in your gun. My preference is the Lyman manual, as it lists different bullet manufacturers and cast bullets, too. You can buy manuals from the bullet manufacturers, but the downside there is they only show data for their bullets.
You can buy all of the equipment separately (as I did a long time ago) or you can buy a complete kit that has everything you need to get started. RCBS has a kit that goes for about $350. Lee has a similar kit for a lot less (about $150), and it will get you into the reloading game. I have a friend who bought the Lee kit a few years ago, he uses it to reload .308 Winchester ammo for his Model 700 Remington, and the ammo he makes routinely delivers 1/2-inch groups at 100 yards. With either kit, you’ll need to buy the dies required for the cartridge you wish to reload, and the components as described above.
You might be wondering: Where do you buy this stuff? Most gun stores sell reloading equipment and components. Cabela’s and Bass Pro are two that come to mind. You can also buy components and equipment online from places like Amazon, Midway, Natchez Shooter’s Supply, Grafs, and other places. Buying the energetic components online gets a bit more complicated (propellants and primers), but the stores can fill you in on that. In most areas, there’s usually a shop that is known for being the best in your neck of the woods for reloading stuff, and you can find these places with a quick Google search or by asking around.
So there you have it. I’ve described the equipment and the dies you’ll need to reload the .45 ACP, but the procedures I’ll describe in subsequent blogs will be the same for nearly any handgun cartridge (.38 Special, .537 Magnum, .380, 9mm, .40 S&W, .44 Magnum, and .45 Colt). All you need will be different dies and shellholders, and of course, different types of bullets.
Our next reloading blog will cover the first steps of the reloading process. Stay tuned; it’s coming up!
Read our other Tales of the Gun stories for the loads we prefer. Disagree with anything above or want to toss your $0.02 into the discussion? Hey, there’s a comments section below and we’d love to hear from you.
One last thing…ever wonder what the “ACP” stands for in .45 ACP? Well, here you go…wonder no more.
Cast Bullets in a 1903A1 Springfield
Yep, by popular demand, it’s another Tales of the Gun piece, this time focused on shooting cast bullets in my 1903A1 Springfield. I like shooting cast bullets in a rifle, and my intent is to use the Springfield with cast bullets only. I have two good buddies who also own ’03 Springfields, and we’ve all been playing with different loads to see what works best. I think I’m out in front here. I’ve been sharing my results with ’03 buddies, and I thought I’d share what I’ve found with you, too.
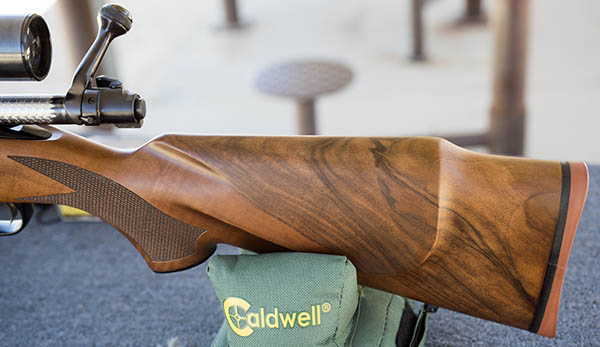
My Springfield is one that was built up from parts as an ’03, but with the scant stock, so it is sort of a wannabe 1903A1 in essentially as new condition. I bought it from a guy who had it built up but hadn’t fired it. I’ve written about the Springfield before here on the ExNotes blog, but I had not gone into any detail on the loads I am developing for it. The intent today is to talk a bit about some of the cast loads I’m playing with for this rifle.
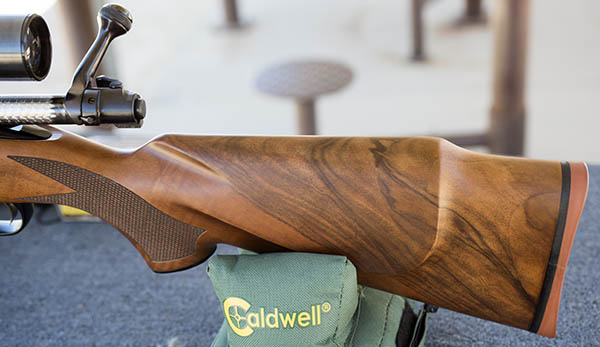
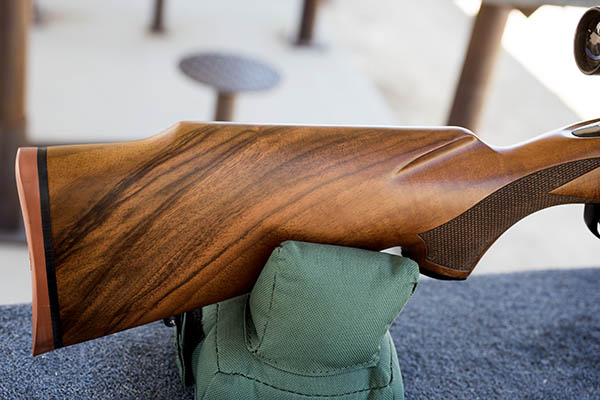
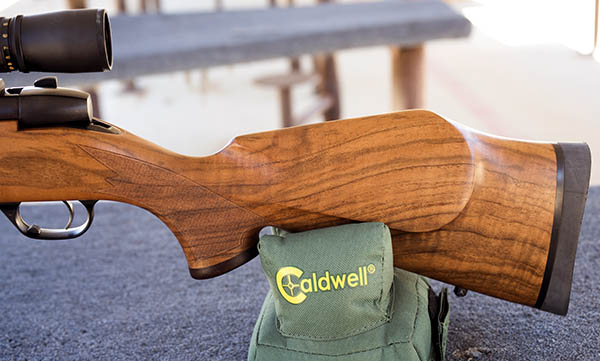
But first, here’s a look at my rifle. It’s a magnificent old warhorse…
I had reasonably good results in an initial range session with this rifle using 190-grain gas-checked bullets sized to 0.309. I have a local guy who casts these bullets for me. The idea behind using a gas check is to prevent leading the bore.
For the initial range session mentioned above, I had prepared loads ranging from 21.0 grains to 24.0 grains of SR 4759 propellant, and I had the best results (just eyeballing the results) at 24.0 grains. In the first outing with the Springfield I wasn’t being too rigorous in my accuracy and test protocols; I just wanted to get an idea of what worked and what didn’t.
For my next set of accuracy tests, I went from 24.0 grains to 26.0 grains of SR 4759 in half-grain increments. Here are the results…
The risk in assessing accuracy from any of these tests is that a lot of the variation is my aiming error, and the resulting group sizes may not truly represent how the different loads perform in the rifle. Based on the above data, though, it looks like my Springfield wants to be at 24.5 grains of SR 4759. My Lyman manual says the muzzle velocity at that charge is somewhere around 1750-1800 fps. That’s hotter than I normally would want to be with cast bullets, but the above loads didn’t lead the barrel too badly. Recoil was moderate. For these loads, I did not trim the brass cartridge cases and they were uneven, and because of that, I did not crimp the bullets. I’m pretty sure I can get better accuracy if I trim the brass to a uniform length, weigh each charge, and crimp (I’ve always found cast bullets do better when crimped).
The above results were encouraging. The accuracy with cast bullets was good, but not quite as good as my Mosin or my 1909 Argentine Mauser. The Springfield shot just under an inch at 50 yards, which would be just under two inches at 100 yards, and with cast bullets and iron sights, that ain’t half bad. My Mosin and my Argentine Mauser will sometimes shoot into a half-inch at 50 yards. The Springfield might do that, too, if I trimmed the brass and employed all of the other accuracy tricks mentioned above. The good news is that I’m getting there. It took a while to get everything right for the Mosin and the Mauser. Rome wasn’t built in a day, as they say.
Encouraged by the above results, I reloaded more ammo with the 190-grain cast bullets to confirm the SR 4759 propellant results and to evaluate a few additional powders, including IMR 3031, IMR 4227, IMR 4198, 5744, Trail Boss, and Unique. The reason I wanted to explore using other propellants is that SR 4759 is a discontinued powder. I have a stash of it, but my two Springfield buddies do not, and someday I’ll run out of 4759.
I was able to repeat the 4759 results (it’s a good propellant for cast bullets), and I found the other propellants show potential for great accuracy, too. Here are the results (all at 50 yards) with the other powders…
It was raining when I shot the above loads and I got my targets and loads mixed up a bit (eh, it happens). I got enough out of the range session, though, to form some general impressions. The loads generally seem to fall into two categories:
Hotter loads. These loads were roughly 70%-80% of what jacketed loads would be (with recoil nearly like a jacketed load). Surprisingly, these had very little leading with the cast bullets. In particular, IMR 3031 worked well and it nearly had the recoil of a regular 30 06 jacketed load.
Milder loads. These were in the 1500 fps range. These have lighter recoil and were moderately accurate, but they drop significantly at 50 yards compared to the hotter loads. These are easy on the shoulder, but the drop put them off the target and they would require flipping the elevated ladder sight up on the ’03 to get back on target. For that reason, I’m not doing any more work with these. In this group, though, 13.0 gr of Unique gave decent (not great, but decent) groups. Trail Boss did okay, too. The Trail Boss loads were super light. Recoil was about like a .22.
The good news is that IMR 4227 works well in the 30 06 Springfield with the 190 grain bullets. (The reason it’s good news is that one of my Springfield buddies has a lot of 4227 on hand.) The bad news is that 4227 is not in the current Lyman reloading manual. I have older manuals from the 1970s that list 4227, and that’s where the load data came from.
In cleaning the Springfield after the above range sessions, I checked the action screws (the two that secure the barreled action in the stock) and while they were snug, they were not fully tightened. I tightened them and it’s likely accuracy will improve. Next time, folks. A properly-secured action, trimmed brass, crimped bullets, and good weather with no wind at the range…those half-inch Springfield groups are out there. I just need to find them.
Like what you’re reading here? Check out our other Tales of the Gun stories, and please sign up for our automatic email blog updates!
Baja 2009: The KLR Khronicles Part VI
Ah, here we are…the final installment of the 2009 KLR Baja ride. It was a great ride, and if you want to catch up on the first five installments, you can do so here. Read on, my friends…
Ensenada, like Rosarito Beach, was an empty town, struggling with the impact of the 2008 Great Recession and the media’s obsession with demonizing Mexico. The streets were empty, devoid of tourists. We saw some cool cars, though, and I asked the guys around this one if I could take a photo.
The club was friendly and we had a good conversation. The car in the background (the one shown above) belonged to Reynaldo, the guy with the Southeast sweatshirt. He explained that Ensenada had an active car club.
The guys asked me to grab a shotof the artwork on Robert’s car (he’s the tallest guy in the photo above), and here it is.
I awoke early the next morning and took a few more shots walking around Ensenada. I like getting up early, and it seems that I always get great photos on these early-morning walks.
I found out Edgar’s name by doing my usual “Como se llama usted?” routine. After introducing himself, Edgar also introduced Brittany. It was nice meeting a dog in Mexico that appeared to have no interest in having me for dinner.
So, there you have it…four days and 1300 miles of KLR riding in a round trip blitz down to Guerrero Negro, with a few off-road excursions that resulted in more than a few interesting photos. The ride had been a blast, the Kawasaki KLRs performed flawlessly, and we visited places only accessible via dirt roads. And it was safe, at least as far as all the negative publicity about the narco-terroristas goes. The dogs (and maybe the odd tarantula or two), well, that’s another story…
If you are thinking of going into Baja, don’t let anybody scare you away. It’s a great place to ride, it’s safe, and it’s fun.
Want to make sure you never miss an ExNotes blog and maybe win one of our adventure moto books in the process? Just sign up below for our automatic email updates…
Our Epic Motorcycle Rides page is up and we’re quite pleased with its appearance and its popularity. It’s become one of our two most frequently visited pages (the other is the Tales of the Gun page). We’d encourage you to visit both, and in particular, take a look at the videos from Colombia and China. They are a hoot!
Baja 2009: The KLR Khronicles Part V
Read Parts I, II, III, and IV of the 2009 KLR Baja foray here!
Our planned stop for the evening (and our turnaround point) was Guerrero Negro. It’s a town just south of the 28th Parallel, which forms the border between Baja California and Baja California Sur, the two states in Baja. It’s about halfway down the Baja peninsula.
Guerrero Negro is an interesting town. It’s named for the Black Warrior (Guerrero Negro in Spanish), a sailing ship that sank off the Baja coast a long time ago. It’s one of the best spots to see the whales in Mexico (you can read about that here). The whales hang out in Laguna de Ojo Liebre (the Eye of the Jackrabbit), also known as Scammon’s Lagoon. I’ve been down there many times to see the whales, and it is one of life’s main events. That’s a strong statement, and if you’ve never seen the whales in Baja, you’ll think I’m exaggerating. If you’ve seen them, though, you’ll know I’m not. It’s a surreal and awe-inspiring experience. The whales are in town from January through March, so we wouldn’t be seeing them on this visit.
The little town of Guerrero Negro has another distinction: It’s one of the biggest salt producing regions in the world. The area has hundreds of square miles of shallow flats that the Mexicans flood with sea water. They let the water evaporate and then they bulldoze up the salt. Mitsubishi owns 49% of the production operation; the Mexican government owns the other 51%.
I got up early the next morning and rode around for a bit, exploring Guerrero Negro. With all of the luggage off the KLR, it felt much lighter and faster. I grabbed a few shots around town. I rode through all of Guerrero Negro, including its residential areas. Another 8 or 10 dogs chased me, intending to do me serious harm. None succeeded. By this time itwas almost funny. See a dog, go like hell, hope for the best. It was grand sport.
As I mentioned above, Guerrero Negro was our turn-around point on this trip. Here’s a shot on the way home, in the desert headed north.
We stopped again in El Rosario, this time for a lunch at Mama Espinoza’s. This is their take on fish tacos. They were excellent.
After Mama Espinoza’s, we topped off at the Pemex station in El Rosario and continued north.
We rolled into Ensenada well after dark and decided to call it a day. That night we stayed in the Best Western in Ensenada’s tourist district, and it was nothing like any US Best Western. It was a really nice place. We unpacked and parked the KLRs right next to the entrance, and a guy who worked at the hotel put a rope barricade around them. We didn’t know if it was to keep people from touching the bikes, or if it was to isolate them for another reason…John’s KLR’s fuel petcock had developed a drip, and because of that, the area soon reeked of gasoline.
To be continued…
Want to read about more epic motorcycle rides? Click here to get to our Rides page.
Hey, why not sign up for our automatic email updates? You might win one of our adventure ride books. Just enter your email address here:
We promise we won’t share your email address with anyone else.
Motoracism
My good buddy Joe Gresh is an astute observer of the human condition and he writes about it well. This is a piece he did after the 5,000-mile Western America Adventure Ride, when we rode 250cc Chinese motorcycles from LA to Sturgis to Portland and back to LA. We had about a dozen riders and not a single motorcycle breakdown. The bikes’ stellar performance notwithstanding, we sure caught flak on the Internet about riding Chinese bikes (and it was only on the Internet; no one we met in person had anything but compliments for us and the bikes). Joe wrote a column titled “Motoracism” in the now-defunct Motorcyclist magazine about that trip (along with an outstanding story about the ride). Joe’s adept at stirring the pot by telling the truth, and the keyboard commandos crawled out in droves from under their bridges when “Motoracism” was published. Here’s the original article. Take a look…
Motoracism and Brand-Bashing in the Moto World
Are you offended by a Chinese-built bike?
Joe Gresh January 11, 2016
Look out! An army of strange bikes aimed at our heartland! Or is it just a line of motorcycles like any other, except this time they’re made in China?
We all suffer from racism’s influence. It’s an off-key loop playing from an early age, a low frequency rumble of dislike for the “other.” It’s ancient and tribal, a rotted pet forever scratching at the door because we keep tossing it scraps of our fear. Racism gives the weak succor and the strong an excuse for bad behavior. We work hard to become less racist, but exclusion is a powerful medicine.
Especially when it comes to motorcycles. Brand bashing is ancient, part of what motorcyclists do. It’s our way of hazing new riders and pointing out the absurdity of our own transportation choice. Unlike more virulent forms of racism, motoracism doesn’t prevent us from enjoying each other’s company or even becoming friends.
In web life, we are much less tolerant. Whenever I test a bike for Motorcyclist I spend time lurking on motorcycle forums. This is partly to gather owner-generated data, stuff I may miss in the short time I have with a testbike. Mostly I do it because it’s a way to rack up thousands of surrogate road test miles without having to actually ride the bike. Think of yourselves as unpaid interns slogging through the hard work of living with your motorcycle choice while I skim the cream of your observations into my Batdorf & Bronson coffee.
Every motorcycle brand has fans and detractors, and I enjoy the smack talk among riders. Check out the rekindled Indian/Harley-Davidson rivalry: They picked up right where they left off in 1953. Then there’s this Chinese-built Zongshen (CSC) RX3 I recently rode. Man, what a reaction that one got. Along with generally favorable opinions from Zong owners I saw lots of irrational anger over this motorcycle.
All because it was built in China.
To give the motoracists their due, until Zongshen came along Chinese-built bikes were pretty much crap. (I read that on the Internet.) Except for the Chinese-built bikes rebadged for the major manufacturers. I guess if you don’t know that your engine and suspension were built in China it won’t hurt you.
Mirroring traditional racism, the more successful the Chinese become at building motorcycles the more motoracists feel aggrieved. The modest goodness of the Zongshen has caused motoracists to redirect their ire at US/China trade relations, our looming military conflict in the South China Sea, and working conditions on the Chinese mainland.
Like Japanese motorcycles in the 1960s, buying a Chinese motorcycle today reflects poorly on your patriotism. You’ll be accused of condoning child slavery or helping to sling shovelfuls of kittens into the furnaces of sinister ChiCom factories. Participate in a Zongshen forum discussion long enough and someone inevitably asks why you hate America. I’ve had Facebook friends tell me I shouldn’t post information about the Zongshen—that I must be on their payroll. I’m just testing a bike, man. This reaction doesn’t happen with any other brand and they all pay me the same amount: zilch.
So if you’re angry about working conditions in a Chinese motorcycle factory, but not about similar conditions in a USA-based Amazon fulfillment warehouse (selling mostly Chinese products) you might be a motoracist. If you type moral outrage on your Chinese-built computer complaining about China’s poor quality control while sitting in your Chinese-built chair and answering your Chinese-built cell phone you might be a motoracist. If you’re outraged that the Zongshen 250 can’t match the performance of a motorcycle five times its displacement and five times its cost you might be a motoracist. I want you to take a thoughtful moment and ask yourself if your motoracism isn’t just plain old racism hiding behind mechanical toys. If it is, stop doing it, and let’s get back to bashing other motorcycles for the right reasons: the goofy jerks who ride them.
Good stuff, and great writing. If you’d like to read Joe’s piece about the ride, just click here. And if you’d like to know more about the RX3 motorcycles we rode on our ride through the American West, just click here.
Baja 2009: The KLR Khronicles Part IV
Read Parts I, II, and III of the 2009 KLR Baja foray here!
When the Transpeninsular Highway continues south after leaving El Rosario, it crosses a long bridge across the dry Rio El Rosario and then winds into the mountains on the northern edge of the Valle de los Cirios. The wilderness starts here, and it is awesome. I love this area. It’s the first place you encounter cardon cactus and the cirios. These things grow only in Baja (you won’t find them anywhere else on the planet). The Cardon are the giant cactus that look something like the saguaro cactus in Arizona, but the cardon are much, much larger. The cirios are the weird-looking thin shoots that grow to heights of around 30 or 40 feet (maybe even more). Someone once wrote that they look like a plant that Dr. Suess would have designed, and I think that’s a good description. They have this kind of weird, whimsical, goofy look…the kind of thing one might create when under the influence of, well, whatever your preferred mind-altering substance is.
I grabbed a few shots of our KLRs a few miles into the mountains. You can see the cardon and the cirios in the background.
After rolling along the highway a few more miles, I saw something out of the corner of my eye on the road. At first I wasn’t sure, and then as I was playing back the image mentally, I decided I needed to turn around and take another look…
Wow, that was one monstrous tarantula! We parked the bikes and started taking photos. This spider was easily double the size of the tarantulas I’ve seen in California.
John got down in front of the tarantula. He squatted to get a closer look, and then something wild happened. The spider ran straight at John. We were both shocked at its speed. They normally seem very deliberate and slow, but I have to tell you, that one moved terrifyingly fast.
John jumped up, screamed, and propelled himself backwards faster than a Democrat mistakenly wandering into a Trump rally. John was paddling backward so fast he looked like an old Warner Brothers roadrunner cartoon.
We both laughed after it happened. Here we were, two guys old enough to know better, screwing around with a ginormous tarantula in the middle of the Baja peninsula, laughing like a couple of kids. Baja does that to you.
I think I already mentioned that I had my Nikon D200 on this trip and an older (non-VR) 24-120 Nikon lens. I mostly shot at f/8 (the 24-120’s sweet spot) in the aperture mode, which is a mode that works well for me. I also had the 12-24 Tokina wide angle lens along for the ride, but I never even mounted it on the camera. The 24-120 is not a macro lens, but it did an acceptable job here. The Tokina lens does a good job, too, but the 24-120 Nikon was handling everything for me on this ride.
Our next planned stop was the Mission San Fernando Rey de Espana Velicata. We almost didn’t go. I had been spooked by the dogs, and I told John the night before that I wasn’t too keen on rolling through any more little villages with dogs. John waited awhile and casually mentioned that he really wanted to see some of the sights accessible only by dirt roads. I acquiesced and I’m glad I did. We saw some amazing things…things we wouldn’t have seen if we hadn’t wandered off road.
Further down the Transpeninsular Highway, we saw the sign for the Mission San Fernando Rey de Espana Velicata and a dirt road veering off to the west. I took the turn first, and son of a gun, a dog materialized out of nowhere and started chasing me. This time the dog was so small it was funny. It was a little Chihuahua, and he looked anything but threatening. The little guy was behind me yapping up a storm and I was enjoying the chase. Those little legs were pumping for all they were worth and he still couldn’t keep up. It was me, the Chihuahua, and John (in that order) rolling down this dirt road. The pup was struggling to keep up, barking all the while and trying his best to be intimidating. I could hear John laughing behind me. I should have grabbed a picture.
The Mission San Fernando Rey de Espana Velicata was the only one in Baja founded by the Franciscans (the Jesuits did all the others). It only lasted from 1769 to 1818. It was built to convert the local Cochimi Indians to Catholicism (that was how it was advertised; basically, the missions were labor camps with a touch of that old time religion). Unfortunately, the Spaniards brought diseases for which the indigenous people had no immunity, and disease soon ravaged the area. The entire mission system in Mexico ended in the early 1800s, when Mexico gained its independence from Spain. It’s not a pretty story, but there’s a history here and it’s intriguing to visit these ancient places (especially when they are well off the beaten path).
The place was amazing. I’d seen the sign and the dirt road to get to the mission on each of my prior Baja visits, but I had never been to see it. Getting there and taking it all in was fun.
After visiting the Mission San Fernando Rey de Espana Velicata, we rolled south along the Transpeninsular Highway a few more miles and took another dirt road (this time to the east) to see the ruins at El Marmol. El Marmol was a world-famous marble and onyx quarry 50 years ago. Like the mission, we’d seen the signs for it on our earlier travels through Baja, but we had never made the trip out there to see it. I always wanted to see what El Marmol was all about, especially after reading about it in several Baja references. Carole Lombard had a bathtub made from El Marmol marble, you know.
The ride out to El Marmol was exciting. The road was rough and had deep sand in several spots. My friend Bob had previously told me that the best way to take this stuff was at high speed, and that’s what we did. It made an enormous difference. I could see the rough road beneath me, but the KLR’s long-travel suspension let me fly over it. It was almost an out-of-body experience. I enjoyed it. I was in the zone, and suddenly, we were there.
We stopped for a break on the way out of El Marmol where the dirt road rejoined the Transpeninsular Highway. We had a good conversation with Jose, a police officer from Catavina who consented to a photo.
There were two dogs hanging around the place watching John, Jose, and me. They seemed friendly enough when John gave one of them a snack. Then we got on the motorcycles and it was as if someone had flipped a switch. The dogs instantly turned mean, snarling and going after John, who was accelerating sharply way (a relative term, to be sure, when you’re on a KLR). There’s a rule in Mexico, I guess. If you’re a dog and you see a guy on a motorcycle, you’ve got a reputation to maintain. This time, though, both dogs went after John and ignored me. They chased John all the way back to the highway, with me following. Hey, that’s was okay by me. I’d already earned my combat pay.
The dogs chasing John, though, didn’t seem to have their hearts in it. They were chasing John like it was part of their job description and the boss was watching. Going through the motions. Phoning it in. You know the drill.
I thought about that as we continued south. I reasoned and hoped that as went further into Mexico (and we were about 350 miles into Baja at this point), the dogs might be nicer. Our next destination was Guerrero Negro, 500 miles south of the border. We would soon find out.
Check out our other Epic Motorcycle Rides, and watch the ExNotes blog for the next installment of the Baja KLR Khronicles!
Like what you’re reading? Sign up for our automatic email updates, and you’ll be eligible for our quarterly drawing to win one of our adventure motorcycle books. Want to read about our other Baja motorcycle adventures? Order your own copy of Moto Baja here!