By Joe Berk
This is a blog I wrote for CSC Motorcycles several years ago (time sure flies when you’re having fun). The topic was as timely then as it is today. I like big bikes, but I like small bikes more, and I’m convinced that a small bike makes way more sense than a big bike for real world adventure touring. I thought I would post the blog again, as we are having way too much fun with CSC, BMW, Janus, and other companies who have seen the light. Here’s the blog from way back.
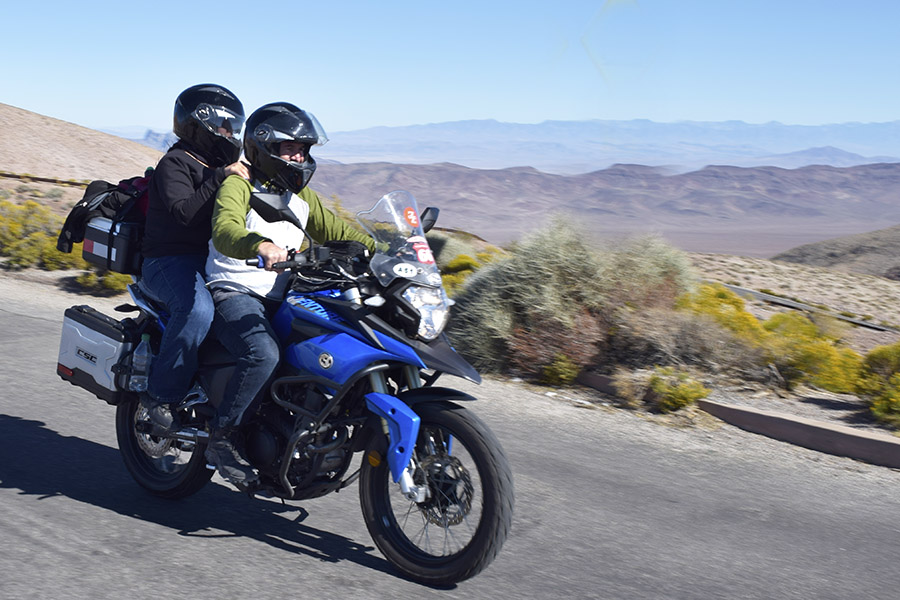
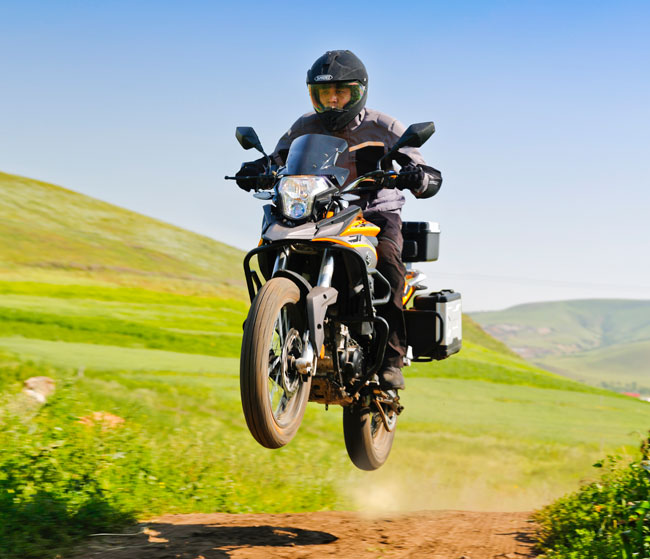
A 250cc bike seems too small to many riders. Is it?
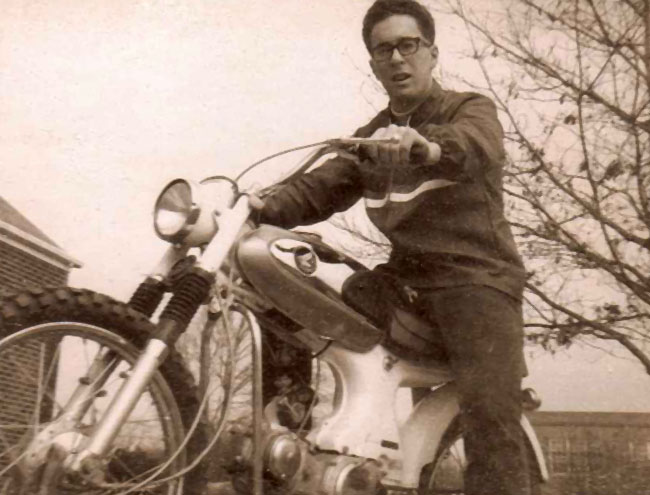
The motorcycle craze in the US really started in the mid-1960s. I know motorcycling goes back way before that, but motorcycling was essentially a fringe endeavor until Honda came on the scene. We met the nicest people on Hondas, if you remember, and that ad tagline was a winner (so is “Don’t Miss The Boat,” by the way). (Note: “Don’t Miss The Boat” was CSC’s tagline for the US RX3 introduction, and those who didn’t miss the boat participated in one of the best deals in the history of motorcycling.)
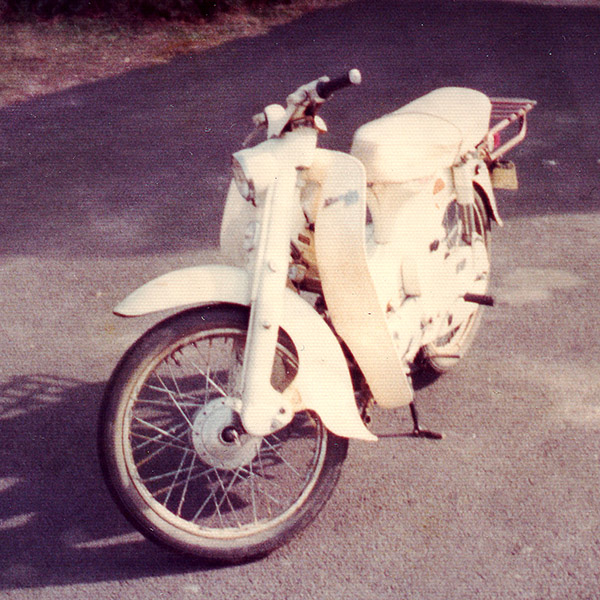
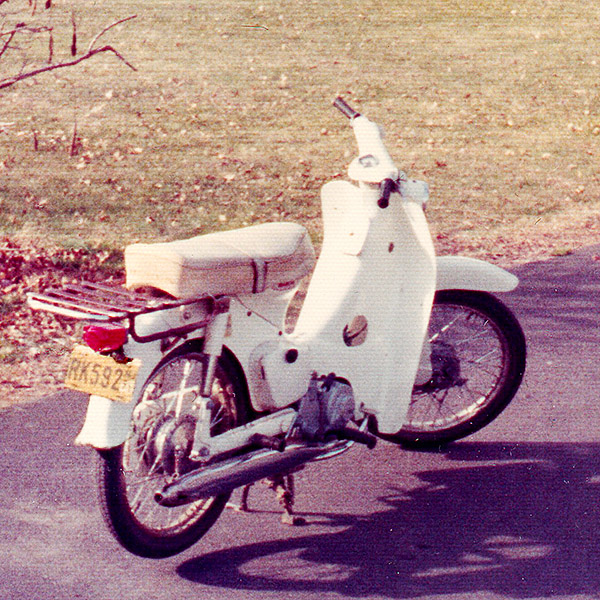
Honda’s sales model was a good one. They pulled us in with small bikes and then convinced us we needed larger and larger bikes. Many of us started with a Honda Cub (the 50cc step-through), we progressed to the Super 90 (that was my jump in), then the 160cc baby Super Hawk, then the 305cc Super Hawk, and at that point in about 1967 that was it for Honda. They didn’t have anything bigger (yet). After the 305cc Super Hawk, the next step for most folks was either a Harley or a Triumph.
You know, back in those days, a 650cc motorcycle was a BIG motorcycle. And it was.
But Honda kept on trucking…they offered a 450 that sort of flopped, and then in 1969 they delivered the CB-750. That bike was so far out in front of everyone else it killed the British motorcycle industry and (with a lot of self-inflicted wounds) it almost killed Harley.
The Japanese manufacturers piled on. Kawasaki one-upped Honda with a 900. (Another note…it’s one of those early Kawi 900s that Gobi Gresh is restoring in the Zed’s Not Dead series.) Honda came back with a 1000cc Gold Wing (which subsequently grew to 1100cc, then 1500cc, and is now an 1800cc). Triumph has a 2300cc road bike. Harley gave up on cubic centimeters and now describes their bikes with cubic inches. And on and on it went. It seems to keep on going. The bikes keep on getting bigger. And bigger. And bigger. And taller. And heavier. And bigger. In a society where everything was being supersized (burgers, bikes, and unfortunately, our beltlines), bigger bikes have ruled the roost for a long time. Too long, in my opinion.
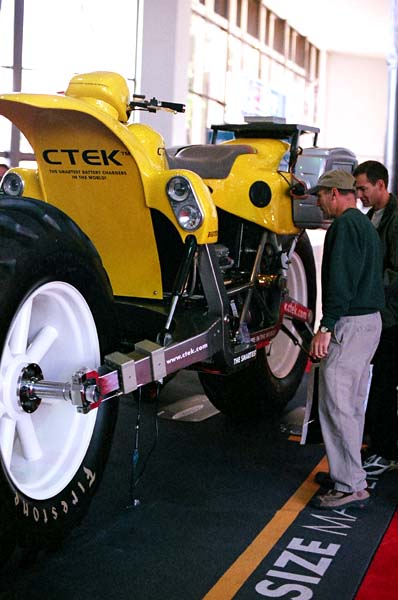
Weirdly, today many folks think of a 750 as a small bike. It’s a world gone nuts. But I digress…
I’ve done a lot of riding. Real riding. My bikes get used. A lot. I don’t much care for the idea of bikes as driveway jewelry, and on a lot of my rides in the US, Mexico, and Canada, I kind of realized that this “bigger is better” mentality is just flat wrong. It worked as a motorcycle marketing strategy for a while, but when you’re wrestling with a 700-lb bike in the soft stuff, you realize it doesn’t make any sense.
I’ve had some killer big bikes. A Triumph Daytona 1200. A Harley Softail. A TL1000S Suzuki. A Triumph Speed Triple (often called the Speed Cripple, which in my case sort of turned out to be true). All the while I was riding these monsters, I’d see guys on Gold Wings and other 2-liter leviathans and wonder…what are these folks thinking?
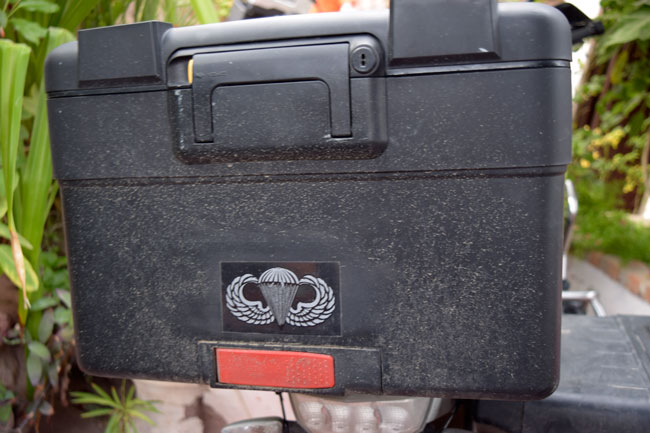
I’d always wanted a KLR-650 for a lot of reasons. The biggest reasons were the bikes were inexpensive back then and they were lighter than the armored vehicles I had been riding. I liked the idea of a bike I could travel on, take off road, and lift by myself if I dropped it. To make a long story short, I bought the KLR and I liked it. I still have it. But it’s tall, and it’s heavy (well over 500 lbs fully fueled). But it was a better deal than the bigger bikes for real world riding. Nobody buys a KLR to be a poser, nobody chromes out a KLR, and nobody buys leather fringe for a KLR, but if that’s what you want in a motorcycle, hey, more power to you.
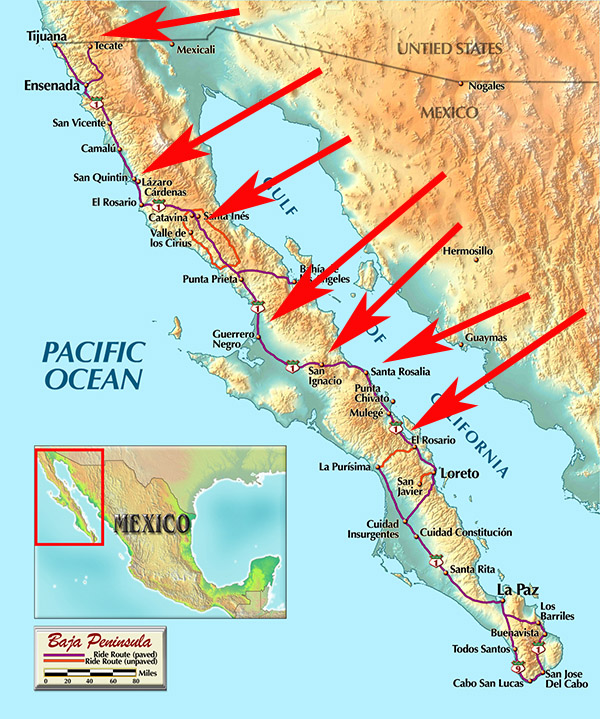
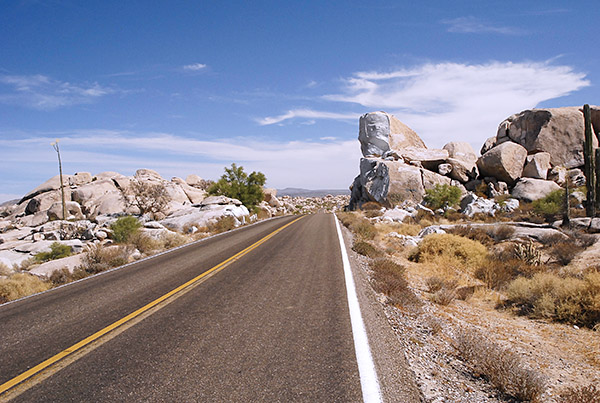
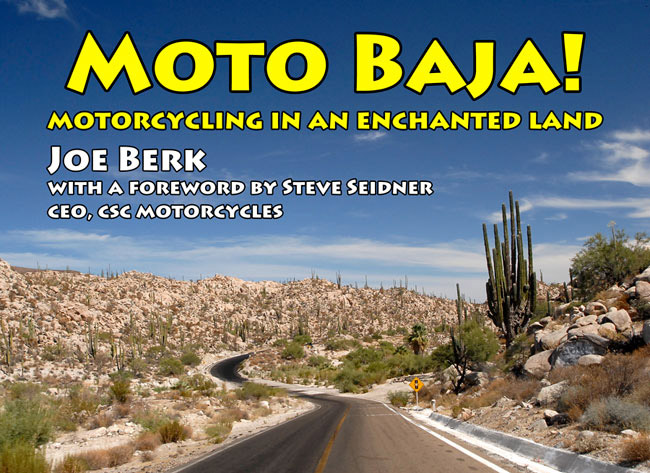
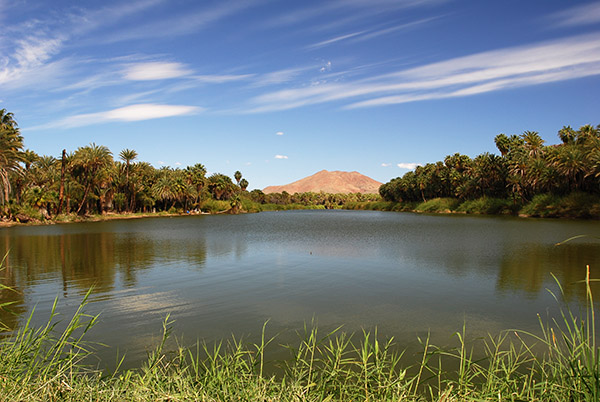
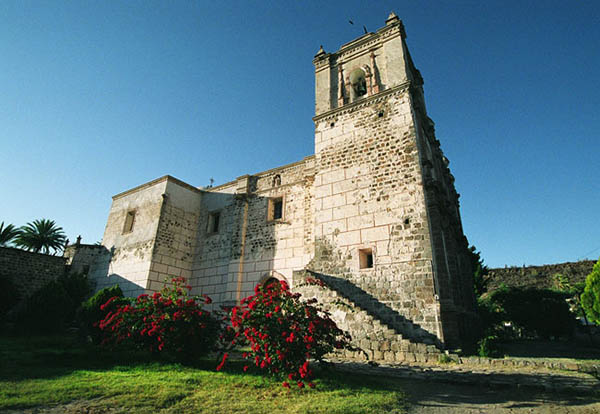
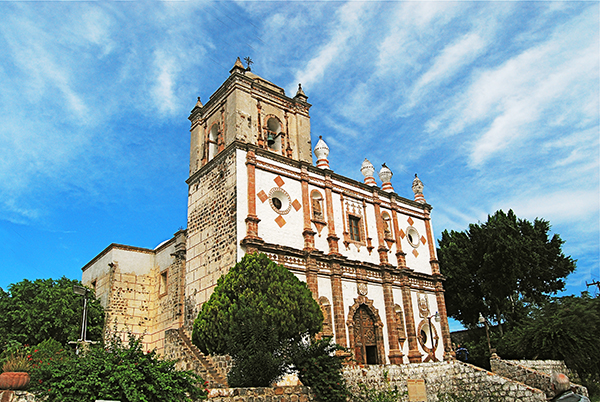
More background…if you’ve been on this blog for more than 10 minutes you know I love riding in Baja. I talk about it all the time. My friends tell me I should be on the Baja Tourism Board. Whatever. It is some of the best riding in the world. I’ll get down there the first week I take delivery on my CSC Cyclone, and if you want to ride with me, you’re more than welcome. (Note: And I did. We did a lot of CSC Baja tours, and CSC introduced a lot of folks to riding and to Baja. That one innocent little sentence became a cornerstone of CSC’s marketing strategy.)
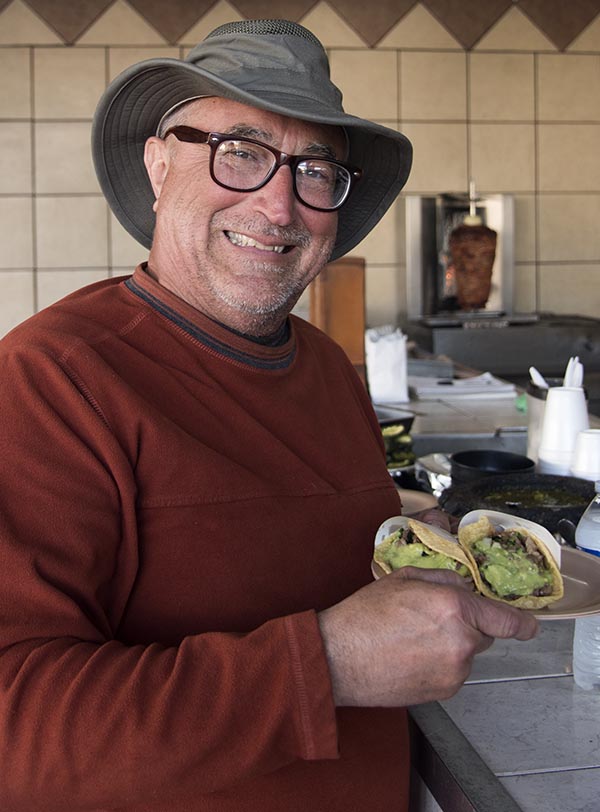
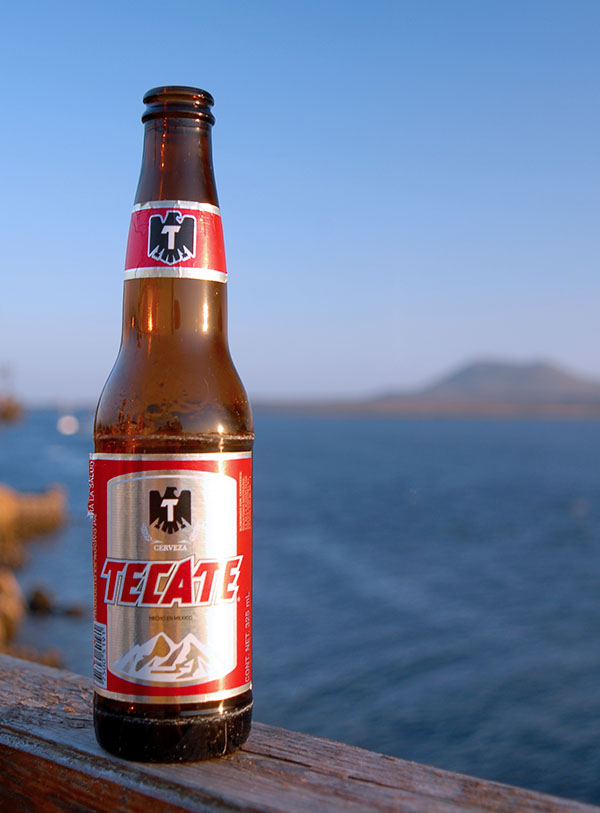
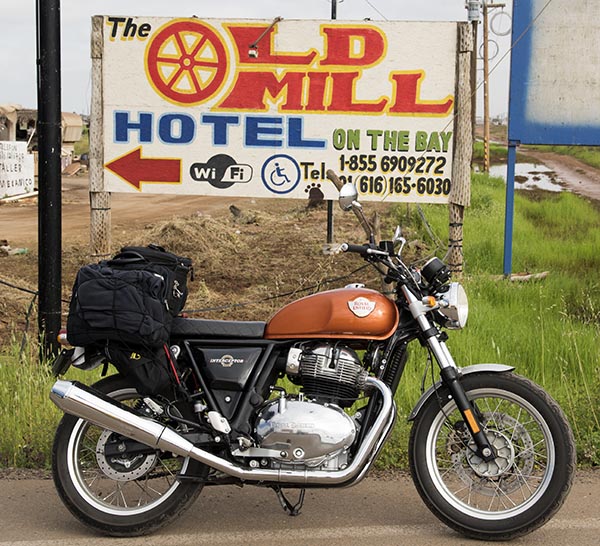
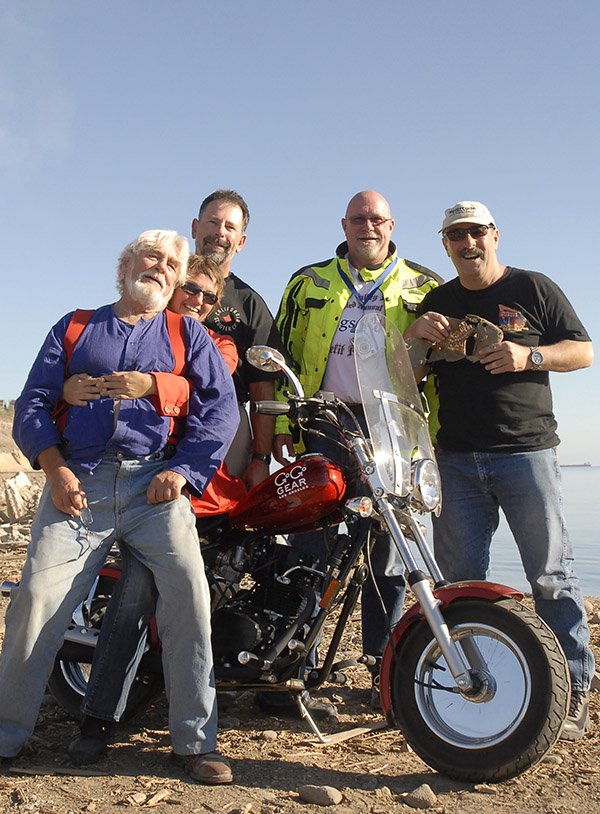
I was talking up Baja one day at the First Church of Bob (the BMW dealership where me and some of my buddies hang out on Saturday mornings). There I was, talking about the road to San Felipe through Tecate, when my good buddy Bob said “let’s do it.” Baja it was…the other guys were on their Harleys and uber-Beemers, and I was on my “small bore” KLR. The next weekend we pointed the bars south, wicked it up, and rode to San Felipe.
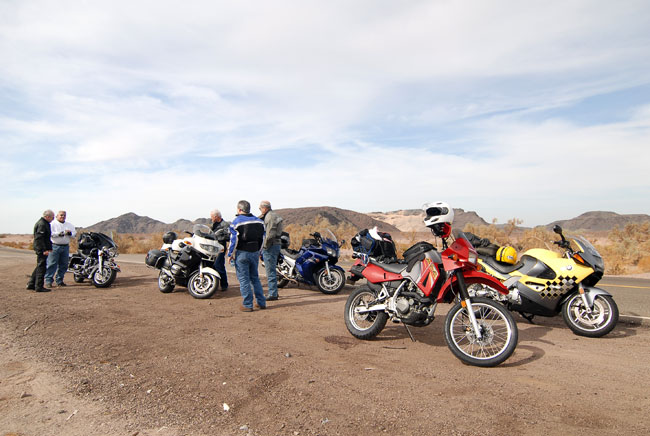
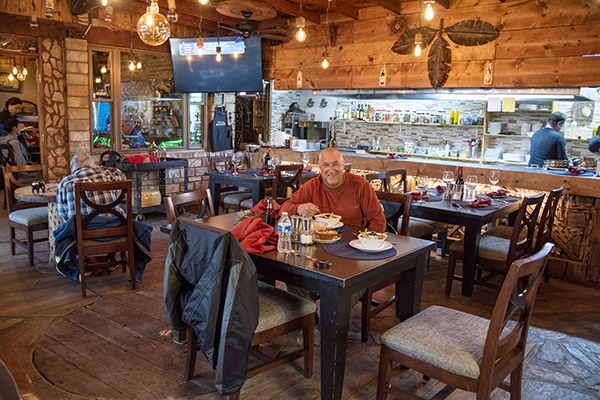
That was a fun trip. I took a lot of ribbing about the KLR, but the funny thing was I had no problem keeping up with the monster motos. In fact, most of the time, I was in the lead. And Bob? Well, he just kept studying the KLR. On Saturday night, he opened up a bit. Bob is the real deal…he rode the length of Baja before there was a road. That’s why he was enjoying this trip so much, and it’s why he was so interested in my smaller bike. In fact, he announced his intent to buy a smaller bike, which surprised everybody at the table.
Bob told us about a months-long moto trip he made to Alaska decades ago, and his dream about someday riding to Tierra del Fuego. That’s the southernmost tip of South America. He’d been to the Arctic Circle, and he wanted to be able to say that he’d been all the way south, too.
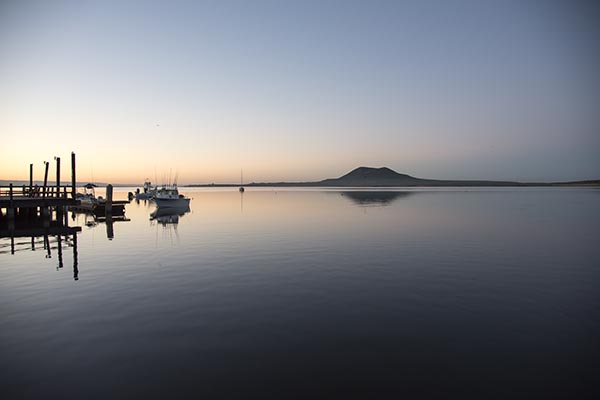
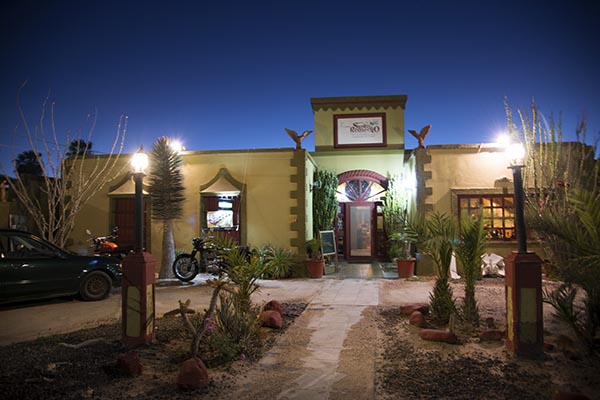
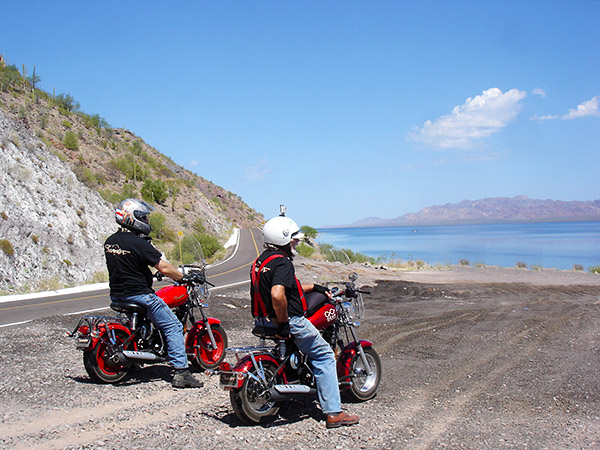
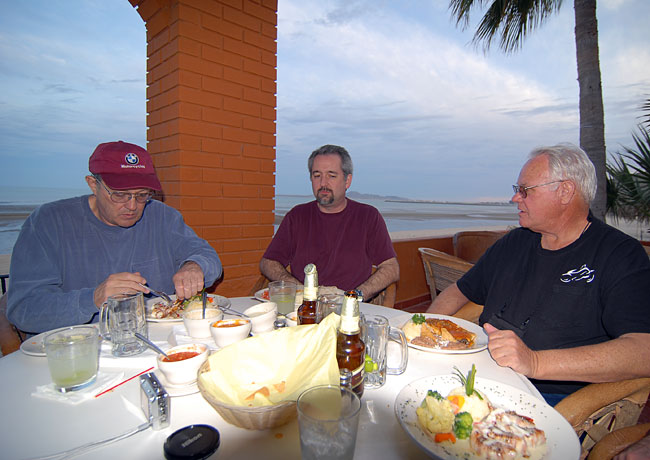
I thought all of this was incredibly interesting. Bob is usually a very quiet guy. He’s the best rider I’ve ever known, and I’ve watched him smoke Ricky Racers on the Angeles Crest Highway with what appeared to be no effort whatsoever. Sometimes he’d do it on a BMW trade-in police bike standing straight up on the pegs passing youngsters on Gixxers and Ducksters. Those kids had bikes with twice the horsepower and two-thirds the weight of Bob’s bike, and he could still out ride them. Awesome stuff. Anyway, Bob usually doesn’t talk much, but during dinner that night on the Sea of Cortez he was opening up about some of his epic rides. It was good stuff.
Finally, I asked: Bob, what bike would you use for a trip through South America?
Bob’s answer was immediate: A 250.
That surprised me, but only for an instant. I asked why and he told me, but I kind of knew the answer already. Bob’s take on why a 250: It’s light, it’s fast enough, it’s small enough that you can pick it up when it falls, you can change tires on it easily, you can take it off road, you can get across streams, and it gets good gas mileage.
Bob’s answer about a 250 really stuck in my mind. This guy knows more about motorcycles than I ever will, he is the best rider I’ve ever known, and he didn’t blink an eye before immediately answering that a 250 is the best bike for serious world travel.
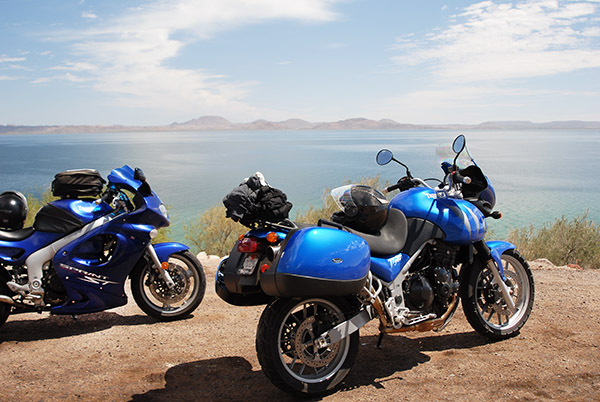
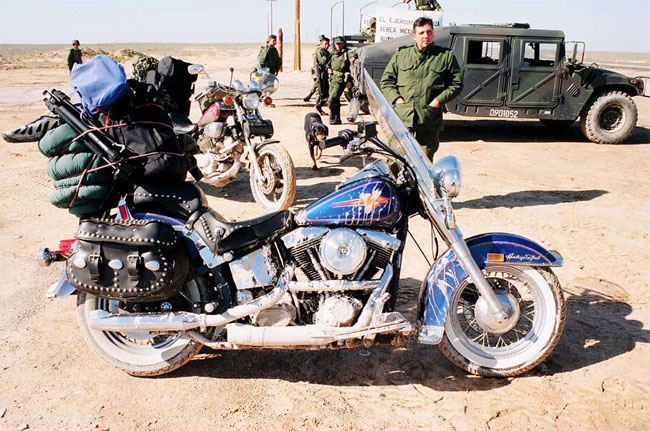
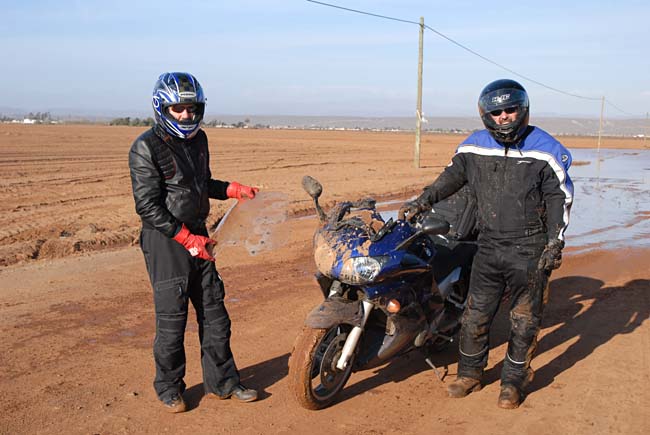
It all made a lot of sense to me. I had ridden my liter-sized Triumph Tiger in Mexico, but when I took it off road the thing was terrifying. The bike weighed north of 600 lbs, it was way too tall, and I had nearly dropped it several times in soft sand. It was not fun. I remembered another ride with my friend Dave when he dropped his FJR in an ocean-sized puddle. It took three of us to get the thing upright, and we dropped it a couple of more times in our attempt to do so. John and I had taken my Harley and his Virago on some fun trips, but folks, those bikes made no sense at all for the kind of riding we did.
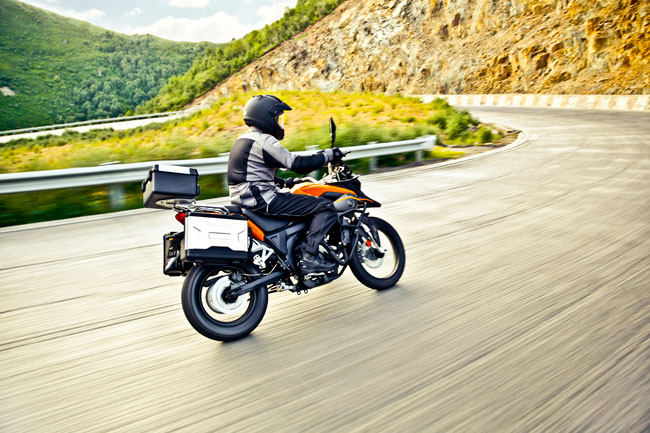
You might be wondering…what about the other so-called adventure bikes, like the BMW GS series, the Yamaha Tenere, or the Triumph Tiger? Good bikes, to be sure, but truth be told, they’re really street bikes dressed up like dirt bikes. Big street bikes dressed up like dirt bikes. Two things to keep in mind…seat height and weight. I can’t touch the ground when I get on a BMW GS, and as you’ve heard me say before, my days of spending $20K or $30K on a motorcycle are over. Nice bikes and super nice for freeway travel, but for around town or off road or long trips into unknown territory, these bikes are just too big, too heavy, and too tall.
There’s one other benefit to a small bike. Remember that stuff above about Honda’s 1960s marketing strategy? You know, starting on smaller bikes? Call me crazy, but when I get on bikes this size, I feel like a kid again. It’s fun.
I’ve thought about this long and hard. For my kind of riding, a 250 makes perfect sense. My invitation to you is to do the same kind of thinking.
So there you have it. That was the blog that helped to get the RX3 rolling, and CSC sold a lot of RX3 motorcycles. Back in the day, CSC was way out in front of everybody on the Internet publicizing the Zongshen 250cc ADV bikes, and other countries took notice. Colombia ordered several thousand RX3s based on what they saw CSC doing, other countries followed, and things just kept getting better and better. The central premise is still there, and it still makes sense. A 250 may well be the perfect motorcycle.
Keep those popup ads percolating…help us by clicking on them!
Never miss an ExNotes blog…subscribe here for free!