Today the ExNotes blog extends the tale of Bill’s Old Bike Barn and our continuing features on this magical mystery museum. I knew as soon as I entered Bill’s that a single blog would be entirely inadequate. Nope, this place is like peeling an onion; each layer reveals another story or three. Today’s feature is on two of Bill’s more interesting vehicles, and it was a tough call…everything in this Pennsylvania pleasure palace is interesting. But for today’s feature, the motorcycle half-tracks get the nod.
Motorcycle half-tracks? I mean, who’d a thought? They come across as the illegitimate offspring of a motorcycle and a Viagra-fueled armored vehicle. It’s a concept that just seems weird, like the designers were stoned when putting pencil to paper. Maybe it is and maybe they were.
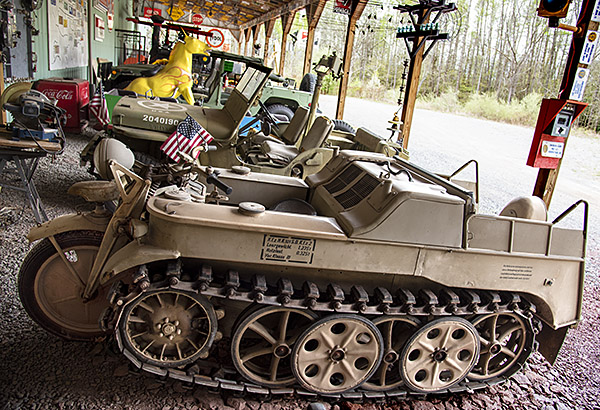
The first of these moto half-tracks is the Kettenkrad. The Nazis created the Kettenkrad koncept at the beginning of World War II and it’s no secret the Übermenschen used a lot of what they called Pervitin (which was actually crystal meth) to stay, you know, amped up. That might explain some of the Kettenkrad’s design.
I’d seen Kettenkrads in photos and World War II movies, but I’d never seen one in person until a very recent visit to the Lyon Air Museum (the topic of an ExNotes blog and a recent Motorcycle Classics Destinations piece). And wow, just a few months later, here’s another one.
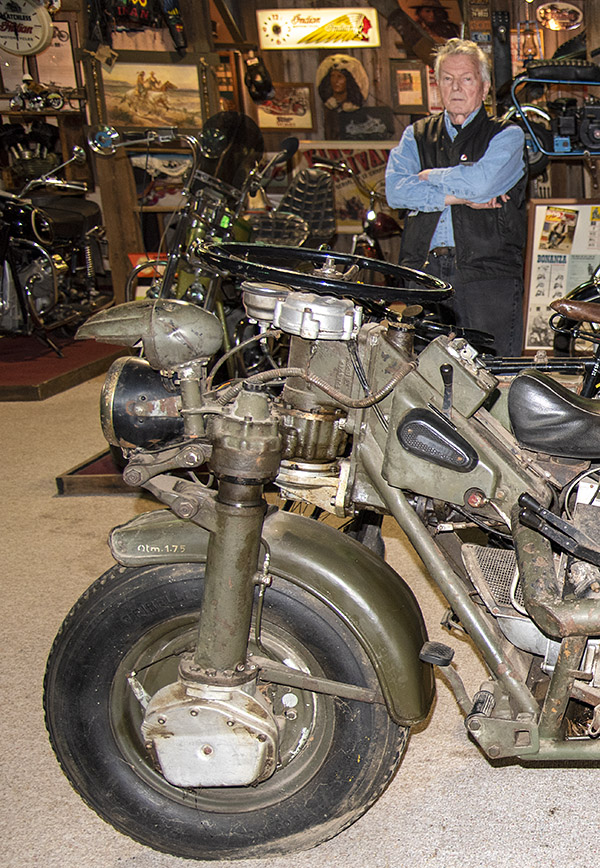
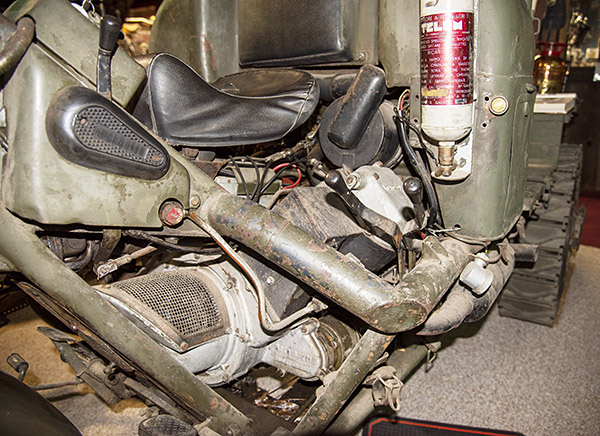
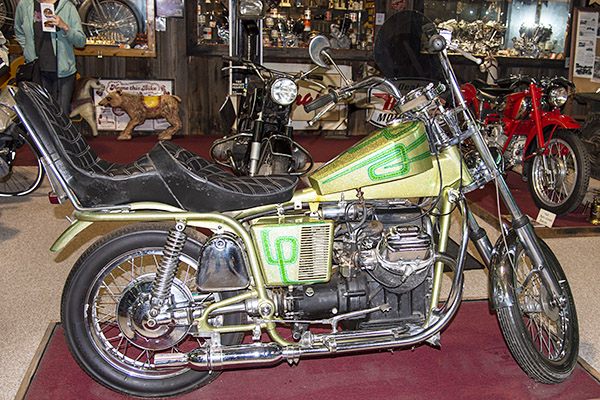
The other moto half-track, the Moto Guzzi Mulo Meccanico, was new to me (I had never heard of it before my visit to Bill’s). It’s the machine you see in the cover photo above.
Bill has one of each: A Kettenkrad and a Mulo Meccanico. The Guzzi half-track holds a place of honor in Bill’s Guzziland display; the Kettenkrad rotates between museum display duties and residing among several military vehicles parked outside the Museum.
Although both are rare, of the two there are a lot more Kettenkrads. Both vehicles were designed specifically for military applications, but in different eras. The Kettenkrad was a 1939 Nazi project designed and built by NSU Werke AG at Neckarsulm, Germany. Originally designed as a paratrooper support vehicle, NSU built 8345 Kettenkrads (10% were built under license by Stower, another German manufacturer). Production stopped at the end of World War II, and then NSU resumed Kettenkrad manufacturing for agricultural applications through 1948.
The Nazi war machine used Kettenkrads extensively on the Russian front for ferrying supplies and troops. Some also saw duty in western Europe and North Africa. Toward the end of the war (and because of fuel shortages) Kettenkrads became airfield tugs (the Nazis used them to pull their airplanes to the runway; the Luftwaffe pilots only started their aircraft engines when they were ready to take off).
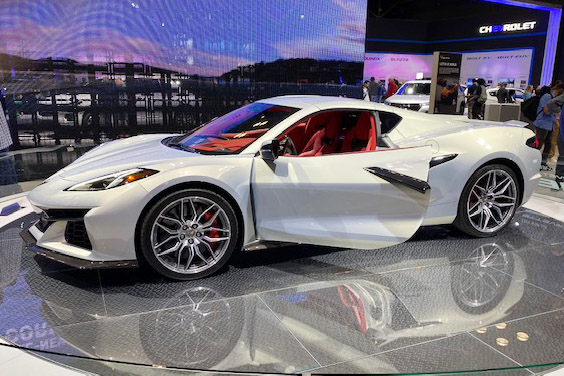
As a mechanical engineer, I always wondered if the Kettenkrad’s motorcycle front end actually steered the thing, or if the vehicle steered by driving the tracks at different speeds (as other tracked vehicles do). Talk about mechanical complexity…the Kettenkrad does both. Up to a point, the steering is via the handlebars and front wheel. Once the handlebars go beyond a certain angle, differential track speed steering kicks in. In really rough terrain, the Nazis removed the front wheel entirely and traveled only on the tracks. The Kettenkrad tops out at 44 mph, it has a 36-horsepower, inline, four-cylinder, water-cooled Opel engine, and it weighs 3,440 pounds (a little more than my Corvette).
Next up: The Moto Guzzi.

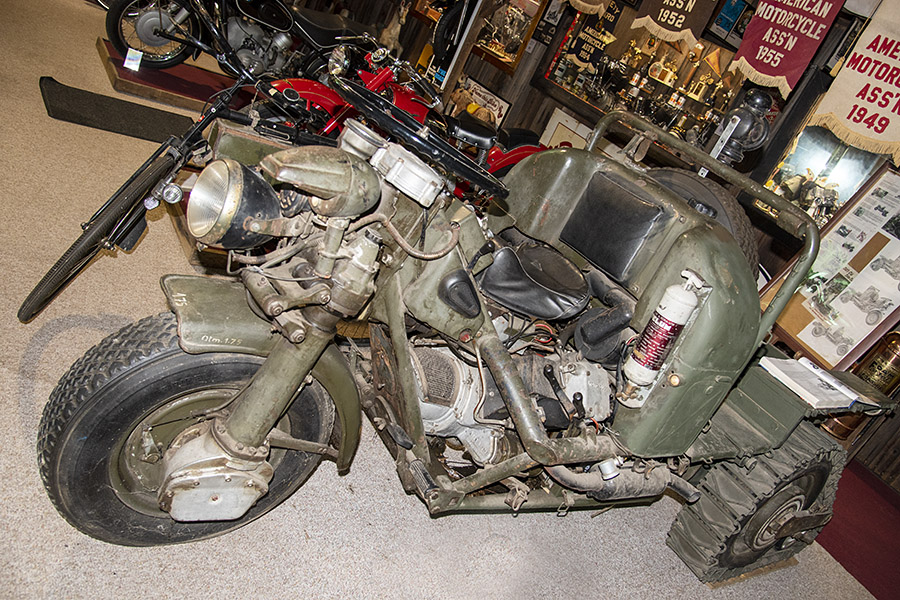
The Moto Guzzi Mulo Meccanico is a real oddity. Not only had I never seen one; I never knew such a thing even existed. There were only 200 ever made, and it all happened in the early 1960s. Built for the Italian Army (its official designation was the Autoveicolo Da Montagna, or mountain vehicle), Bill explained to me it was designed for hauling supplies over Alpine peaks. The Italians wanted something more modern to replace the donkeys they had been using (hence the unofficial name, the Mulo Meccanico).
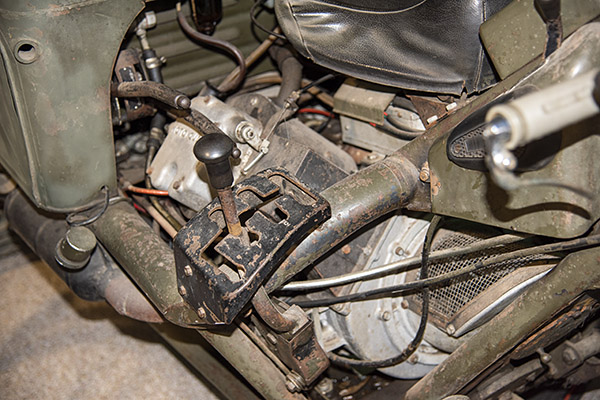
The tracked Goose had a gated hand shifter on the right side of the thing that allowed the rider to select any of six forward speeds or reverse. A speedo is the only instrument; it was the Mulo’s single nod toward simplicity. Everything else was hopelessly complex.
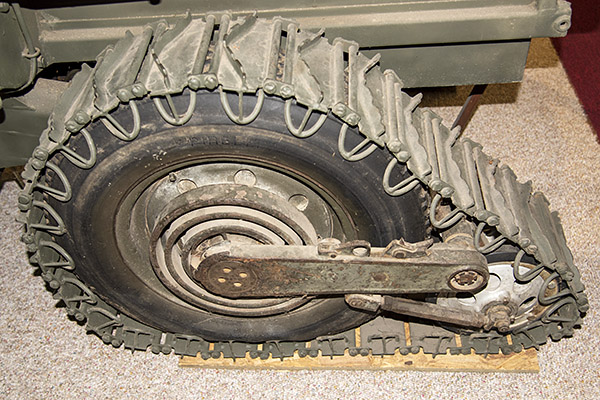
The mechanical details and specs on the Guzzi half-track are both unusual and impressive, but ultimately, the all-too-common engineering mistake of injecting complexity where none was required doomed the Mulos. And wow, the Italian military had a complex set of requirements. The Mulo had to do everything a real donkey could do and then some. The Italian Army wanted to be able to adjust the rear track on the fly to suit narrow trail conditions, so Moto Guzzi designed that into these bikes. The Army wanted all wheels to be driven. Atsa no problem, the Guzzi guys said. The customer wants tracks, like Il Duce’s buddy had on the Kettenkrad? Si, Guzzi said; tracks could be added to the two rear drive wheels (as you see on Bill’s). A steering wheel will do nicely, they thought. And check out the front fork. It was way ahead of its time: Single-sided, a driven front wheel (the thing can actually climb a vertical surface, as you’ll see in the YouTube video below). It’s not hydraulic drive, either; there are shafts and gears and u-joints buried in all that mechanical complexity.
Moto Guzzi originally planned to use their 500cc single for these vehicles, but it wasn’t powerful enough. So Guzzi engineered a V-twin-powered half-ton half-track that could tow and haul a combined 1,100 pounds. The Mulo weighed about 2,200 pounds and had a top speed of 50 mph. Yee haw!
What you see here is a camel designed by a committee (the Italian military-industrial complex tried to mechanically create a donkey). The only lasting things to come out of the effort were the famed Moto Guzzi transverse V-twin engine and a good story (that would be this one). The resulting mechanical camel intended to replace the mule died a quick and merciful death, but the engine went on in several iterations to power all subsequent Moto Guzzi motorcycles. Modern versions of the Mandello Del Lario motor power Moto Guzzis today, and the guys who ride Moto Guzzis (like my good buddy Dan) absolutely love them. I always wanted a Guzzi, but it’s an itch I haven’t scratched. Yet.
The Italian Army originally ordered 500 Mulos with deliveries starting in 1961. But the Guzzi’s complexity ran smack into that age-old engineering axiom (KISS, or Keep It Simple, Signore). The Moto Guzzi Mulo Meccanico was just too complicated, too difficult to operate, and too dangerous. The real donkeys could get through those mountain passes just fine and the Mulos could not. In 1963 production stopped after only 200 units. The Army literally went back to donkeys. The real ones.
Hee haw.
One more thing I thought you might enjoy: I found a couple of YouTube videos showing both moto half-tracks, the Kettenkrad and the Mulo Meccanico, in action. The folks in the videos seem to be having fun.
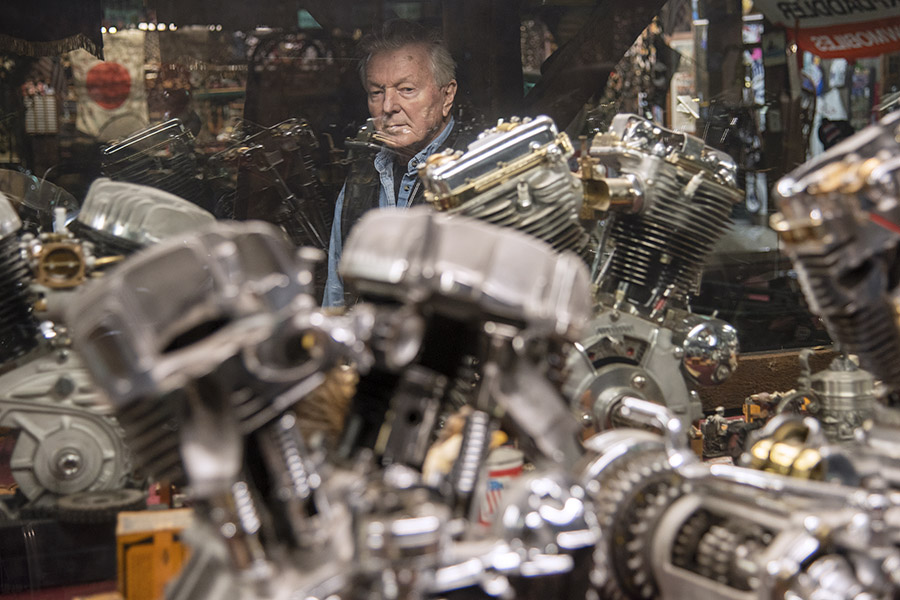
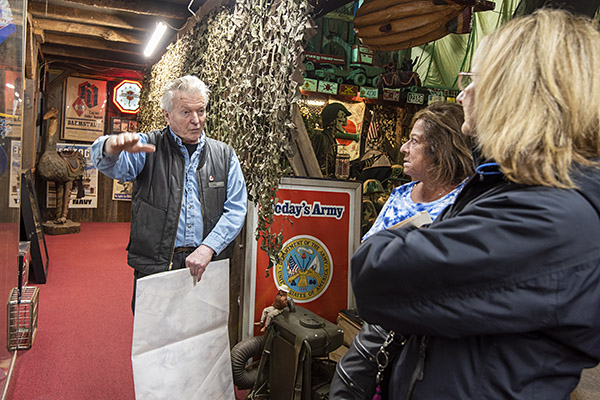
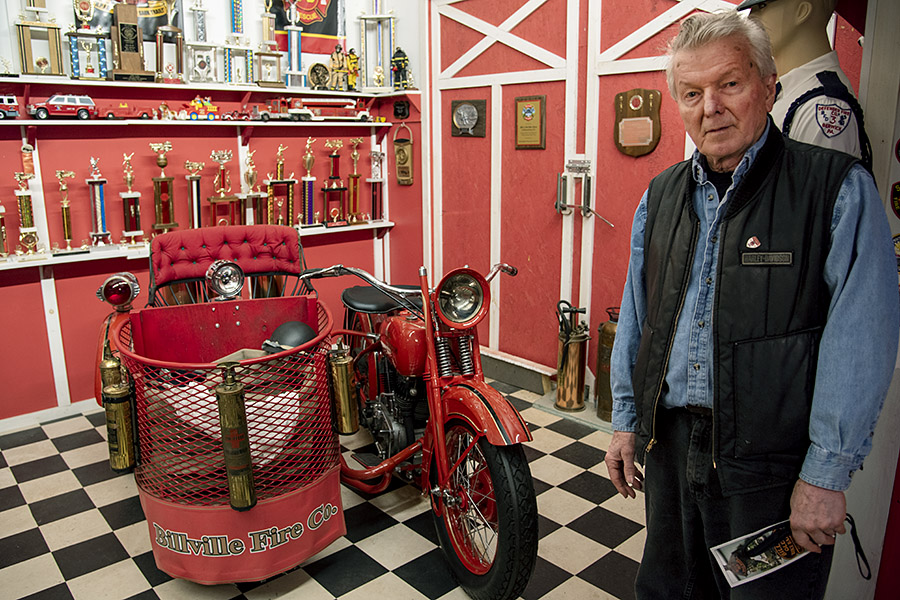
Bill Morris is the real deal, and Bill’s Old Bike Barn is one of the most interesting motorcycle museums I’ve ever visited. We’re doing on a series on the man and the museum, and this is our third installment in that series. You can see the first two below.
Miss our first installment on Bill’s Old Bike Barn? Hey, here it is:
The next blog in this series is on Bill Morris: The Man. It’s a great story.
Like what you see here? Hey, do us a few favors:
-
-
- Click on those annoying popup ads (we get paid every time you do).
- Check out our other museums and other cool reviews.
- Tell your friends about ExhaustNotes and share us on social media.
- Sign up for instant gratification every time we publish a new blog:
-


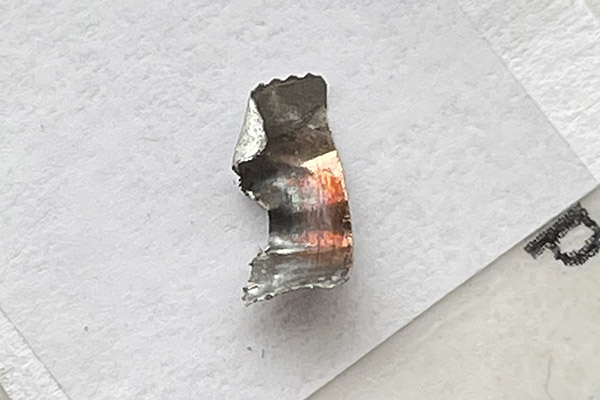

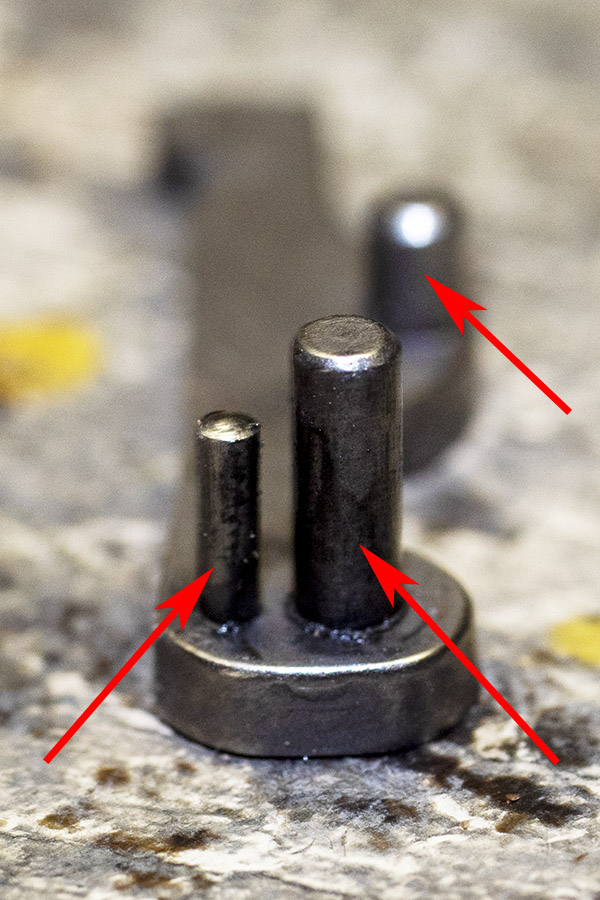
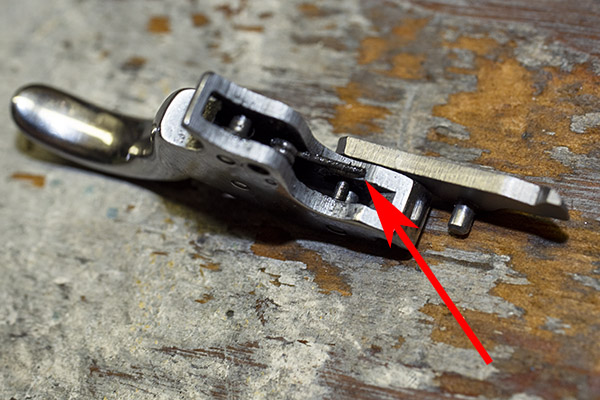
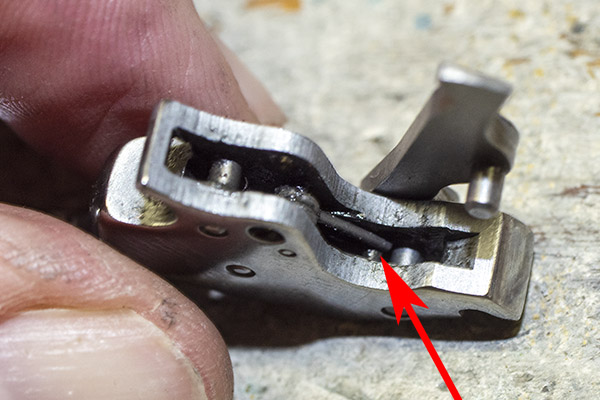
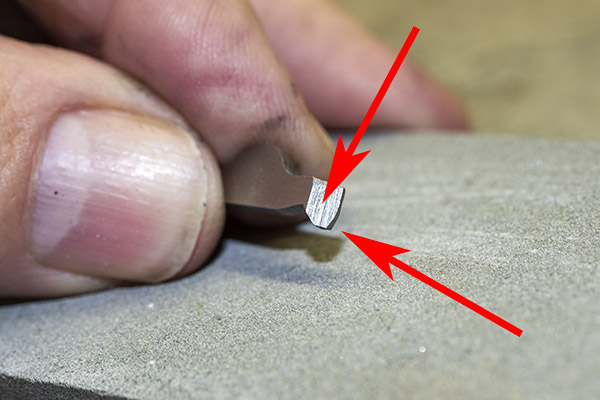
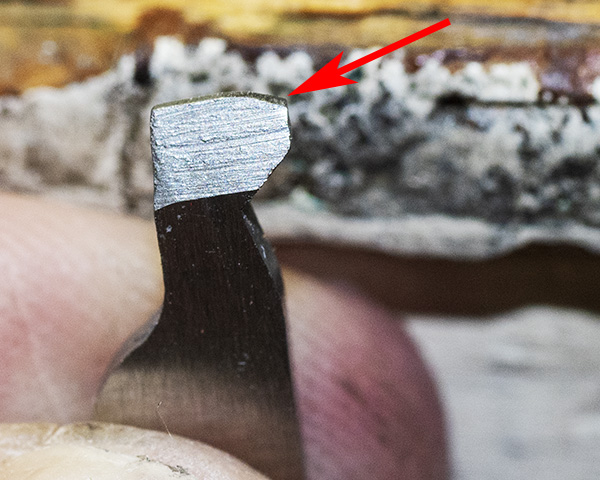
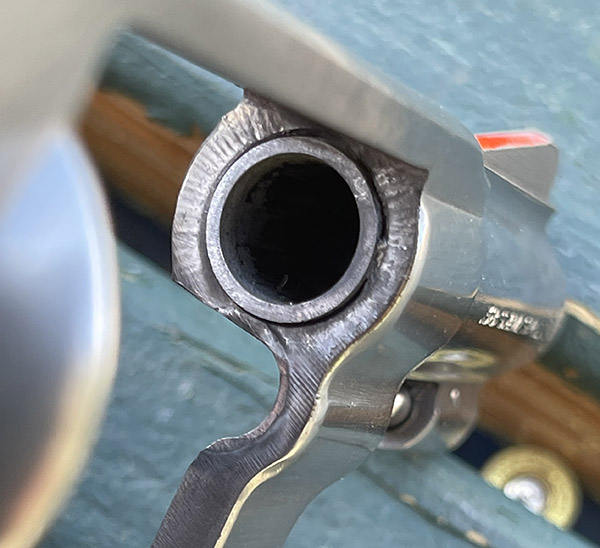
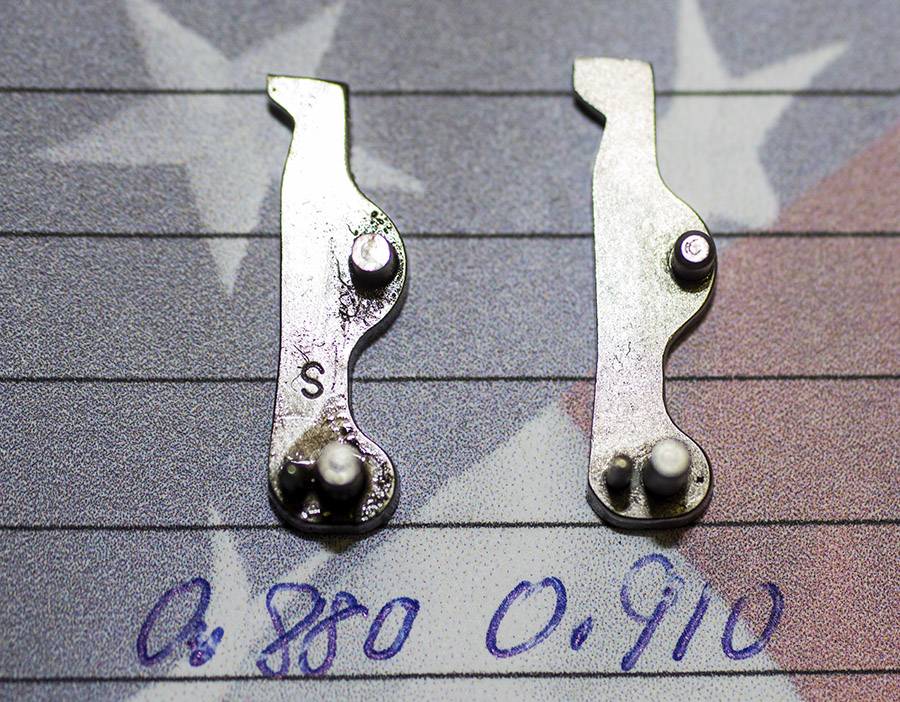
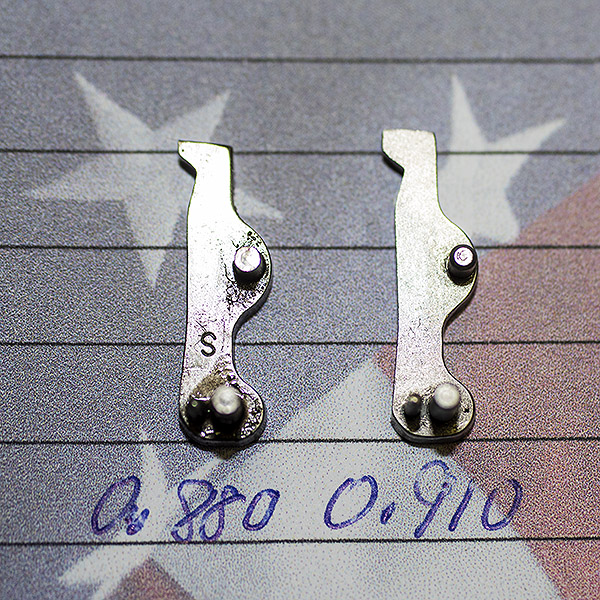 You can see there’s a big difference in length between the old and the new hands. I bought my new hand from MidwayUSA.com. It was about $25.