By Joe Berk
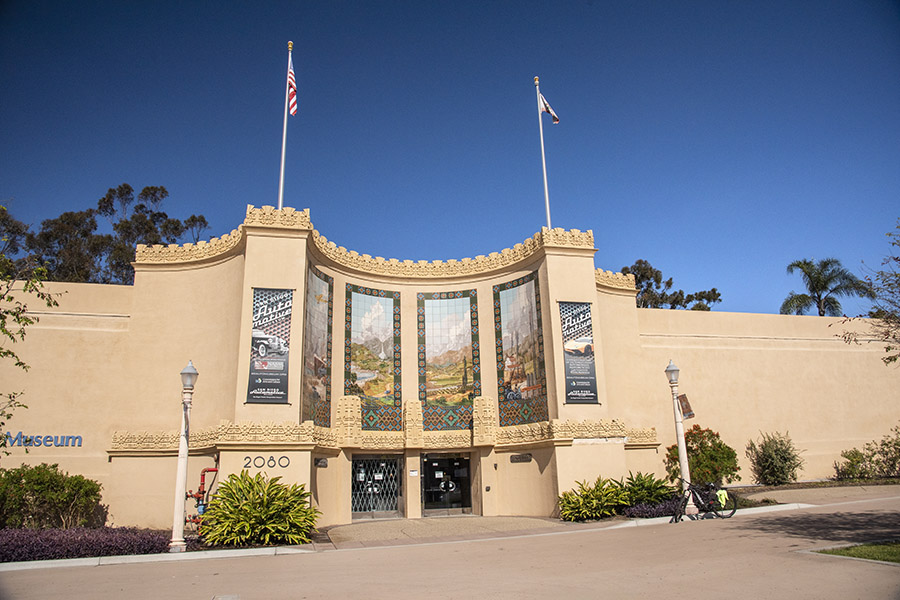
The building you see above is the San Diego Automotive Museum. Take a good look at it…the sculpted trim, the mosaic panels, and its architectural splendor. We’ll touch on those topics again at the end of this post.
Our travels this year have focused mainly on motorcycle museums. Why, then, you might ask, an automotive museum? The name (i.e., an automotive museum) suggests four-wheeled transport. But the San Diego Automotive Museum popped up when I Googled motorcycle museums, and when subsequently searching the definition of “automotive,” I learned that the word can be used to describe anything related to or concerned with motor vehicles, including motorcycles. In the case of the San Diego Automotive Museum, it does indeed relate to motorcycles. In fact, much to my surprise there are as many motorcycles in the San Diego Automotive Museum as there are cars.
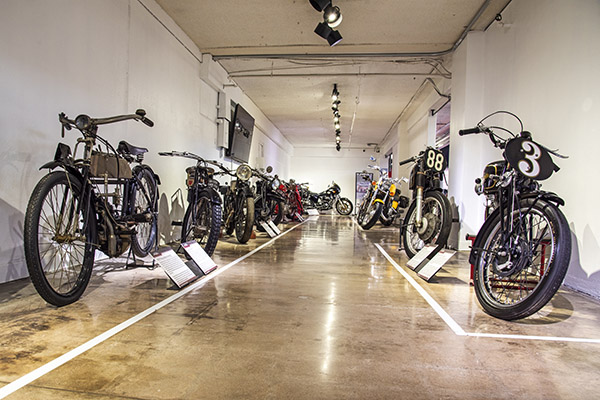
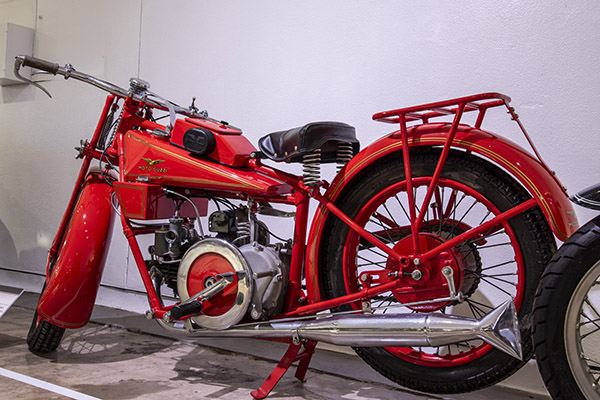
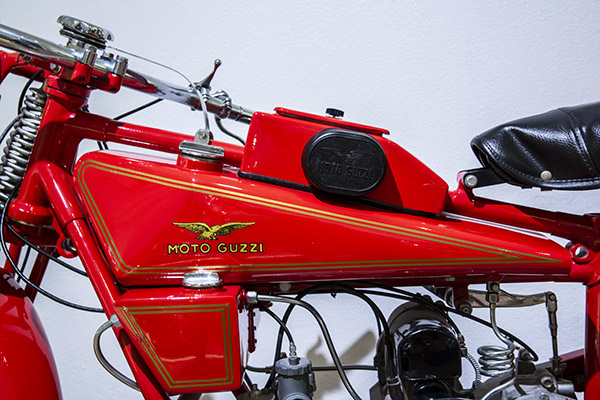
Some of the motorcycles in the display hall were ones I had never heard of, and as a guy who’s been fascinated with motorcycles since the early 1960s, that’s saying something. I’ve been doing some great things with Cycle Garden in Indio, California recently for Motorcycle Classics magazine, and I’ve always been interested in the V-twins from Mandello del Lario, so any day I see anything associated with that marque is a good day. Ever hear of the Dondolino? Yeah, me neither. It almost sounds like an Italian restaurant’s signature dish.
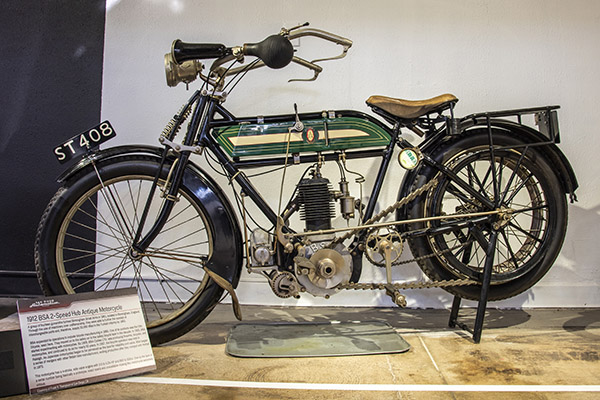
Another one that was fascinating for several reasons, not the least of which was its paint treatment, was a 1912 BSA single. Surprisingly, the Museum operations manager told me flash photography was okay (in most museums it is not). It was hard getting decent photos in the display hall, even though I shoot raw photos (not jpegs), as the raw photo format preserves all photo data (jpegs compress the data). The display hall was lit with tungsten lighting, which always make getting good color balance difficult. Even though the the raw photos allow for color temperature adjustments in Photoshop, it was tough getting these right.
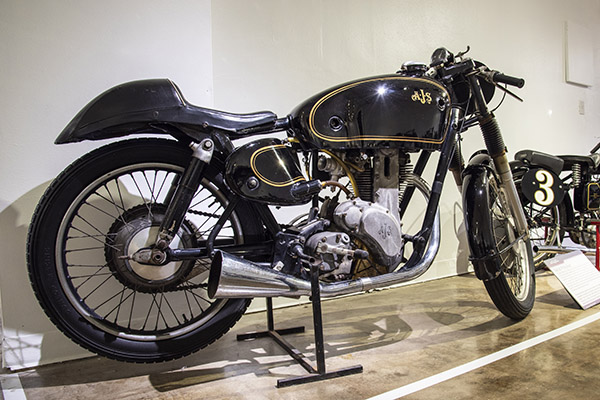
The Museum has a beautiful AJS motorcycle on display. Some of you older folks and more serious students of the motorcycle may know of the original A.J. Stevens and Company of Great Britain, which manufactured motorcycles from 1909 to 1931. AJS sold to Norton, and ultimately became part of Norton Villiers in 1966. That company went belly up a few years ago. Several organizations picked up the Norton name and tried to make a go of it; to my kn0wledge, none succeeded (although I haven’t checked in the last month or so, so maybe yet another Norton-named manufacturer snuck in). The AJS name has been revived as a small bike manufacturer, or rather, a name attached to 125cc motorcycles made in China by Jianshe.
You know, AJS is indirectly (and partly) responsible for the CSC name. When founded in 2010, today’s CSC was initially known as the California Scooter Company. The California Scooter Company manufactured Mustang replicas (the Mustang was a small American motorcycle made in the 1950s). The name, California Scooter Company, caused us no end of grief because people would look at the little Mustangs and ask, “is it a motorcycle or a scooter?” We always explained how “scooter” was a slang term for a motorcycle. I wanted to tell people they were too stupid to ride if they didn’t know the difference (but in an unusual display of politeness I never did). Ultimately, we shortened “California Scooter Company” to “CSC” based on the industry’s history of three-letter acronyms for company names. You know: BMW, BSA, KTM, AJS, etc. Then the questions changed to “What does CSC stand for?” I couldn’t resist that one and my answer was immediate: Chop Suey Cycles.
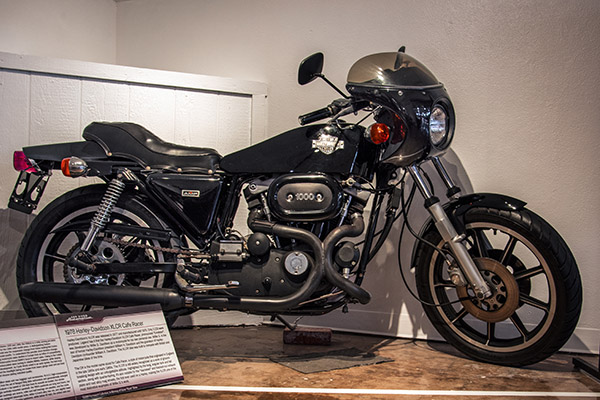
To get back to the main attraction (the San Diego Automotive Museum), both ends of the main motorcycle display hall are anchored by big American V-twins. One is a 1978 XLCR Harley Cafe Racer, which I think is one of the most beautiful motorcycles Harley ever made. The other end of the display hall has a garish chopper, one from a company appropriately named Big Dog. In an act of photographic mercy, I didn’t get a photo of it.
Moving outside the motorcycle exhibit hall and into the rest of the Museum, as mentioned earlier there are motorcycles displayed throughout the other displays. One of the first is a Dan Gurney Eagle. Dan Gurney was a famous automobile racer who formed a company that mounted Honda engines in a frame in a manner that positioned the rider low in the bike. The seating arrangement was said to improve handling. Maybe it does. To me, it just weird, and rider visibility has to be terrible. I think I would look weird (or weirder than usual) when stopped with my legs splayed out to the sides.

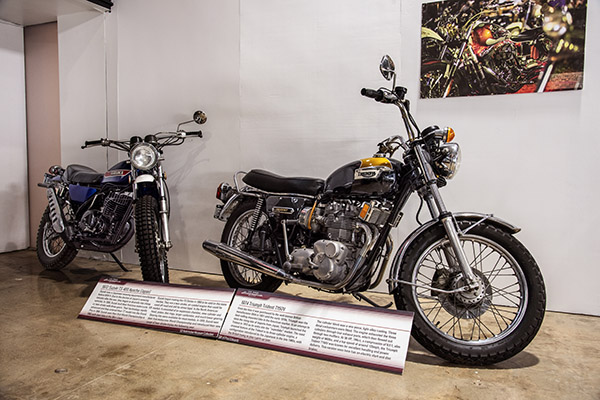
As soon as you enter the Museum, there’s a 1974 Triumph 750 T150V Triple on display (along with a two-stroke Suzuki 400cc dual sport). The Triumph Trident was supposed to be Triumph’s answer to the Honda 750 Four, but it was too little, too late. The Honda was far ahead of its competition. Triumph ultimately went out of business a few years later.
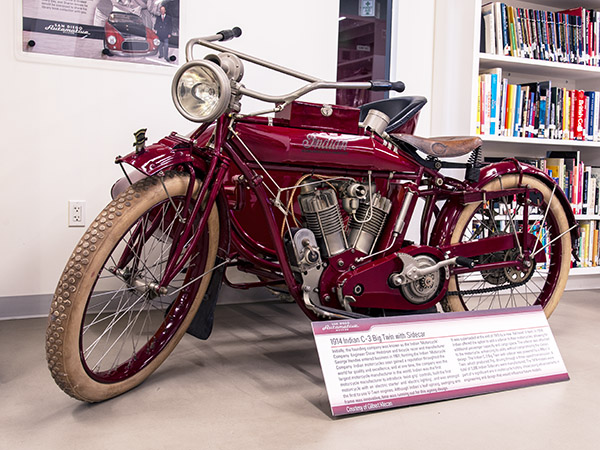
The San Diego Automotive Museum has a library, and our host explained to us that they are often visited by elementary school classes. Students use the library for homework assignments related to automotive topics. There are a couple of interesting motorcycles in the library. One is a Scott two-stroke (another motorcycle I had never seen before); the other is a 1914 Indian V-twin with a sidecar.

In the Museum’s main display area, there’s a land speed record streamliner that at first I thought was a motorcycle. You know, kind of like the land speed record Triumph that hit 247 mph back in the 1960s (Triumph included a “world’s fastest motorcycle” decal on every bike). But this vehicle wasn’t a motorcycle; it actually had four wheels beneath its narrow body work. The Vesco Turbinator is powered by a helicopter engine, and it set a world speed record for wheel-driven (as opposed to jet propelled) vehicles.
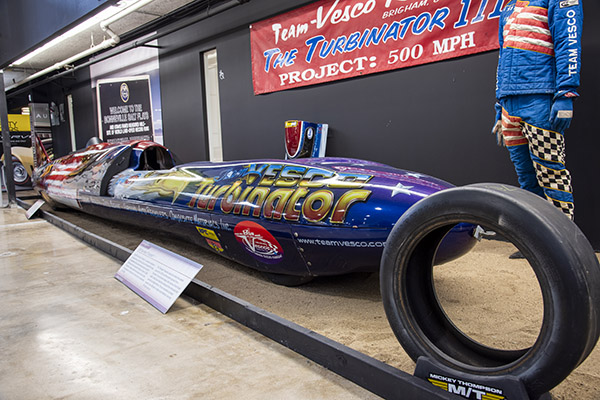
I poked around a bit on the Internet and found this very cool YouTube of the Turbinator’s Bonneville speed run:
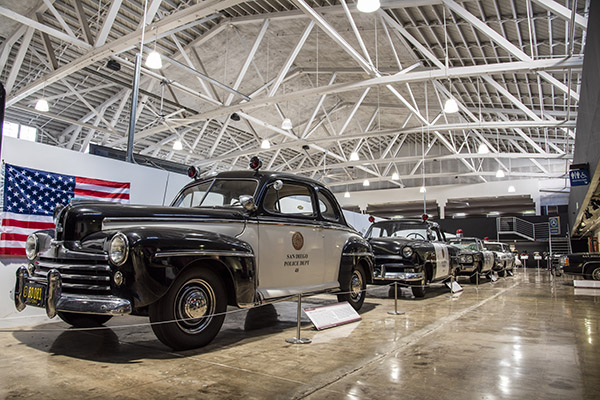
There were several kinds of cars on display, including an interesting collection showing the evolution of police cruisers.
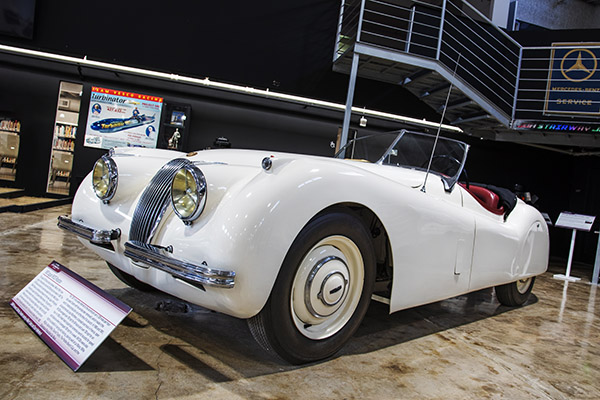
One of my dream cars has always been the XK-120 Jaguar, and the San Diego Automotive Museum had one on display.
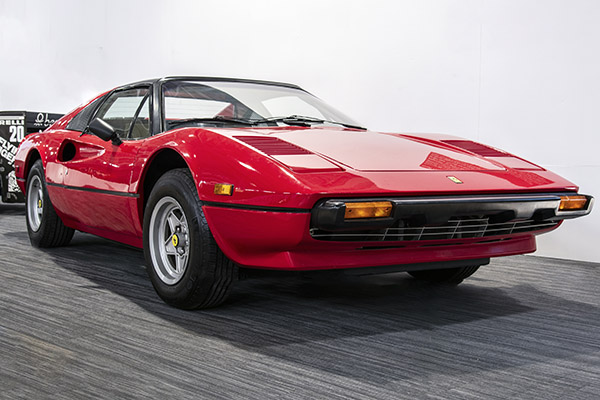
Do you remember Tom Selleck’s first television series, Magnum P.I.? The Museum’s displays include the Ferrari 308 from that show.
When I first moved to southern California nearly 50 years ago, we had traffic, but not like we do today. We read a lot of stories about billionaires leaving California, but as far as I can tell, it feels like a lot more people are here now. I think our population is increasing. High density housing and traffic are out of control. Back in the 1970s, it was no big deal to hop on my Electra Glide, head south, and arrive in San Diego two hours later. Today, that same trip is at least three hours, and that certainly was the case when Sue and I visited the Automotive Museum a few days ago. We have more freeways than we did 50 years ago, but the traffic is horrendous and it still takes longer to get anywhere. That said, our ride the other day was an easy hundred-mile stint south on Interstate 15 to California State Route 163, and then a right turn into Balboa State Park.
Although the drive down to San Diego was long, I didn’t mind. It had been at least 30 years since I’ve been to Balboa Park. It’s a national treasure. The Park covers 1200 acres, and it is one of the oldest parks in the U.S. The land was originally reserved in 1835. Balboa Park contains 17 museums and 18 botanical gardens. It also has theaters, restaurants, and the world-famous San Diego Zoo. The whole affair is managed by the San Diego Parks and Recreation Department.
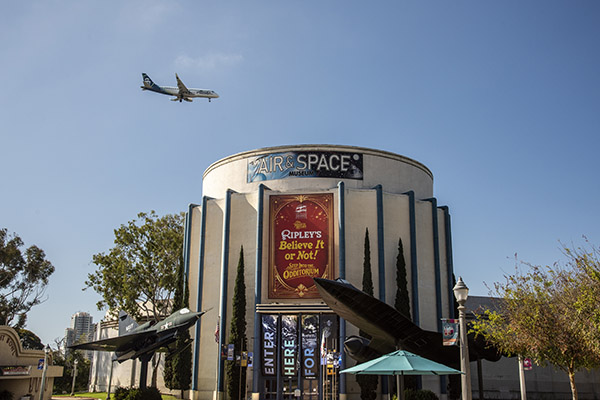
After visiting the Automotive Museum, Sue and I wandered outside and shot a few photos of the building (including the one at the top of this blog). It was a glorious day, the kind that makes living in southern California a treat: 70 degrees, essentially no humidity, and not a cloud in the sky. As I wrestled with the big Nikon 810 and its 24-120 lens, we noticed two older gentlemen sitting at a table in front of the Museum. They watched me taking photos, and that led to a 45-minute conversation about life in general, getting old, being retired, enjoying days like the one we were enjoying, and Balboa Park. The two were both nearly 80 years old. One had been the architect for the Automotive Museum’s remodeling a few decades ago; the other had designed and built the ornate trim you see around the top of the Museum. They regaled us with stories about the Automotive Museum building, the Museum’s donors, and more. It was a pleasant morning, made all the more interesting with this conversation.
The way to take in Balboa Park (if you haven’t been here before) is not to do it the way we did (i.e., driving down for a half-day visit to the San Diego Automotive Museum). A better way to enjoy Balboa Park is to spend several days in San Diego. San Diego is one of the world’s great cities, and Balboa Park is its crown jewel.
You could spend a week just in Balboa Park, but there are many other fun things to do in and around San Diego, many of which we’ve written about before. The San Diego Zoo is one of the world’s great zoos, and it’s good for a full day (or two). There’s the USS Midway Museum, which can only be described as magnificent. The Deer Park Winery and Auto Museum is just a few miles up Interstate 15, with its magnificent collection of convertibles and wines. Mexico is just a few miles south, with Tijuana on the other side of the border, Tecate and its culinary delights an hour or so to the east, and all of Baja starting as soon as you cross the border. Baja is magnificent; it offers some of the best riding in the world. The restaurant scene in San Diego can only be described as spectacular, but don’t get waste time or money in the high-priced tourist eateries in San Diego’s Embarcadero area. If you want authentic Italian cuisine, navigate your way to Volare’s (it’s one of San Diego’s best kept secrets).
So there you have it: The San Diego Automotive Museum and a few other San Diego attractions. If you haven’t been to this magnificent city, San Diego is a destination that should be on your bucket list.
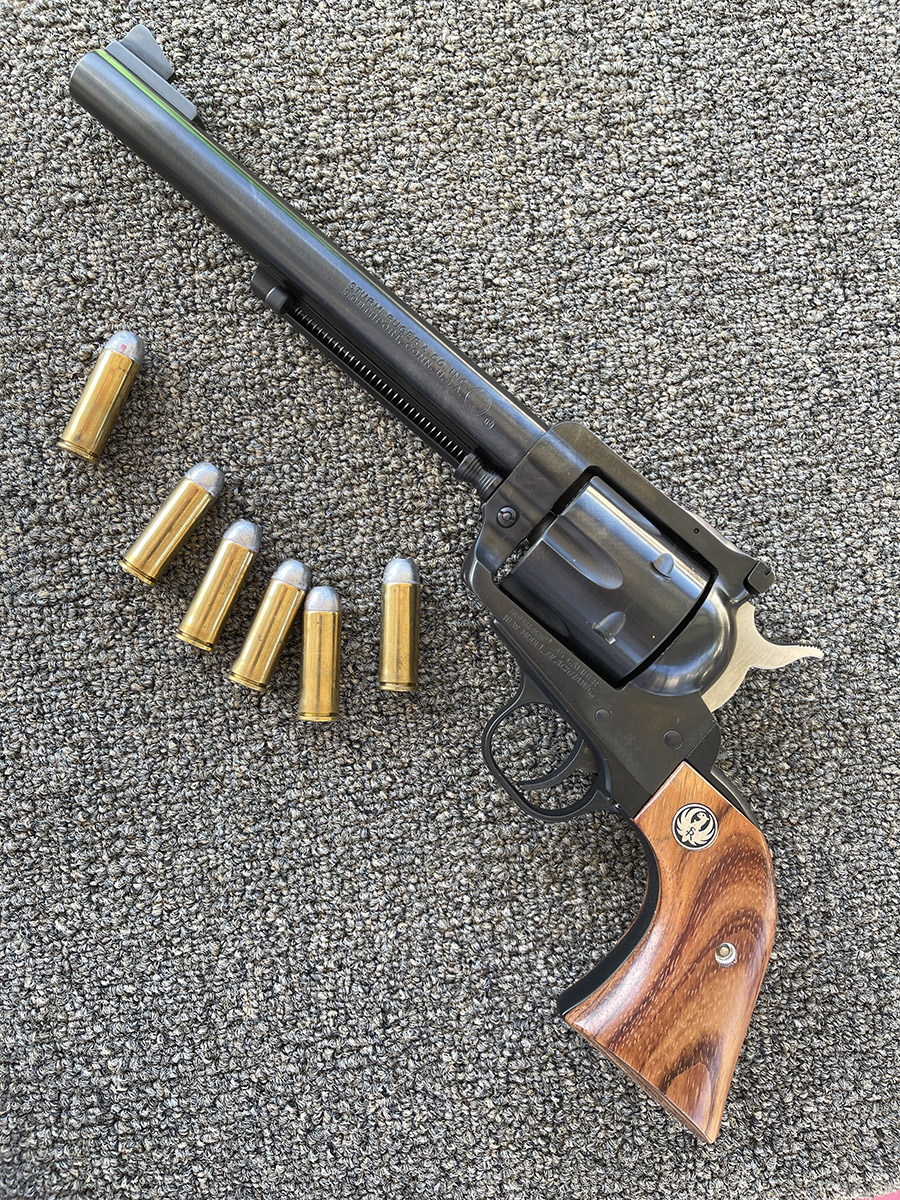
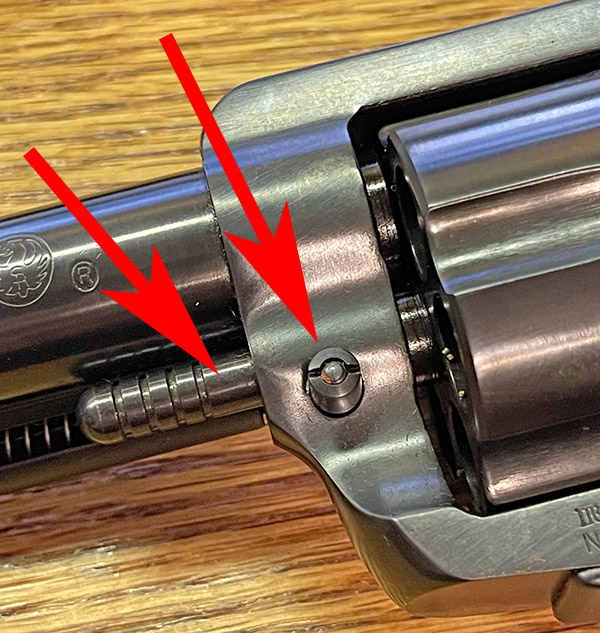
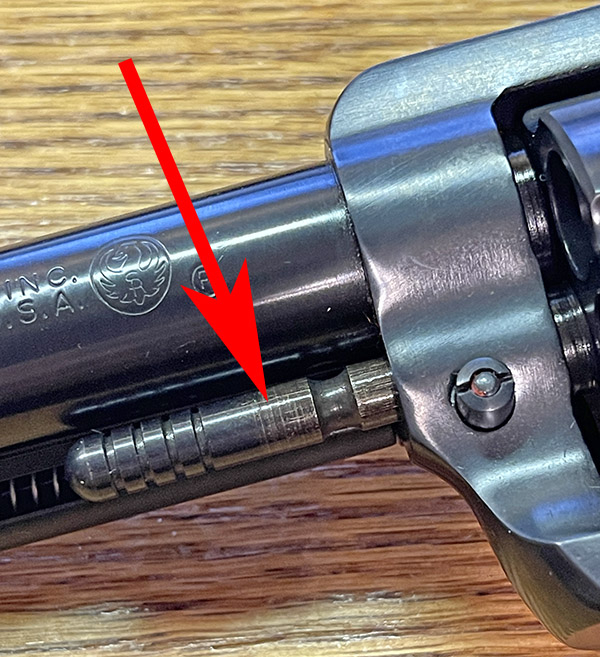
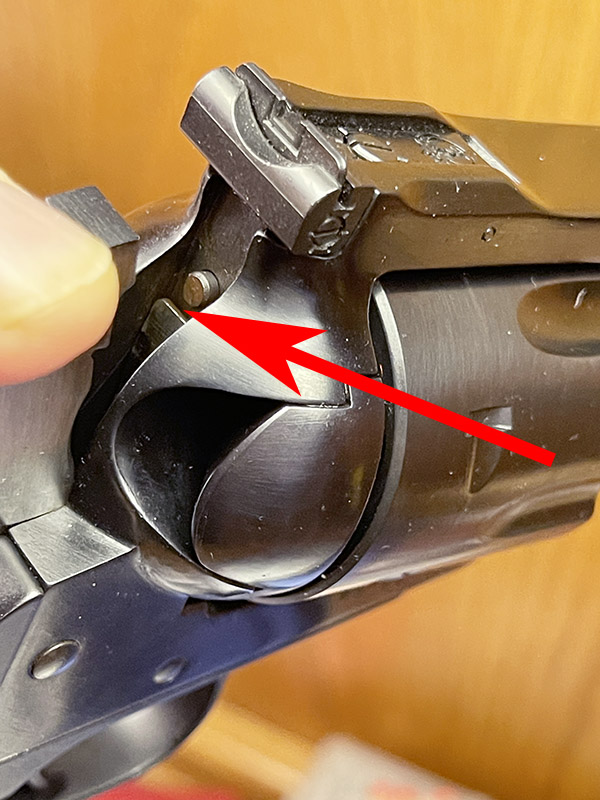
More gun stuff? You bet!

We need your support! Do what you can to help ExNotes stay in the black!
More Huber? Check out A Trip Into The Moment.

More Gresh and Berk? You bet! Check out A Cup O’ Joes!
Join our Facebook ExNotes page!