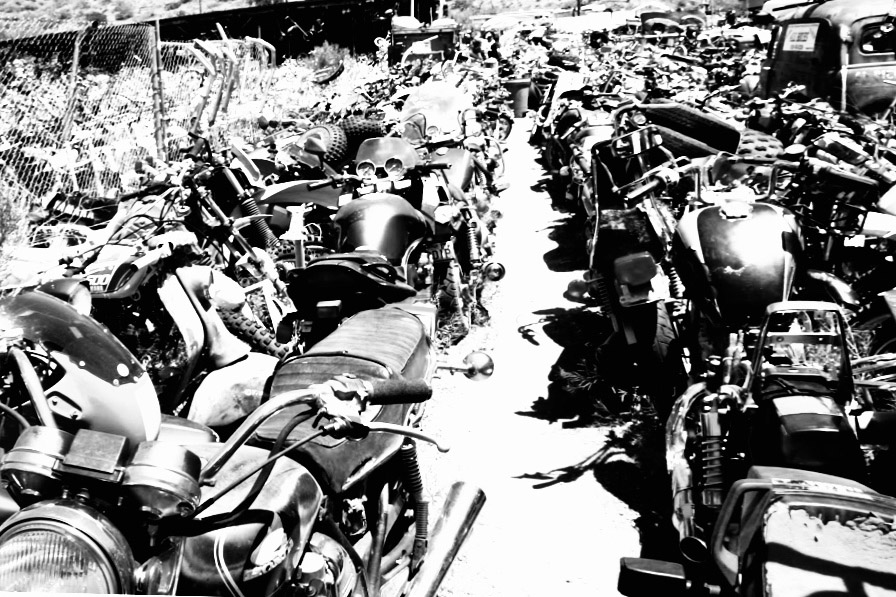
Here at ExhaustNotes.us we’ve been discussing the possibility that we may have more motorcycles than anyone actually needs. Personally, I have more motorcycles than I can afford to insure. I can’t ride them legally so the bikes sit in my shed gathering dust. Berk, who has a much smaller shed, is taking aggressive action on the issue by selling off some unused bikes. It’s inspired me to do the same. But which bikes? How many motorcycles do I need? I don’t want to end up one of those hoarders who die leaving Meacham’s auction house to pawn my junk off to the other hoarders.
For the sake of argument lets say X equals the number of motorcycles that your ability and status in life can keep maintained and running. Besides remorseless economics and mechanical talent there are the bikes that have a sentimental meaning to you that goes beyond reason and harsh reality. We’ll call that value Y. For example, you may never get that Norton put back together but if the fact that it exists in your shed brings you happiness why am I judging?
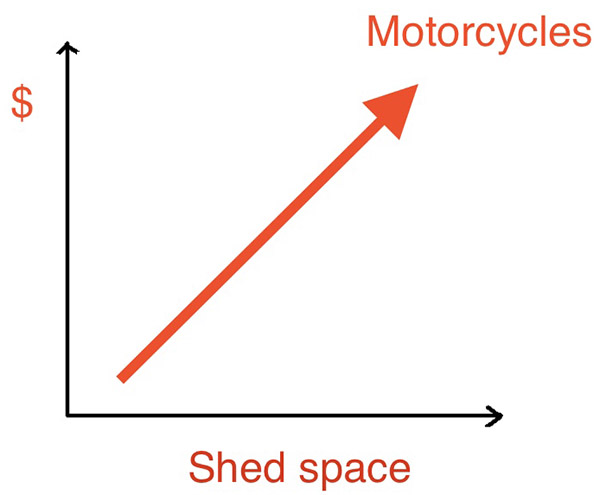
If all we had to deal with was X and Y we could plot the number of owned motorcycles on a simple two-dimensional graph but life is not lived in two dimensions. Reality demands that we consider Z, with Z being the amount of space you have to store the motorcycles. If the value of Z, Y and X were infinite you could collect all the motorcycles. I mean all of them. No one else could own one because you would have the entire world’s output of motorcycles. The problem is X, Y and Z are never infinite; even if they were and you owned them all who would you ride with? Nobody.You’d be a lonely, bitter soul. By simple logic we have determined an upper limit on motorcycle ownership: all of them minus one for your riding buddy.

Since this is a motorcycle blog I will assume the readers like motorcycles. Hence, pandering to the mob dictates that one motorcycle is the lower limit on motorcycle ownership because a story on motorcycle ownership that didn’t involve motorcycle ownership cannot exist in the intellectual vacuum of the Internet.
There are a vast number of motorcycles between one and all of the motorcycles minus one. We can narrow the field a bit by eliminating BMW motorcycles as no one likes them anyway but that still leaves a lot of bikes. I think it’s better to start from the other end, the end that starts with one.
If you can only have one motorcycle (X, Y and Z= jack-all) then that one motorcycle better be an enduro-type. A combination dirt/street motorcycle is the one to have if you only have one. As X, Y and Z grow larger a street-specific motorcycle is handy for highway rides. That makes two bikes and I really feel two is the minimum number of motorcycles regardless of your situation. You’ll just have to put your nose to the grindstone and increase your X/Y/Z, Bubba.
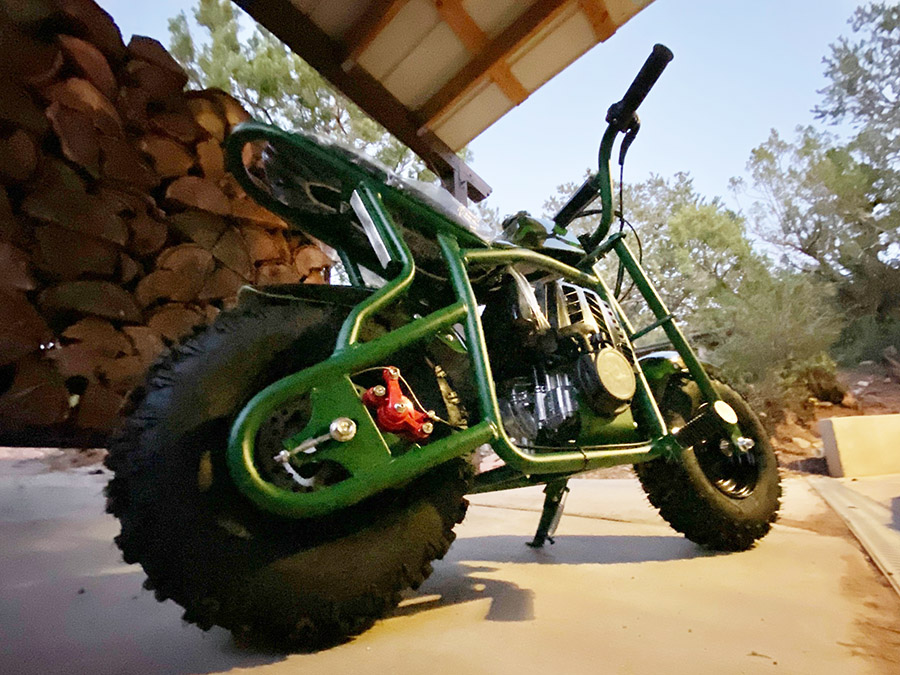
If we break down street bikes into touring, sport, and vintage categories and dirt bikes into enduro, motocross and vintage you could make the argument that six motorcycles are the minimum amount required. You’ll also need a mini bike for bopping around your ranch and a lightweight moped for running down to the post office. This brings the total to eight motorcycles and I feel that eight motorcycles show a good level of commitment to the motorcycle pastime.
With eight motorcycles on site visitors to your home will rightly expect you to loan them a motorcycle and take them on a little tour of your surroundings. Don’t do it. Your bikes are your bikes and if your visitor crashes one it will poison the friendship. Better to own a loaner bike, one you don’t care about for those pesky hanger-onners. An extra copy of your loaner motorcycle will make visitor rides more fun as neither rider has the upper hand in equipment. So you’ll need ten motorcycles to adequately maintain friendships. A small price to pay in the grand scheme of things.
Once you’ve got ten motorcycles you may as well go ahead and get a couple nostalgic trinkets from your youth. Maybe a nice example of the first bike you ever owned or the motorcycle your ex-spouse made you get rid of because you had kids. Maybe it’s the bike your dear old dad owned or the model of motorcycle that decapitated a school chum. There are all manner of excellent reasons to own up to sixteen motorcycles.
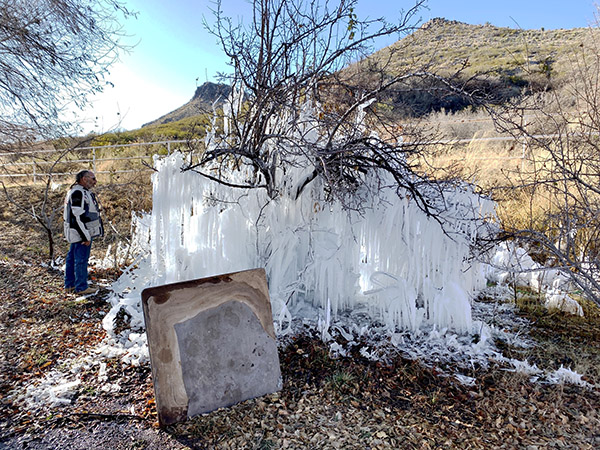
Moving far from town and building a large shed to house all your motorcycles is a tell tale sign that you may be overdoing things a bit. Living on canned soup, scouring the Internet for motorcycles to buy is not the healthiest lifestyle but it’s not the food choices that get you in the end. Once you start building multilevel lofts to store motorcycles in inaccessible places you are one small earth tremor away from being buried alive by motorcycles.
There’s something about walking in a shed without having to turn sideways that appeals to me. Our economy is built on over consumption. I’m at eight, maybe nine motorcycles now and I’m feeling like I should get rid of a few. So how many motorcycles are too many? What is your comfort level?


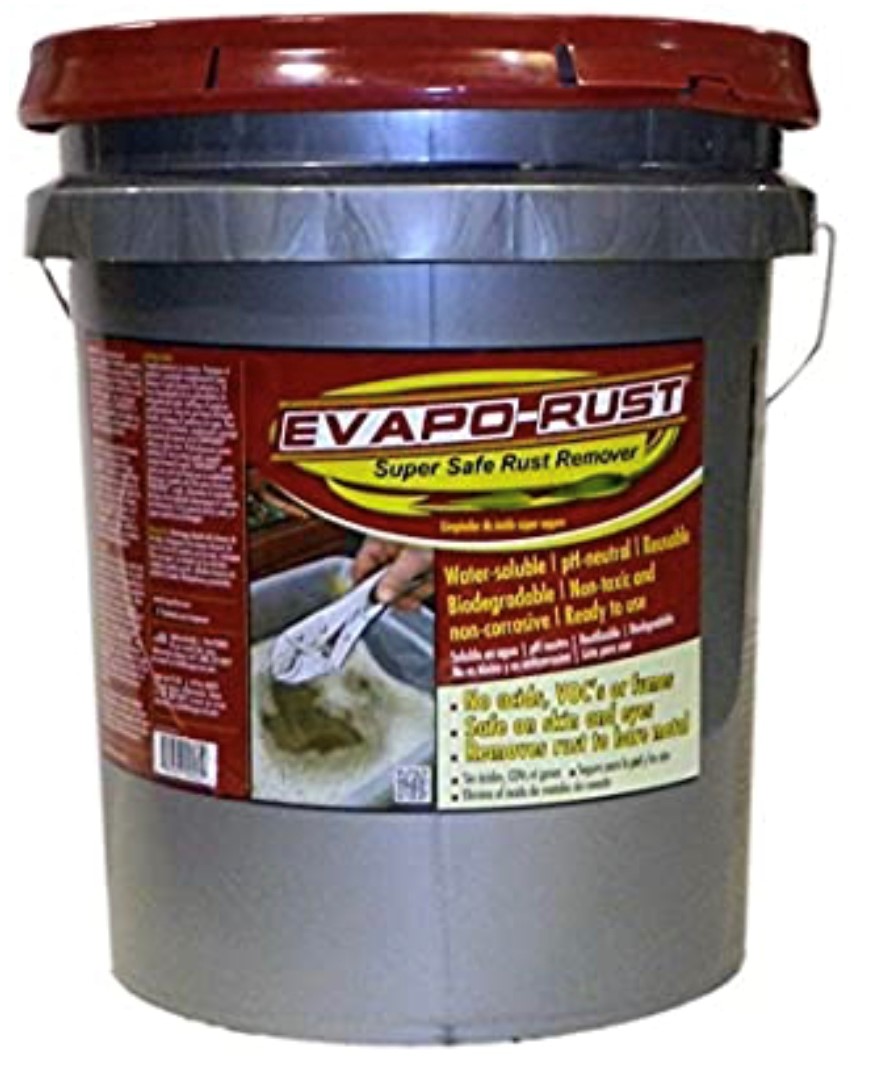
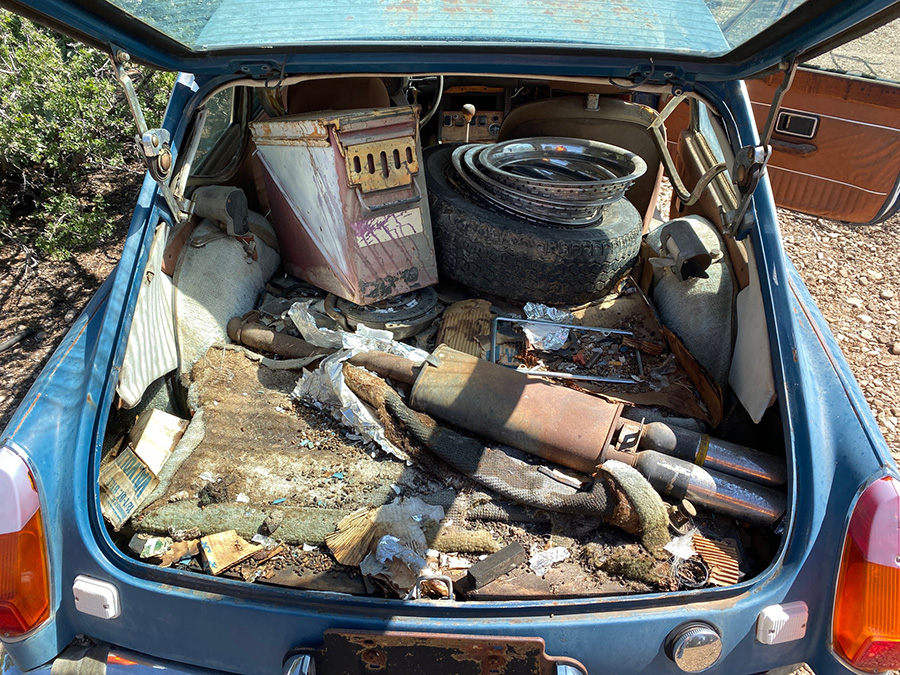
 I’ve used many different types of rust removers in my somewhat futile effort to keep old clunkers on the road.