By Joe Berk
I’ve traveled extensively in Baja and I want to get down there again as soon as possible. It’s the best riding on the planet, the food is amazing, the scenery is incredible, and the people are great. The whale watching is a religious experience. I know Baja is almost indescribably awesome and you do, too, if you’ve been there. When I talk about Baja with folks who haven’t been there, though, the question always emerges: Is it safe?
The short answer is yes. But one time, we came pretty close to it not being safe. On one trip out of many over the last 30+ years in Baja, Susie and I had a bad experience. I almost didn’t write this blog because I didn’t want to scare anyone away from Baja. I’ve been to Baja many times since, and I plan to keep visiting Baja.
So, with that as an introduction, let me add a bit more. I was setting up the first CSC Baja expedition, with the idea being that we would offer free tours to Baja with the purchase of a CSC motorcycle. That idea worked fabulously well and we successfully ran the CSC tours for years, treating people to the ride of their life, selling a lot of motorcycles, and generally having an inordinate amount of fun. It convinced me that the RX3 motorcycle was possibly the best bike ever for exploring Baja, and I still feel that way. You may disagree, but hey, it’s okay to be wrong.
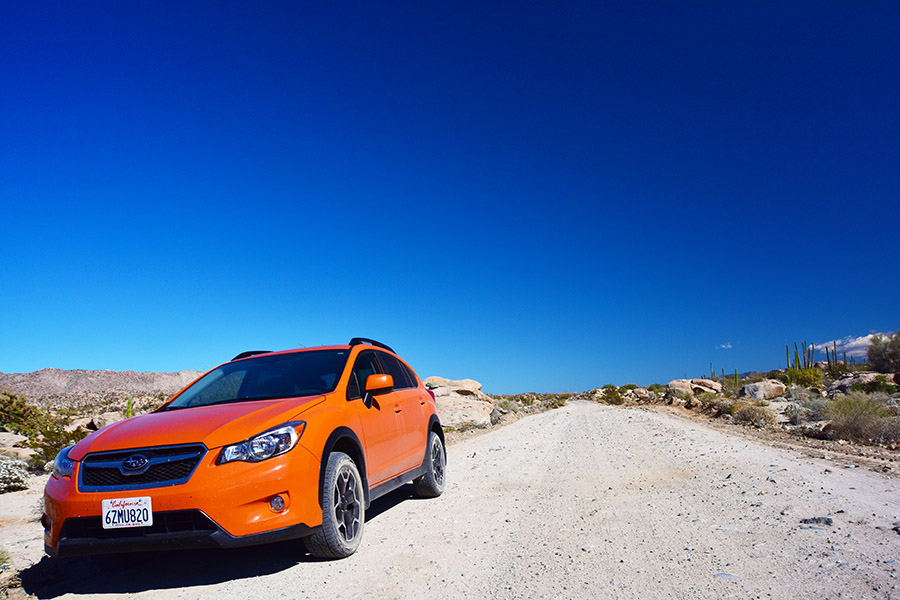
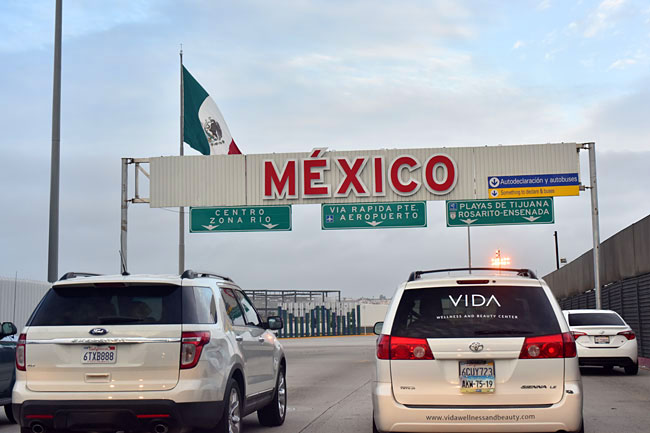
But I digress. To get back on topic, I hadn’t been to Baja in a while and I was taking a big group down, so Susie and I rolled south in my Subie on a pre-ride scouting expedition. With the intro stuff done, here’s the blog I wrote for CSC on that trip.
Susie and I are down in Baja scouting the locations for the Inaugural Baja run, and it sure has been an interesting two days. I didn’t have any Internet access in Catavina yesterday, but I have a spotty connection in Santa Rosalia tonight, right on the Sea of Cortez, and we’ll see how much of this gets through.
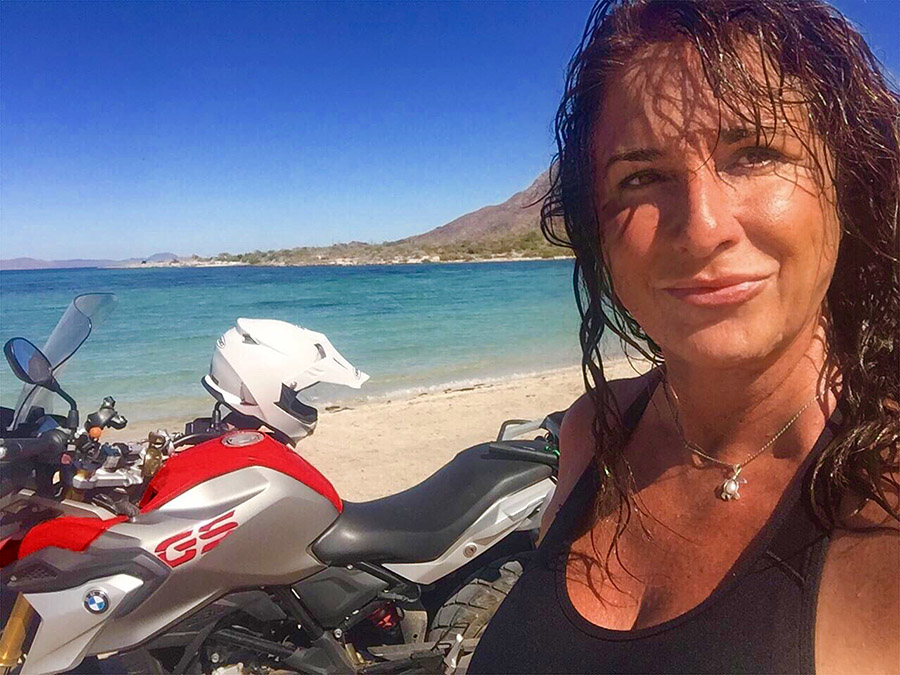
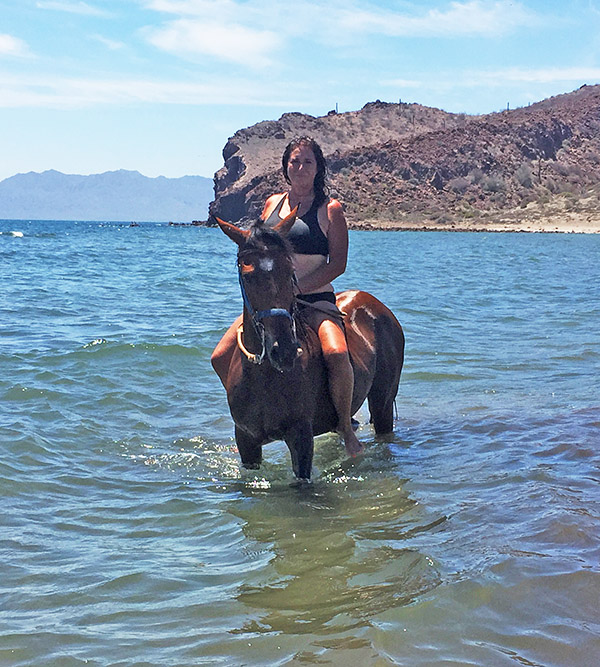
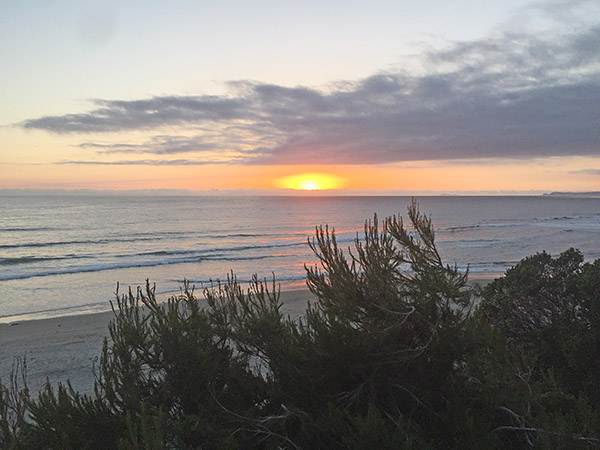
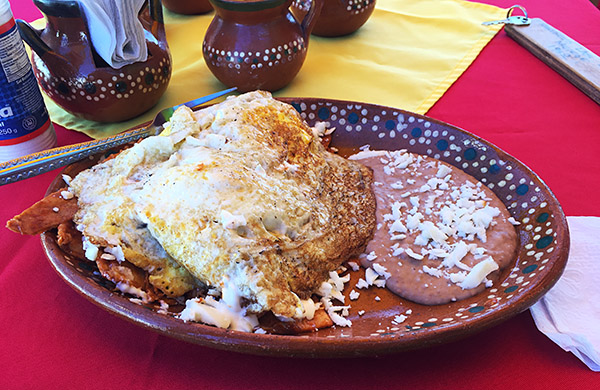
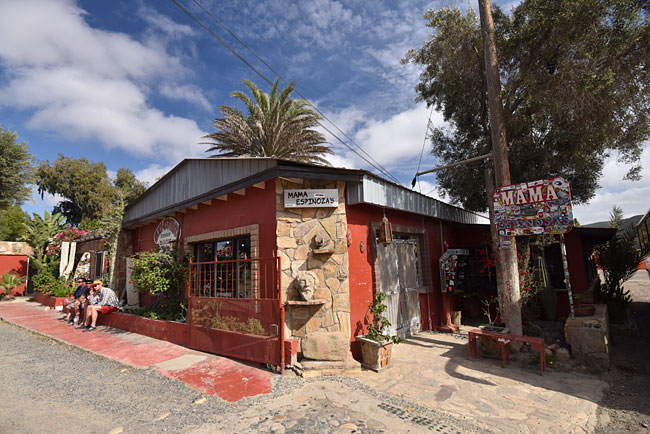
First, a few quick photos of our first couple of stops…

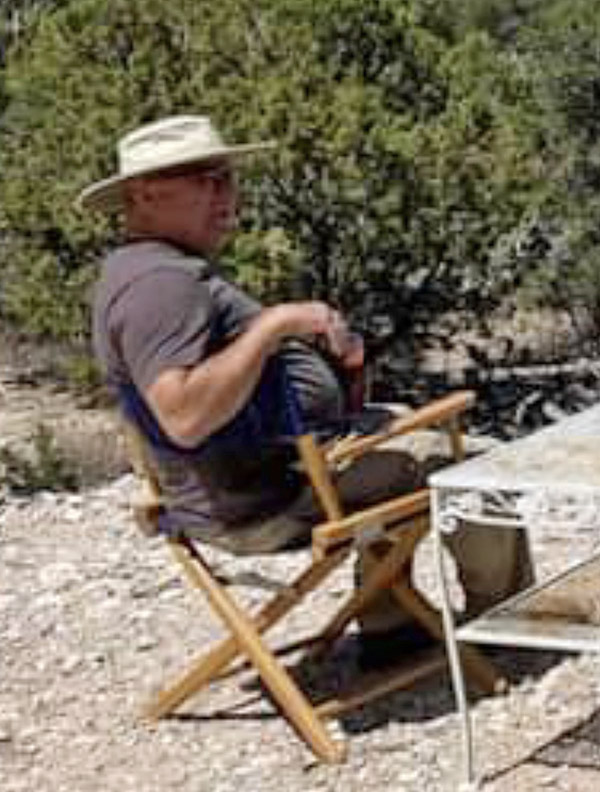
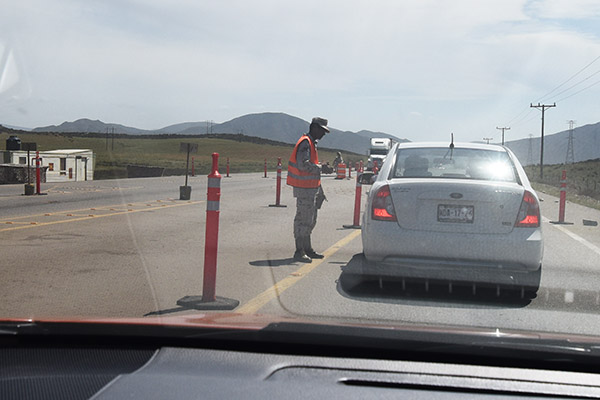
After we rolled through Ensenada, it was on through the mountains south and Baja’s agricultural district. Boy oh boy, did we have an adventure. All that stuff I’ve been telling you about how safe it is down here? Well, I still believe it, but my confidence (and Susie’s) was sorely tested yesterday. See that guy in the photo below? FYI, you’re not supposed to take photos at these roadblocks, and I want you to keep that in mind on our CSC Baja trip…but I never have done too well following rules. I’m talking about the infantryman talking to the car in front of us at our first military roadblock (one of many Puesto Militars) on the way down. He’s the dude standing to the left of the white car.
Well, things got very interesting after that. That photo was about 175 miles south of the border, just north of San Quintin, where we got caught in a mini-labor riot. Turns out the migrant workers down here are not happy with their wages on the farms. A lot of them come from mainland Mexico with their families, including their kids, whom they evidently put to work picking whatever crops they pick in the fields north of San Quintin. The Mexican government is clamping down on child labor, so that affects these people and they are plenty angry about it. Real angry, apparently.
One of the military checkpoint guys told us the road was closed (that dude in the photo above) about 80 km ahead but he didn’t speak English and he didn’t tell us why. I thought it was because they were working on the road, which happens frequently in Baja, and when that happens the road is closed for about 20 minutes. Then you can proceed. Happens all the time. Amazingly (based on what we found out a few miles down the road) that young soldier let the car in front of us proceed, and then he let us proceed.
About 30 miles later, we started seeing what we thought were small piles of asphalt on the road with lots of wires (you know, like for fixing potholes, which they have a lot of in Baja, but I couldn’t figure out what the wires were). We saw this for about the next 15 miles. We saw hundreds of people milling around, too; far more than I’ve ever seen in these little farming towns.
It turns out that we what thought were piles of asphalt were actually the remains of burning tires. As in “let’s light a fire and shut the main highway down burning tires.” The ag workers have been having demonstrations (actually, labor riots) in the San Quintin area, and we found out (the hard way) that this had been going on for 2 days.
We went a few more miles and encountered a roadblock (more burning tire remnants and boulders blocking the road) with about 50 men milling about who immediately surrounded us. They wouldn’t let us go forward or turn around. One of them threatened us and the Subaru with a 2×4. They were all over the car. Susie had the presence of mind to lock the doors. These guys were mad at the world, and we were the world at that instant. I didn’t know what to do, so I fell back on what always seemed to work elsewhere in the world: I asked the guy who seemed to be in charge if I could pay the toll to get through. He seemed genuinely surprised at that, he thought about it for maybe 5 seconds (duly observed by his subordinate seditionists), and then he realized this might be a viable alternative income stream (Sue designs and manages automated toll roads in the US; it seems to work for us). Our Mexican revolutionary said, “hokay,” I gave him a ten dollar bill, and he told the insurrectionists “let them pass.” Crisis averted. Whew!
The tire remnants continued for another 5 miles, but there were no more roadblocks. While we were stopped at the impromptu toll plaza, one of the seditionists keyed my car door on Susie’s side with initials, presumably the initials of their labor movement (LPS or something like that). I’ll guess I’ll get my body shop guy to repaint it when I get home. That little Subie is going to end up having more bodywork than Joan Rivers. A couple of months ago I dropped one of the RX3s into it. This week it was the Nuevo Mexican Revolution. I’m keeping the body shop business alive in California. Or maybe not. I might leave those initials there as a war wound. At the very minimum, I am re-christening the Subie. She’s no longer the Starship Subaru (sorry, Carl, that was a good moniker, but its time has come and gone). My car is now known as the War Wagon.
We found out from a busload of people in El Rosario (next town down the before getting into the mountains) that they expect the demonstrations to continue for a couple more days and then it should be over. One guy had his windows shattered, probably by the same guy we saw with the 2×4.
Folks, all the tourists down here (and there are lots of us) were talking about this. No one had ever experienced anything like it before, and most of us have been coming down here for decades. It’s a blip, and I’m guessing it is already over. It sure was exciting, though.
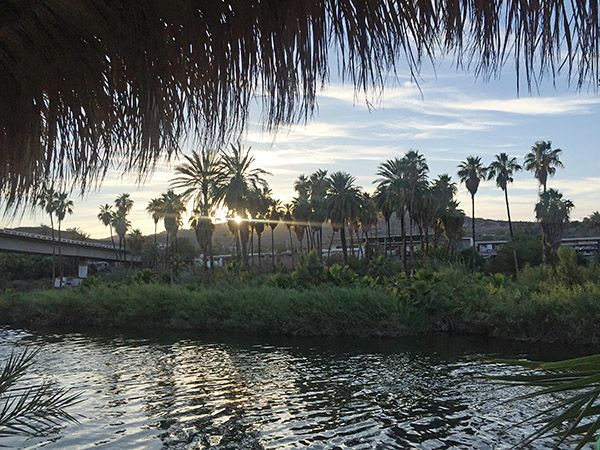
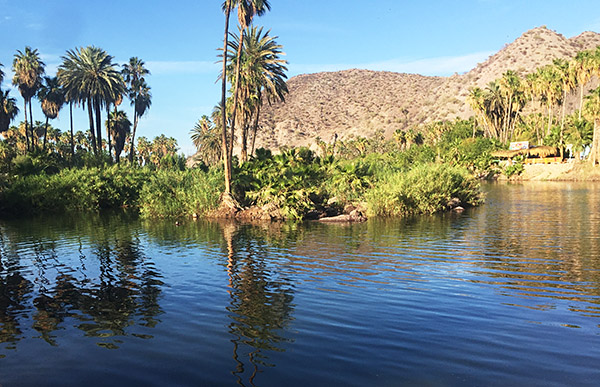
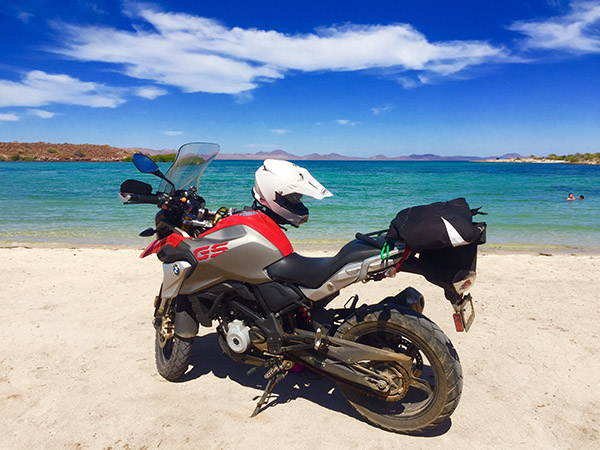
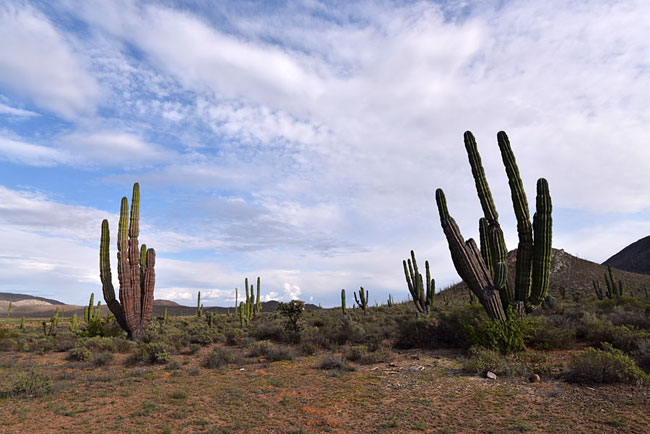
We continued south after that… and that meant it was time for a few more photos.
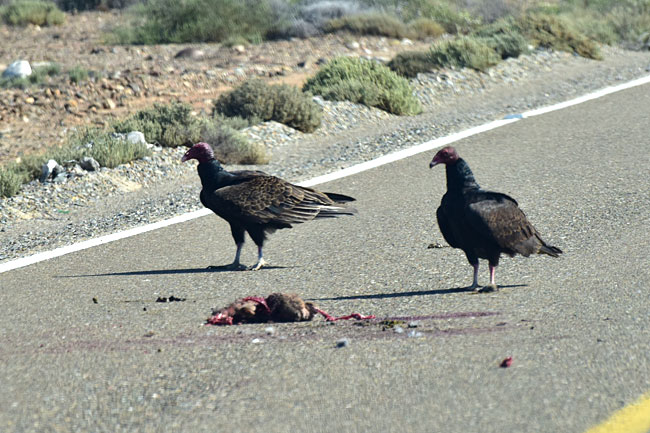
At one point on our way to Guerrero Negro, I spotted several vultures fighting over a dead rabbit. Time to put the 70-300 on the Nikon and see how close I could get.
When you roll into Guerrero Negro, there’s a giant Mexican flag flying in front of a giant metal structure (an artist’s interpretation of the Mexican Eagle). You’re not supposed to take pictures here (it’s a military installation), but I still had the 300mm lens on the camera and I got sneaky.
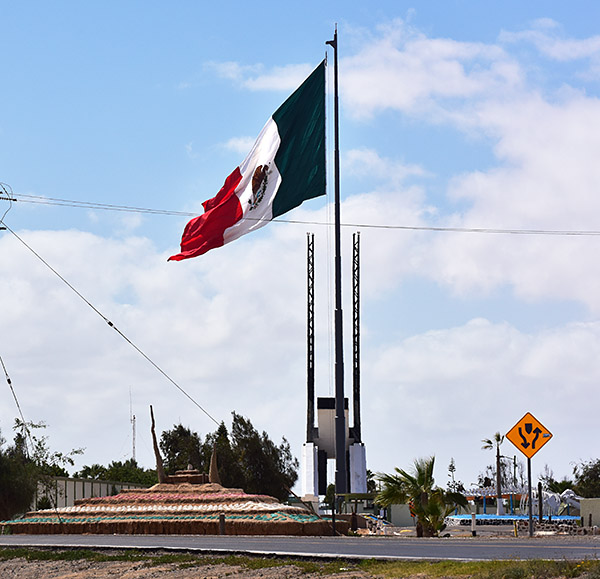
That point is right on the 28th Parallel, which marks the border between Baja and Baja Sur (the two Mexican states in Baja).
You know, being anywhere near the 28th Parallel and not stopping for a fish taco or two at Tony’s would be a crime. I’ve been stopping at his truck for the last 21 years…every time I come down here. What’s cool about it is Tony always recognizes me, even though sometimes it’s a year or more since I’ve seen him!
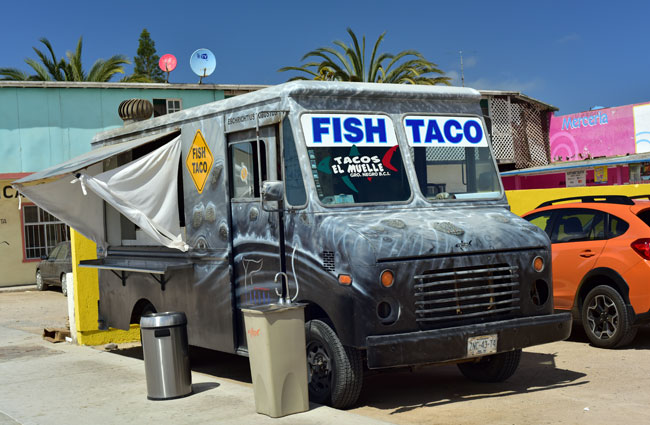
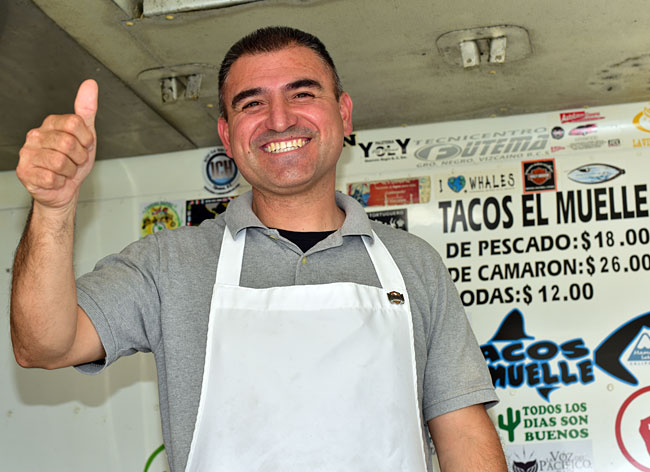
Tony told me he’s been in business for 22 years. I bought my first fish taco from him 21 years ago.
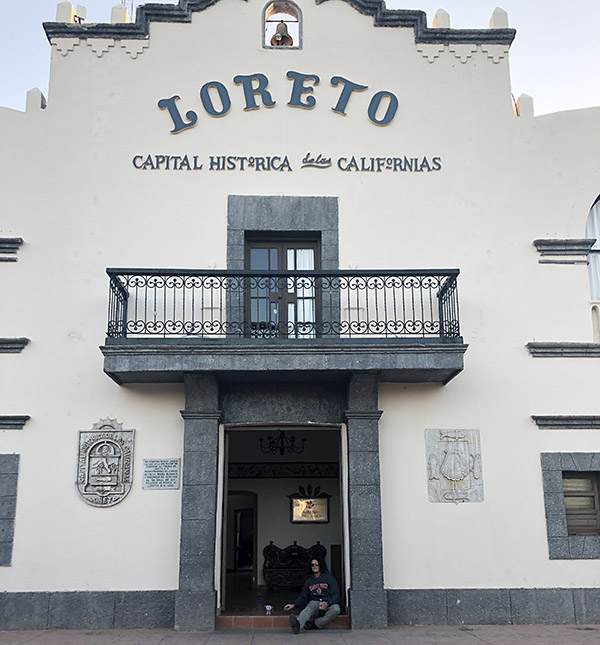
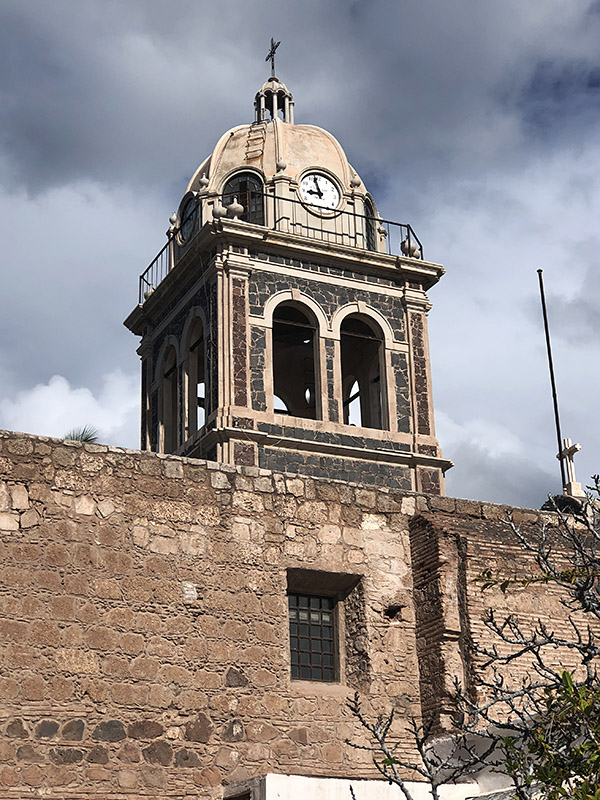
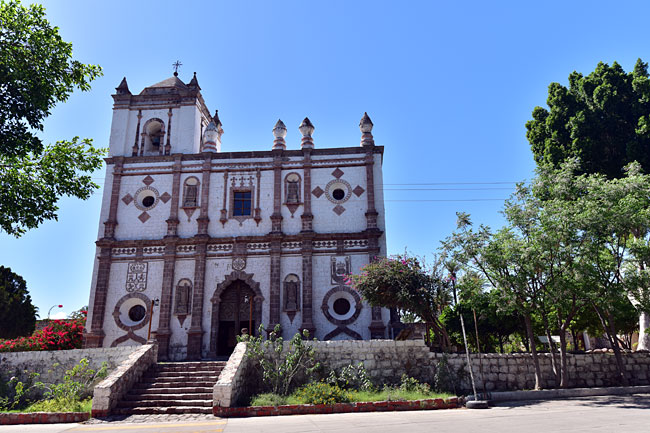
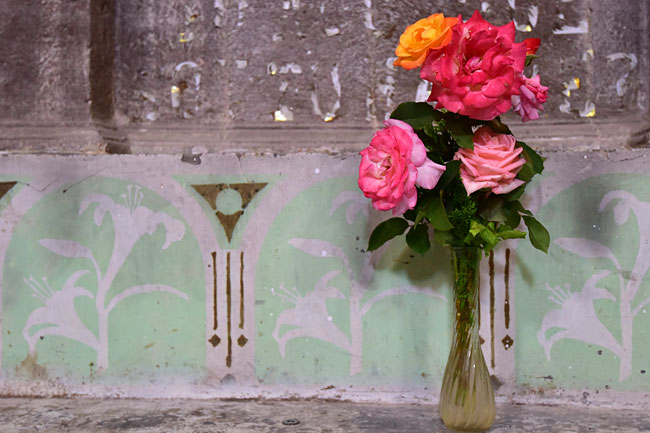
We stopped in San Ignacio next and I grabbed a couple of photos of (and in) the mission there.
That’s it for tonight, my friends. Time to sign off and get some shuteye. We’re headed south again tomorrow. Watch for more photos!
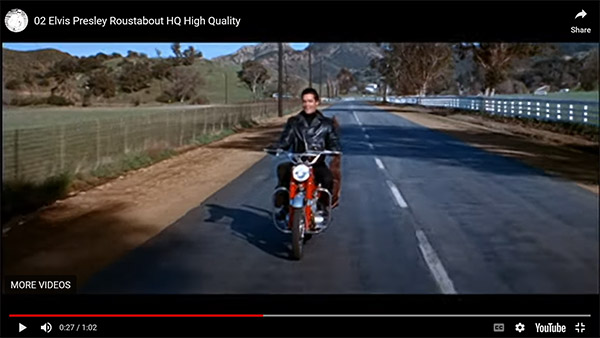
So there you have it. With more than three decades of exploring Mexico under my belt, this was my one negative Baja experience. I communicated the above to all the followers we had on the CSC blog and asked if they wanted to change the trip to someplace else here in the US, and everyone answered with a resounding No! We did the Baja trip with 15 or so riders, and we did several more CSC Baja rides after that. Every one of those trips was a blast. Here’s a video I prepared from the first CSC ride:
You can read more about Baja and our adventures down there in Moto Baja.
 I made a lot of good friends on those Baja rides, many of whom still ride their CSC motorcycles and many of whom regularly follow the ExNotes blog. You’ve seen their comments here over the last four or five years.
To me, Baja is the best riding there is. If you’re headed into Baja, make sure you get insurance. It’s not likely you’ll need it, but the Mexican government requires that you be insured and your regular insurance won’t cover you in Mexico. The insurance provider we always go with is BajaBound.
 Want more Baja content? You can find more ExNotes Baja stuff here.