By Joe Gresh
When I first met CT I used to read a lot of books. We didn’t have a television (by choice) and the Internet hadn’t been invented yet so reading a book was entertainment. I’ve slowly fallen out of the habit. Part of it was that my failing eyesight made it harder to read small print. My job was physically demanding and I had to work outside in the hot Florida sun. I ran my own business and I was always busy working, trying to pay off the American Dream. When I got home I was so washed out I just wanted to sit, drink beer and not think.
For some reason it seemed like the places we lived were always poorly lit. It’s hard to read in the dark. Later, bright computer screens made it easier to read but I consumed mostly junk. Ad copy, moto-journalism, poorly done Youtube videos: my mind had become a vast, featureless wasteland.
I had a couple cataracts replaced with new lenses a year ago and that operation made things a lot brighter. Maybe those places we lived weren’t all that dark after all. For kicks I had the eye surgeon install long-distance lenses and now I can see far away things pretty good. My up close vision isn’t the greatest and I’ve been too busy to get reading glasses. I started a few books but lost interest. Stupid memes and arguing with strangers on the Internet were more to my liking.
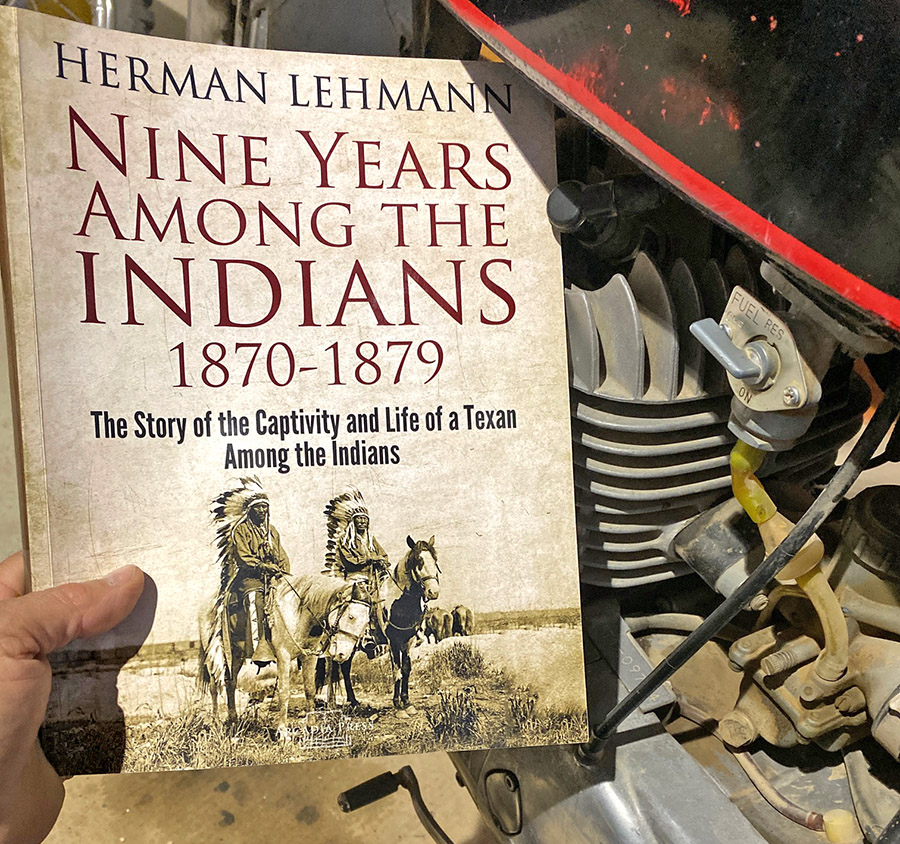
It’s been awhile since I’ve plowed through an entire book but I plowed through Nine Years Among The Indians in two short days. You know how they say you can’t put it down? I did put it down but only because my eyes were tired.
NYATI was first published in 1927 about events from 1870 to 1879, which places the language used in the book far from modern sensibilities. It’s the story of Herman Lehmann who was abducted by Apache Indians when he was 8 years old. Herman was raised by the Apaches and became an Apache. The Apaches were his family and Herman tells how the process was accomplished so thoroughly he forgot how to speak English and spoke only Apache.
One of the reasons I liked the book so much was that the area where the action happened (and there is plenty of action), New Mexico and west Texas, feature prominently. The Apaches at that time lived in nomadic bands and traveled to suit the seasons. River crossings serve as waypoints as you follow the tribe across the modern day southwest.
Lehmann writes in a matter-of-fact way and doesn’t sugar coat the things he did as an Apache warrior. Human life was not valued any higher than common animals in the wild west and a lot of people were killed. The Apaches were in an end-of-times war with the White Man and due to superior numbers and disease the White Man just kept coming and taking everything he saw before him. The Buffalo hunters were the worst. They killed and skinned buffalo, leaving the meat to rot and they killed buffalo in the millions. Buffalo were critical to the Apache. How would you feel if someone came along and destroyed your entire way of life? Bitter, I imagine.
Later Herman has a falling out with the Apaches and becomes a Comanche, and he remained Comanche the rest of his life. The Comanches were slightly less stern than the Apaches and Herman noted there was more joy and laughter as a Comanche. There are really no good guys in the book. The Whites are/were just as savage as the Indians and it’s sad how it ended for the Indians.
You know how it played out: eventually the White Man manages to subjugate the Indian tribes and force them to live on reservations. After reading NYATI I can’t imagine a worse fate for a free-roaming American Indian of the west. Herman is sent back to his family but now he is completely Indian-ized so it takes a while to relearn English and the White Man’s dull way of life.
Nine Years Among The Indians kept me reading when the other books didn’t. Each chapter is a story that stands alone once you know the background of the writer. The Apaches lived and continue to live such a different life from Europeans. Herman got to know both cultures and I think if he had his choice between the Apaches, the White man’s world, and the Comanches, he’d be back with the Comanches.
Never miss an ExNotes blog:
Want to advertise on ExNotes? Check this out!