By Joe Berk
In the 1960s and 70s, you couldn’t turn on a TV and flip through the channels without encountering a cop show. Hawaii Five O, Kojak, and more. TV series had shifted from westerns to police drama, and TV was what many of us did in the evening. Basically, we watched what the entertainment industry brainwashed us into watching. It’s no small wonder a lot of guys my age wanted to be cops when they grew up. Rick Rosner (a TV producer and one of the certifiably-smartest guys on the planet…Google him and you’ll see) was also an LA County Reserve Sheriff’s deputy. One night while on duty during a coffee break (a donut may have been involved), he saw two CHP motor officers roll by. That’s how and where the idea for CHiPs was born: Motorcycles. Southern California. Police. All the right pieces fell into place.
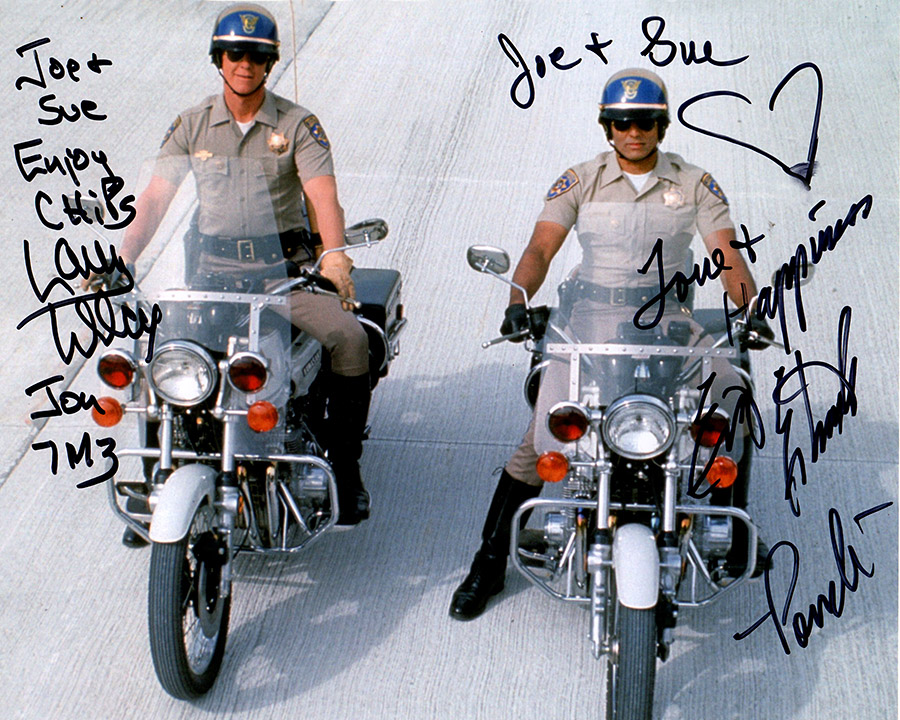
I had just returned from a year overseas (where I enjoyed nonstop good times during a 13-month party, courtesy of Uncle Sam) when CHiPs first aired in 1977. It was hokey…the music, the scenes, the premise of nearly every episode, but it was motorcycles, and I never missed an episode. The series ran for five or six years, and it featured two main characters: Ponch Poncharello (played by Eric Estrada) and Jon (played by Larry Wilcox). Their sergeant, Joe Getraer (played by Robert Pine) was also a regular on the show.
Guys like Gresh and me know that running a Z-1 Kawasaki through soft sand, up and down stairs, and other motoshenanigans doesn’t make a lot of sense (EDIT: Maybe I’m wrong about this…see the video at the end of this blog). But we’re mere mortals. Ponch and Jon made the big Kawis behave in every episode. It was all part of the story, and it was all set in and around Los Angeles. That’s one of the reasons, I think, many of my early experiences in So Cal were like deja vu all over again when I moved here. I’d seen all these places in CHiPs before I left Texas and came to California: Angeles Crest Highway, Malibu, downtown LA, the Pacific Coast Highway…the locations and the motorcycle scenes were burned into my brain.
Susie was putzing around on Facebook the other day when she found a local community bulletin board that said the CHiPs stars would be here for autographs and photos. Did I want to go? Hell, yeah!
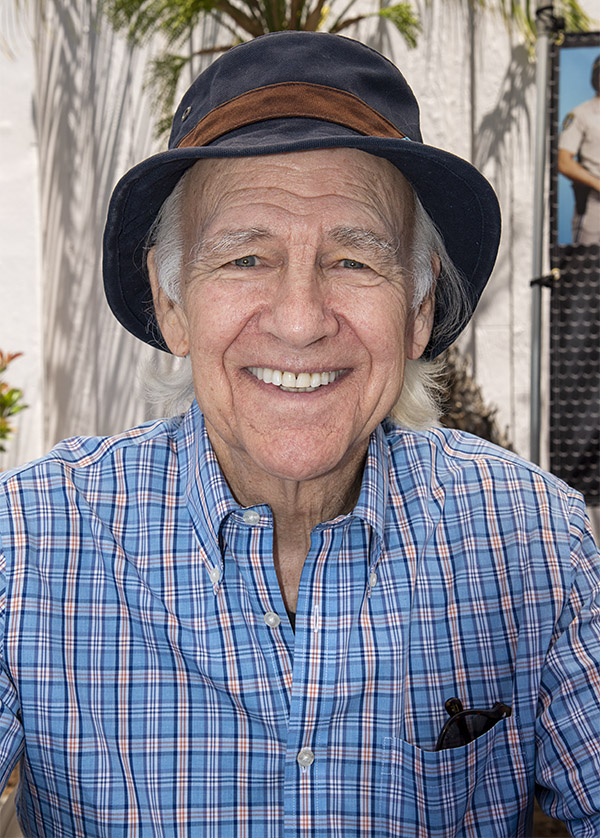
The CHiPs show had a motor sergeant (Sergeant Joe Getraer) who was played by Robert Pine. Pine was there as well, and he was happy to pose for a photograph. Mr. Pine is 80 years old now.
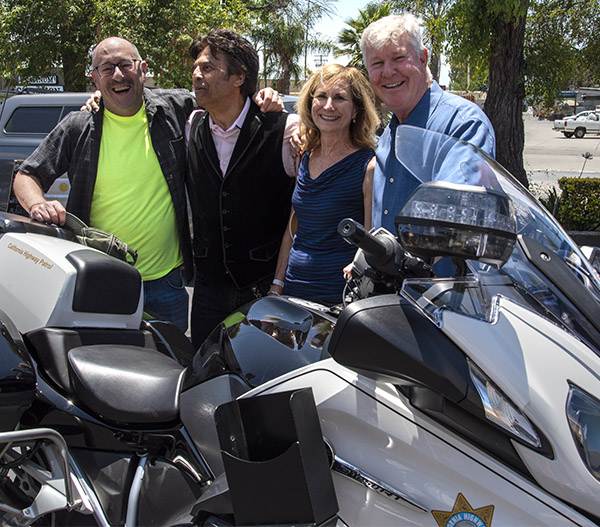
Erik Estrada was a central character in the show, the one who was always in some kind of trouble with Sergeant Getraer. Ponch (his nickname, as in Ponch Poncharello) and Jon no doubt influenced a lot of guys to apply for jobs in the real California Highway Patrol. The real California Highway Patrol had a real motor officer and a real CHP BMW at this event, along with a couple of patrol cars.
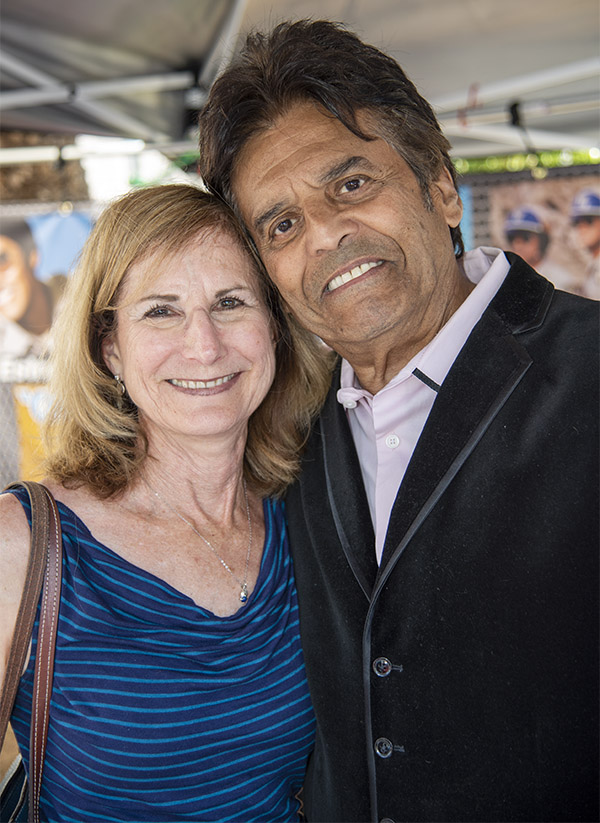
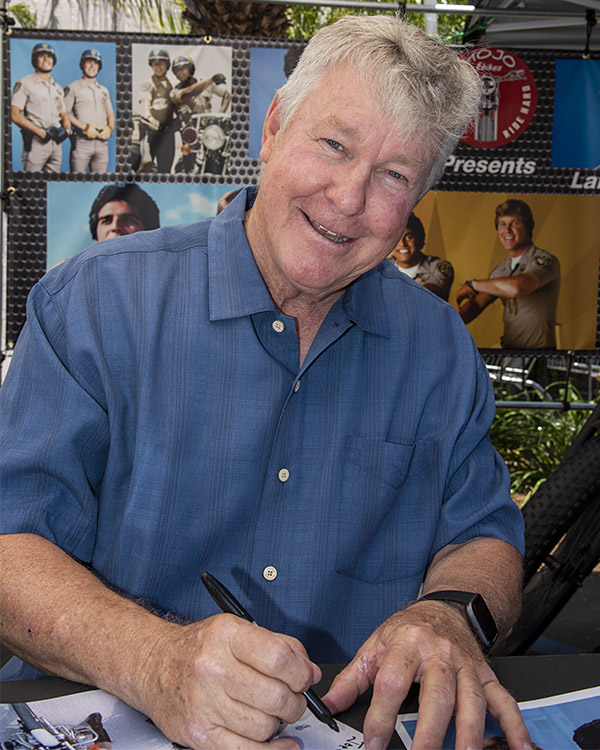
There were a lot of things I enjoyed about this event. We had to wait in line to get up to the table for autographs, but the wait wasn’t too bad and the event wasn’t rushed at all. The weather was nice and it was a fun way to spend a Saturday morning. Pine, Wilcox, and Estrada chatted with everybody, and Mr. Estrada walked the length of the line several times apologizing for the wait and telling us they were going as fast as they could. There were a few people in line who were disabled, and Ponch helped them maneuver up to the picture-posing area (he was very friendly). All three of the TV CHiPs seemed to have the same personalities as the characters they played 50 years ago, with Estrada being the most mischievous (and, where the ladies were involved, the most flirtatious).
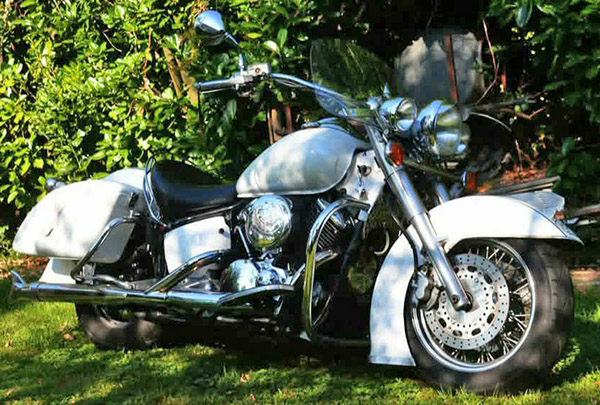
I asked Estrada if he still rode and what kind of motorcycle he had. It was a topic he wanted to talk about. “Ponch” told me he sold his Harley Softail 20 years ago, and that he now owned one of the six Kawasaki police motors used on the show. “The Teamsters gave it to me,” he said. I thought that was pretty cool.
The other stars in the show were southern California, the California Highway Patrol, and the Kawasaki Police 1000 motorcycle. I imagine CHiPs did a lot for CHP recruitment, and the Kawasaki police motorcycles did a lot for Kawasaki (in both the police and civilian markets). It was a brilliant bit of product placement before product placement became a thing, and it led to a nearly complete bifurcation of the police motorcycle market. Departments east of the Mississippi River stuck with Harley-Davidson, and departments west of the Mississippi went with Kawasaki (although that has changed in recent years). If you are wondering how I know that, I did a fair amount of research for The Complete Book of Police and Military Motorcycles when I wrote it 20 years ago.
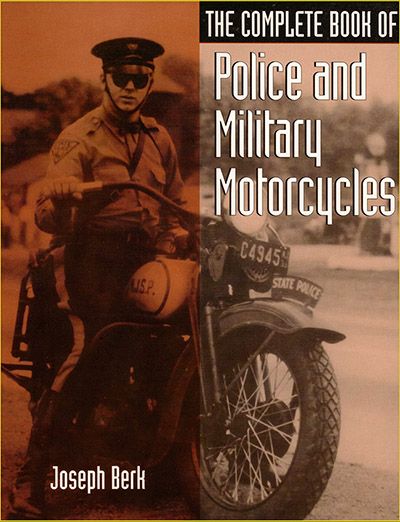 The Complete Book of Police and Military Motorcycles is back in print and you can purchase a copy for a low, low $9.95.
Whoa…check this out…it just happened yesterday right here in LA. Who’d a thought? The CHP on full dress Harleys chasing down a guy on a Kawasaki KLR 650, and staying with him on the freeways, splitting lanes, on surface streets, and off road. These are CHiPs legends being created as this blog was being written!
Whatever the two CHP officers’ names are, you can bet they’re being called Ponch and Jon now!
Don’t forget to click on those pop up ads!
Keep us going!
Never miss an ExNotes blog…sign up here for a free subscription:


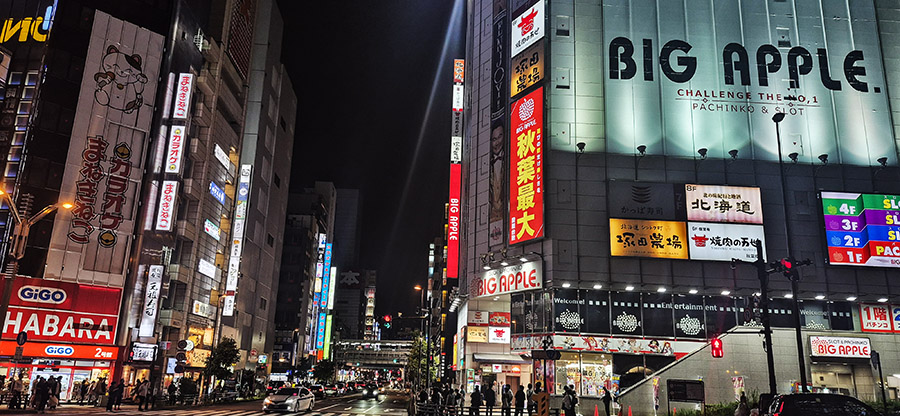
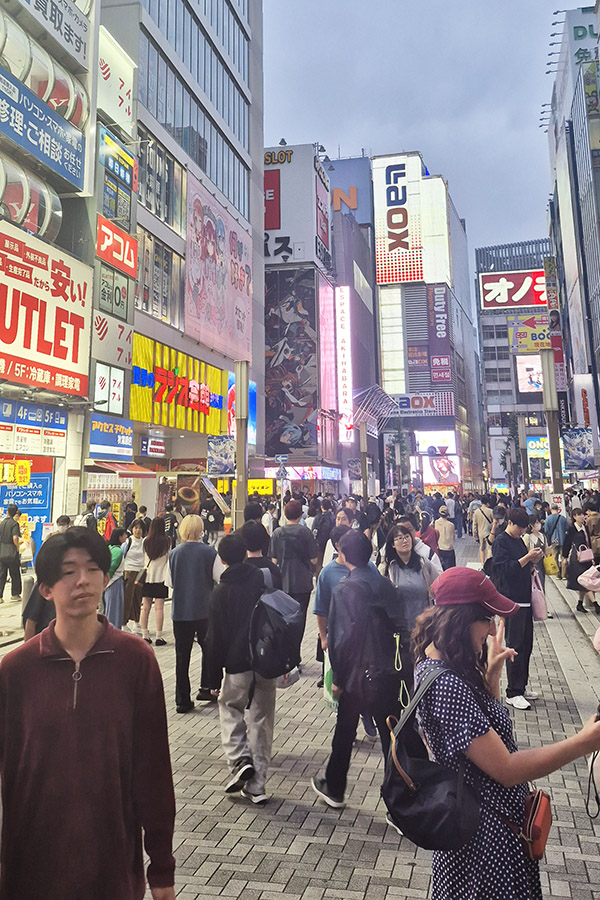 A pod hotel is just that. It was a giant room filled with about 50 or so small containers like sleeping pods that are stacked two high. It is absolutely like sleeping in something you’d see in an 1980s sci-fi movie. This particular pod hotel had three floors of pods, and then on the top floor, an onsen (Japanese hot springs), a cold bath, showers, sauna, and a large dayroom for hanging out. For the price (approximately 40 USD) it was perfect for my 4-day stay in Tokyo.