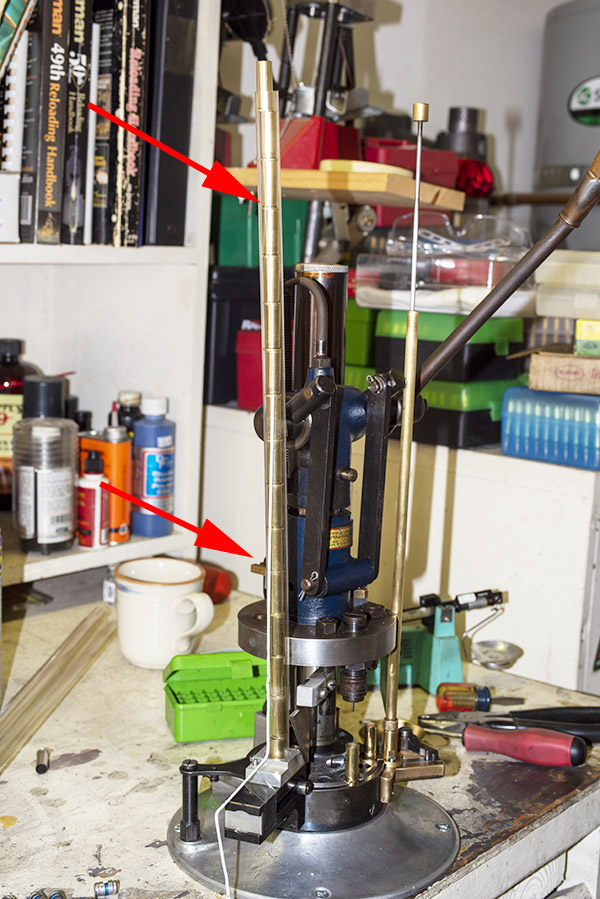
Cleaning the Star: A First Pass

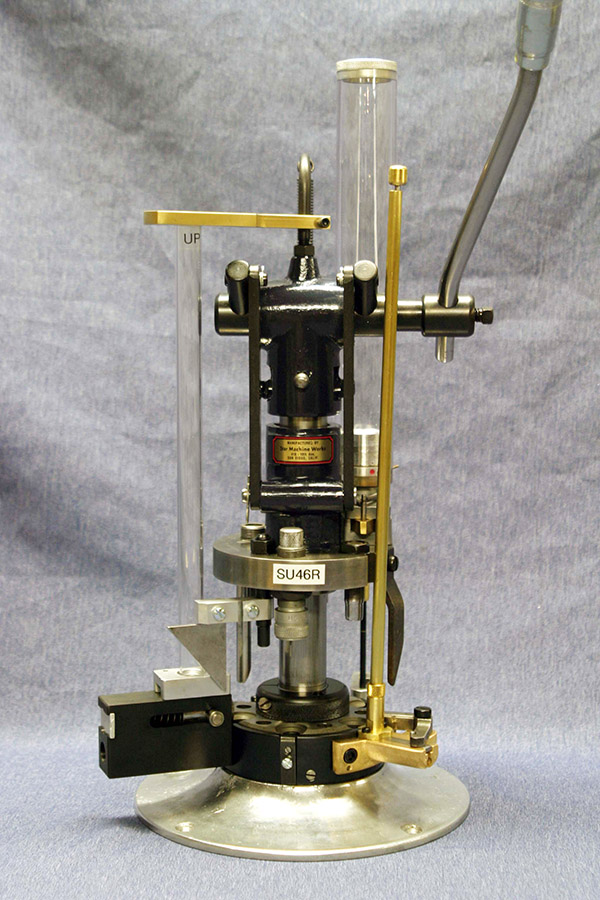
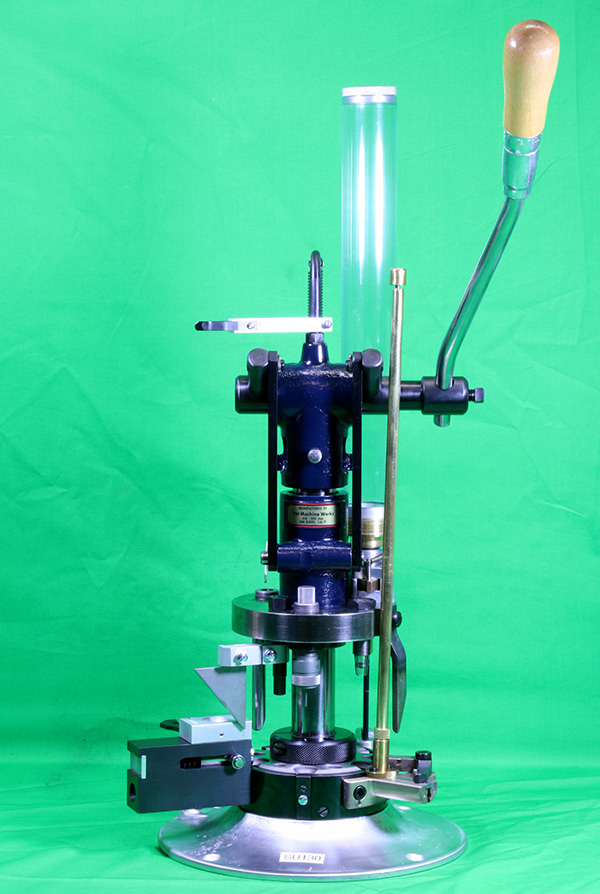
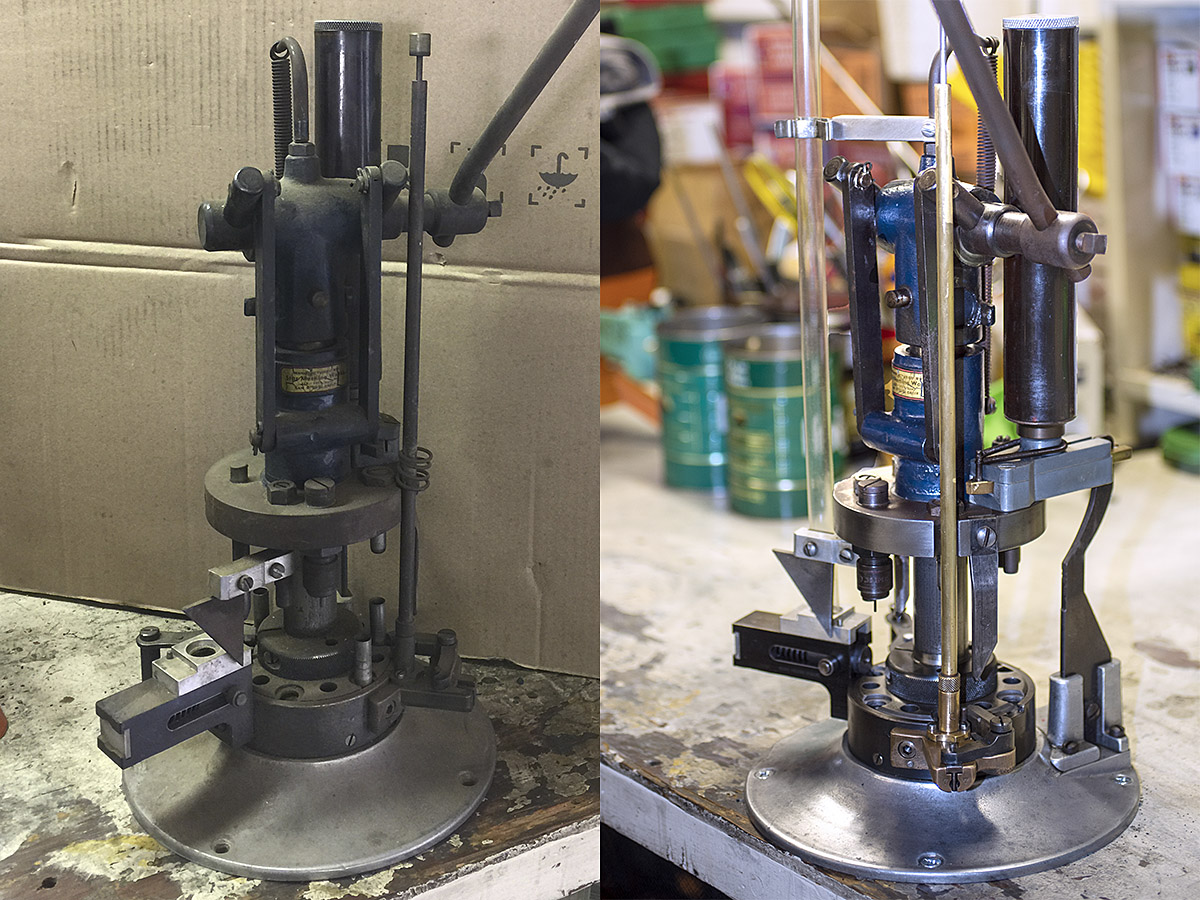
As a first step in bringing the Star progressive reloader back to life, I washed it down with WD 40 and squirted some Kroil penetrating oil on it, but before I did that, I shot a few photos with my Nikon and its macro Sigma lens.  These are better photos than the ones in the previous blog shot with my cell phone.  With apologies in advance for this bit of redundancy, I’ll start with the “before” photos.

The Star Reloading Machine

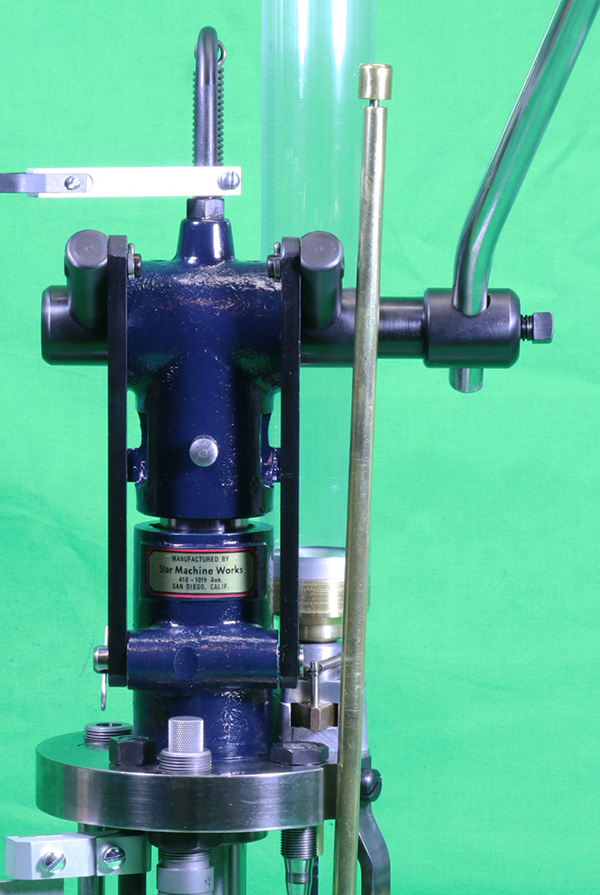
Here’s the Star label.  They were originally manufactured in San Diego.  I didn’t know that.

Star Reloader Parts and Subassemblies

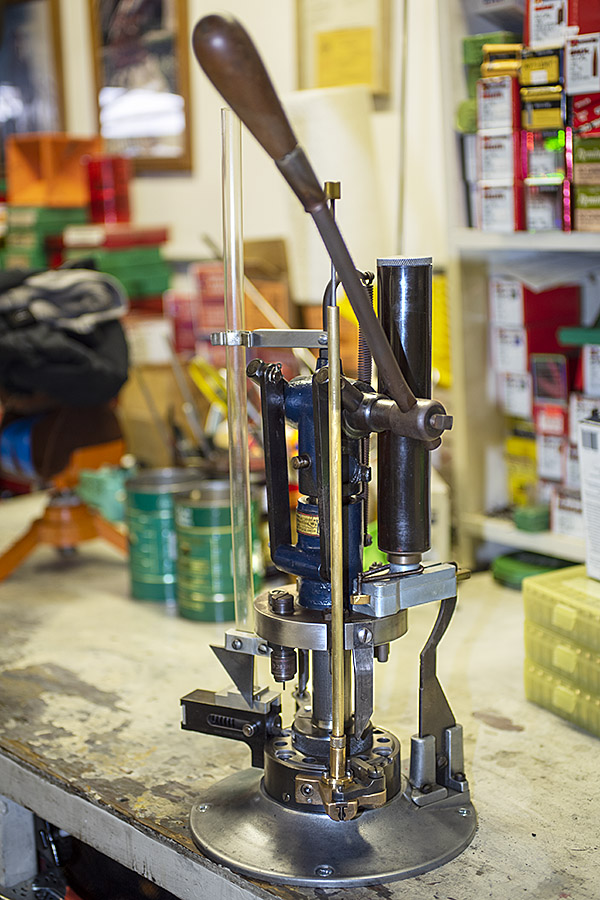
This is a side view of the Star showing the powder container and the powder dispensing mechanism.  There’s a lot of dust and dirt on the Star.  No rat poop like Gresh’s MGB GT, thankfully.

This is the base plate.  It still has several cartridge cases in the baseplate shell holder.

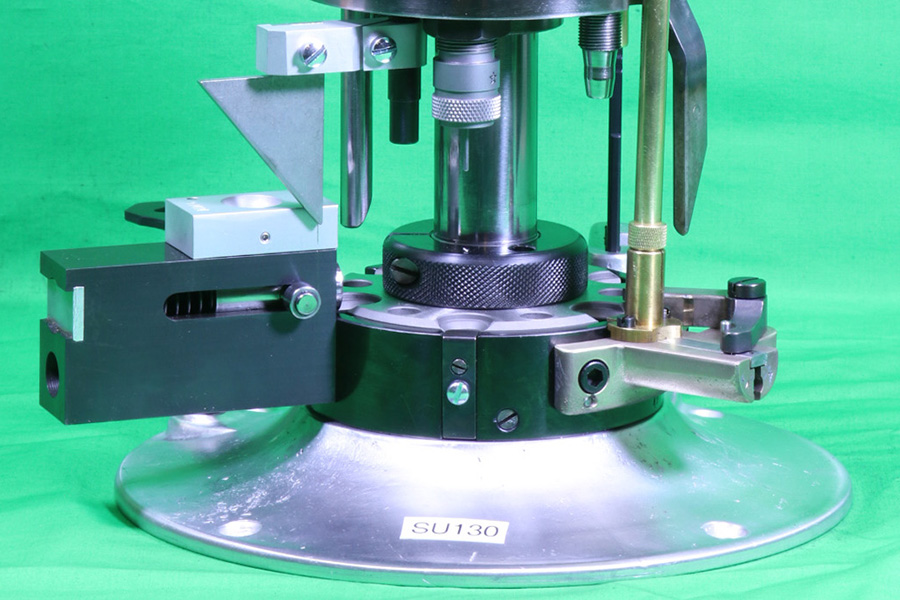
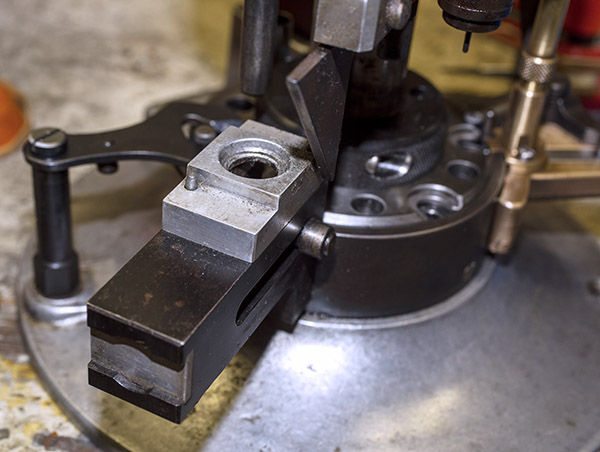
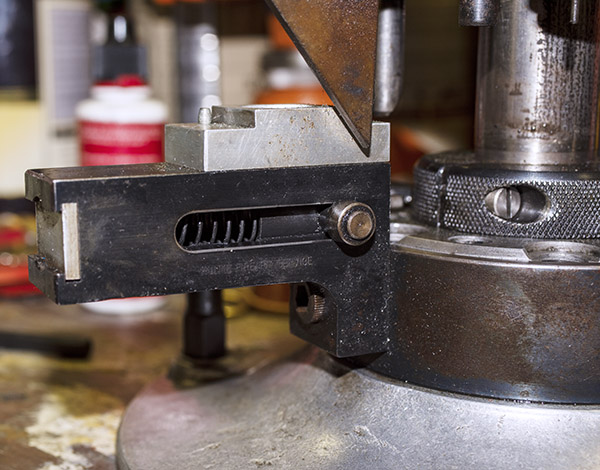
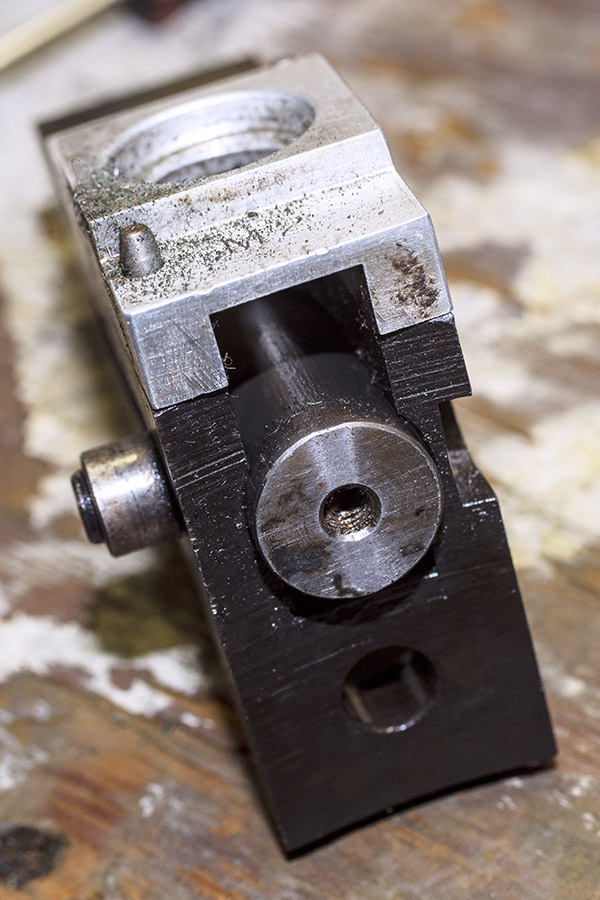
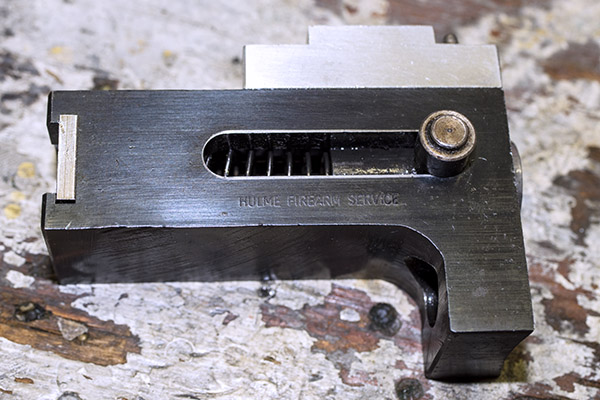
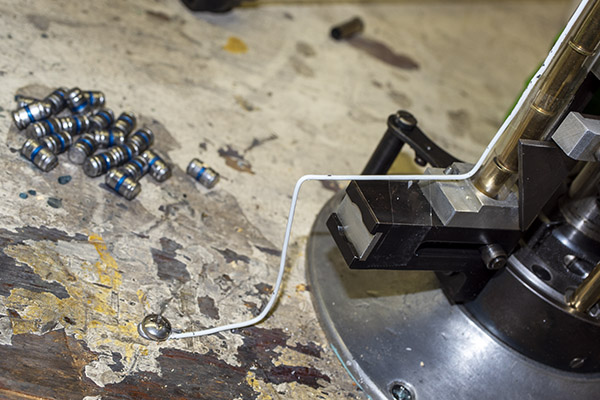
Here’s another “before” photo of the base plate.  The doodad on the left is the case feed mechanism.  The mechanism on the right is the primer feed.

This is the decapping and resizing die.  It’s a bit rusty.  I’m thinking it’s probably a carbide die, which means the cases don’t have to be lubed for the resizing operation.

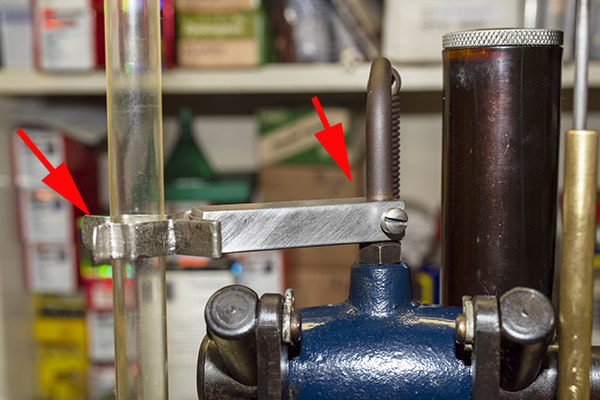
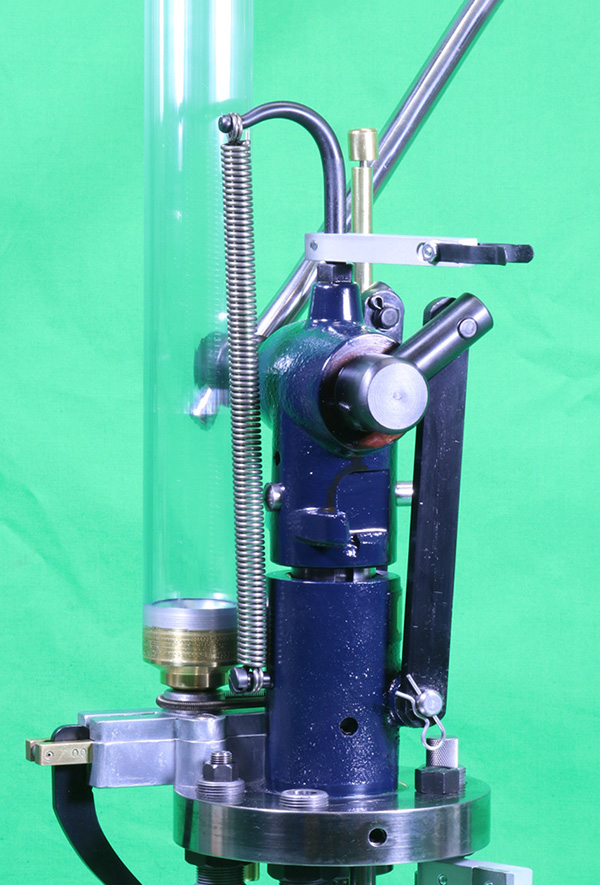
The photo above is a macro “before” shot of the powder dispensing mechanism.

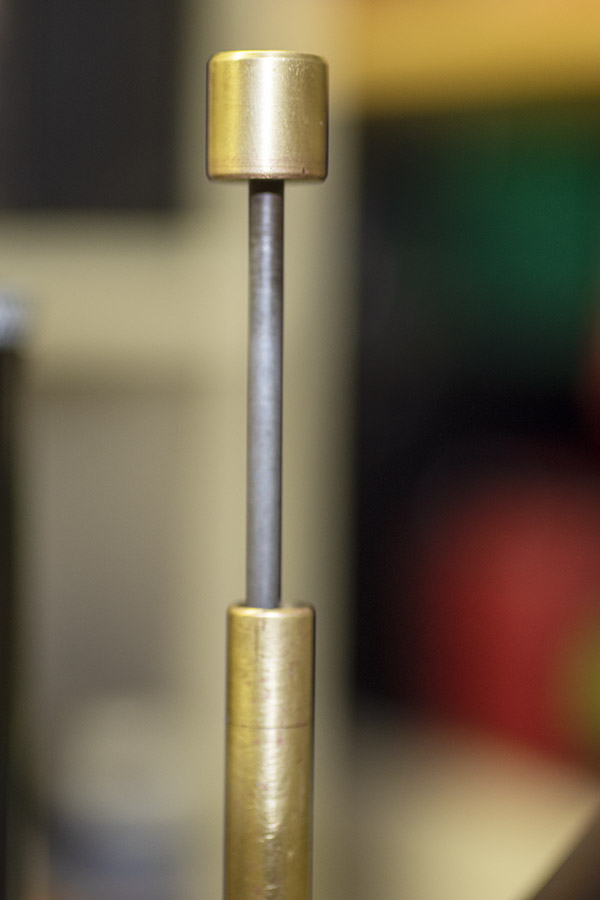
The photo below is a “before” shot of the head of the reloader.   It’s the piece that reciprocates up and down with each manual lever stroke.

A shot from the top of the reloader, showing the top of one of the reloading dies.

Cleaning the Star Reloader

Moving on to the cleaning operation, these are the things I’m using initially:  WD 40, Kroil (a penetrating oil), a toothbrush, and an oily rag.  This is the initial cleaning just to see what’s going on.  A deeper scrub of each subassembly will follow in subsequent blogs.

I gave the entire press a spritz with WD 40.

Here’s a better photo of the original Star decal.  I’m not going to do a full-blown concours style restoration of the Star and I don’t want to bring the reloader back to as new condition.  I like the patina and my intent is to get it working again, displaying the aging that has naturally occurred on an old piece of equipment like this.  It’s a resurrection, not a restoration.

The bottom of the press is starting to look better already.

The powder container unscrews from the powder dispensing mechanism.

Here’s a photo of the powder container’s aluminum lid.

Here’s one of the lid’s underside.  Note the breather hole.   There won’t be any vapor lock on this puppy.

This is the powder dispensing mechanism after the powder container has been removed.

I have a new good buddy named Bruce Williams who restores and sells parts for these vintage Star reloading machines, and I asked him if he could tell me the date this Star reloader was manufactured based on the serial number I found etched into the machine’s base (see the photo below).

Bruce explained that Star never put a serial number on their reloaders, but many police departments, schools, commercial reloaders, clubs, and other organizations who owned Star reloaders applied a property tag number.  I wonder who this machine belonged to.  It has a history and I’d sure love to know it.

The .38 Special

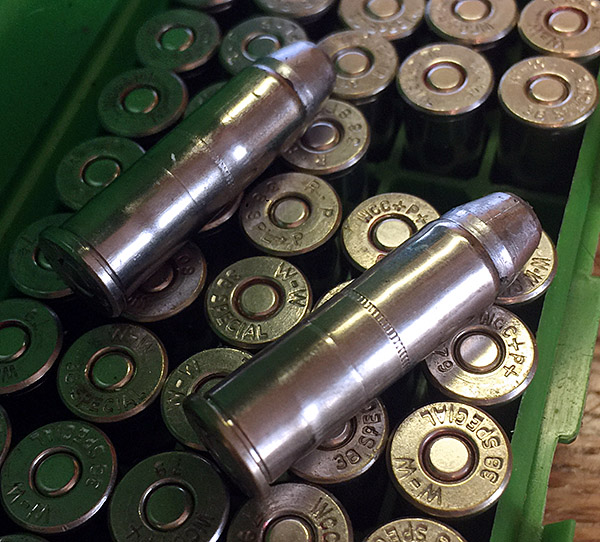
As I was cleaning the Star, I found I could rotate the shell plate into position so that I could remove one of the several cartridge cases it held.  The shell plate rotation is sticky, but I’ll clear that up when I do a detailed cleaning of the shell plate area (a topic for another blog, to be sure).  The case was a .38 Special, which told me that’s what this machine had been set up to reload.  That’s good. I shoot .38 Special ammo in a couple of guns.

Before 9mm handguns became the rage in the 1980s, the .38 Special revolver was used by most police agencies and pistol competitors. As you can imagine, a lot of departments, schools, and clubs went through a bunch of .38 Special ammo back in the day.  In those days, the .38 Special was probably second only to the .22 Long Rifle cartridge in terms of quantity sold, and the .38 Special used to be the most commonly reloaded cartridge in the world.  It’s been eclipsed by the 9mm, but it’s still a great cartridge and there are still a lot of folks shooting .38 Special.  I’m one of them.

The Model 60 Smith and Wesson

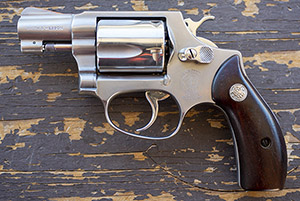
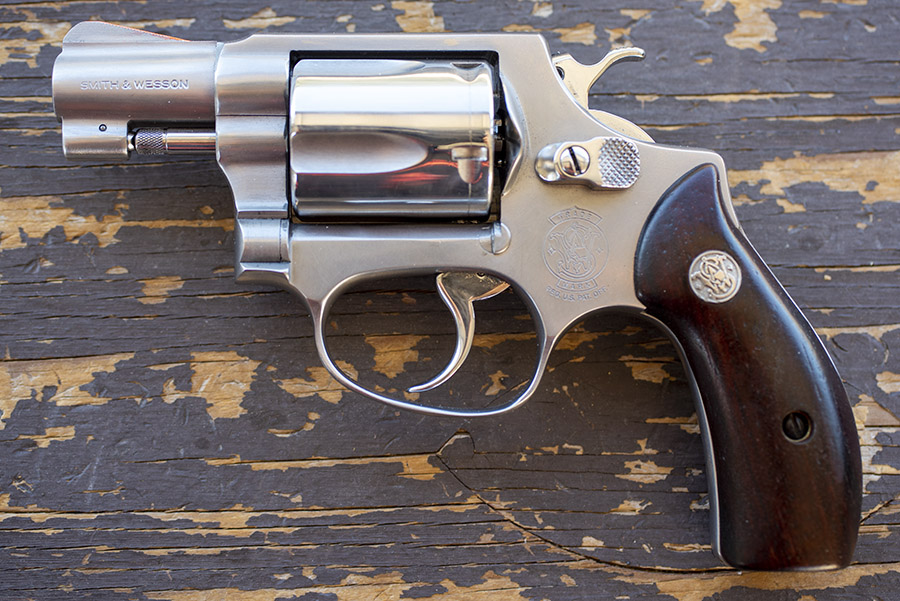
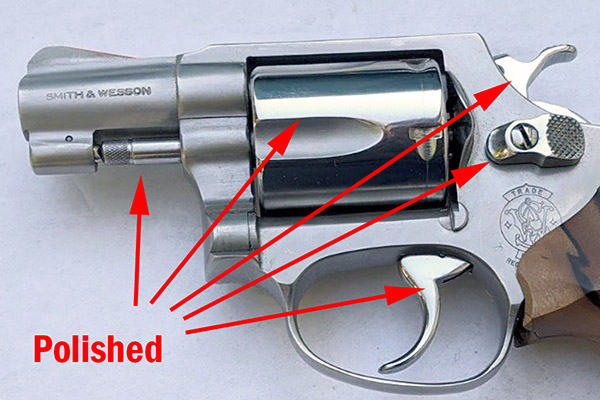
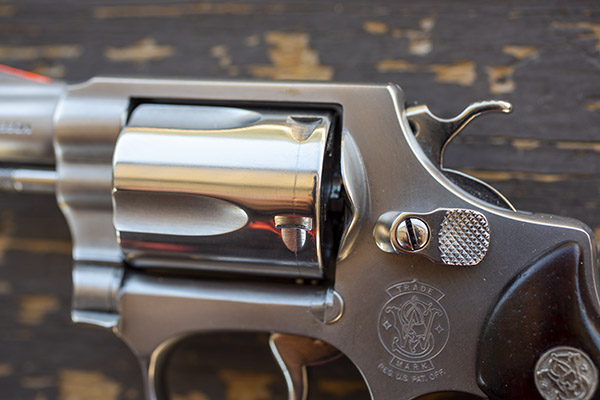
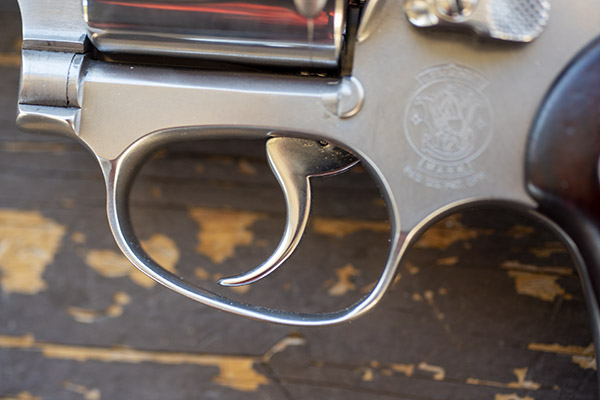
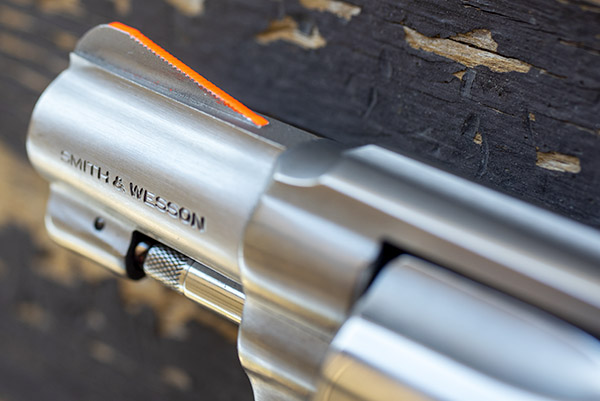
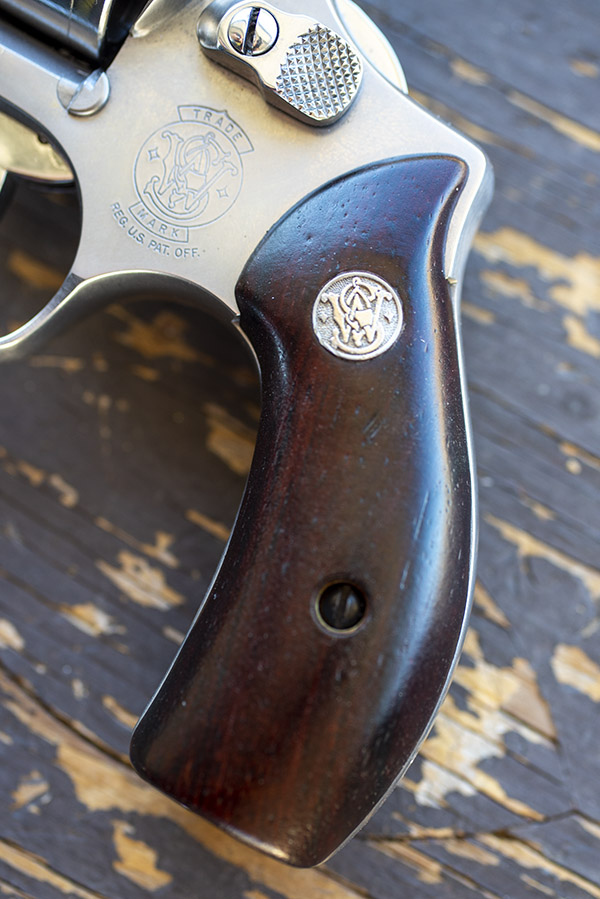
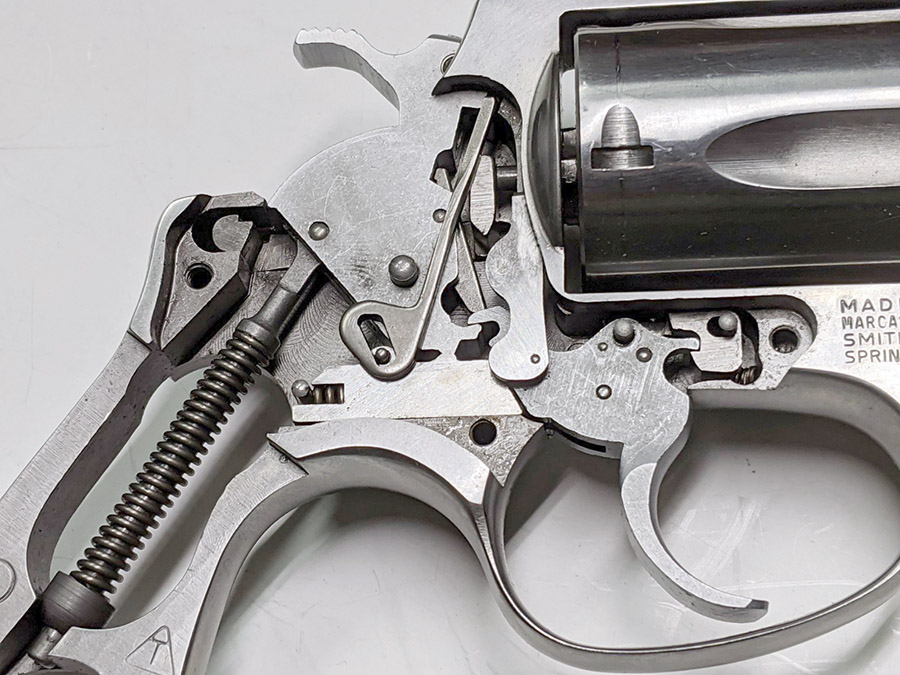
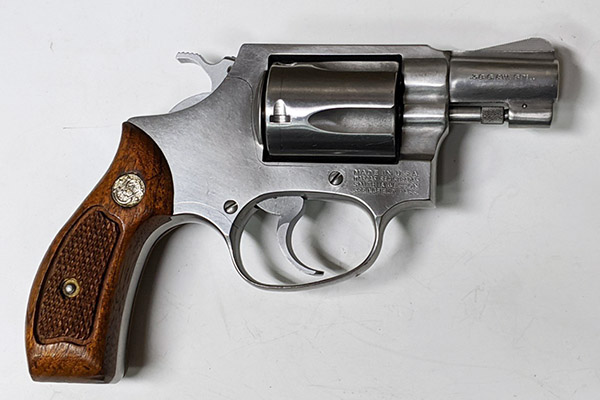
As I explained in our first blog on the Star, a friend of mine gave it to me when I started the Peoples Republik of Kalifornia transfer process for a snubnosed .38 Special revolver I recently scored (I got a killer deal).  It’s a stainless steel Model 60 Smith and Wesson Chief’s Special, and it’s a honey.  We’ll have a blog on the Model 60 sometime in the near future, and if all goes well, I’ll use reloaded .38 Special ammunition crafted on the resurrected Star.

The Powder Dispenser

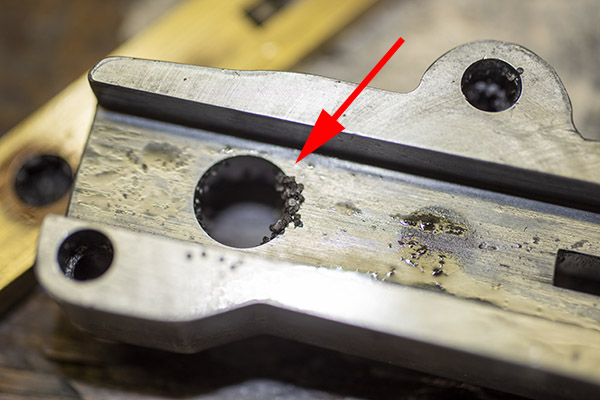
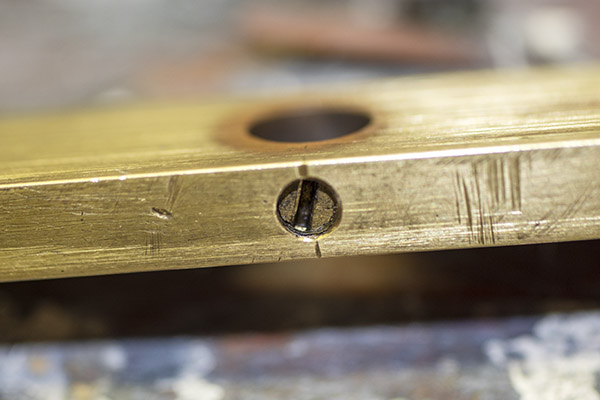
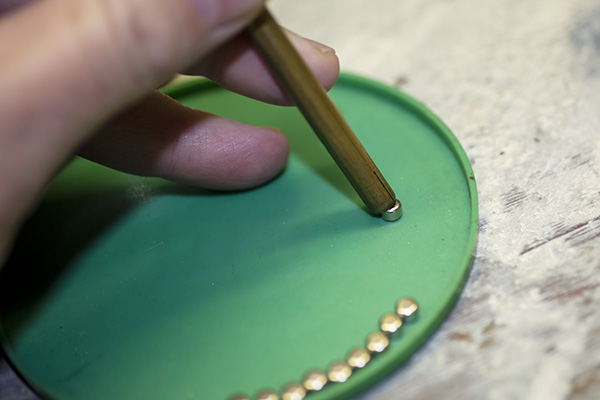
The Star’s powder dispenser looked pretty funky, and I could see it still held a few grains of powder when I peeked into the cavity that throws the charge.  I applied a few drops of Kroil to the screw heads so it could soak in overnight.  The powder dispenser will be one of the first subassemblies I disassemble and clean.  Kroil is a penetrating oil; it will creep into the threads so that the screws can be removed without burring the slots.  The powder dispenser will be the topic for our next Star blog.

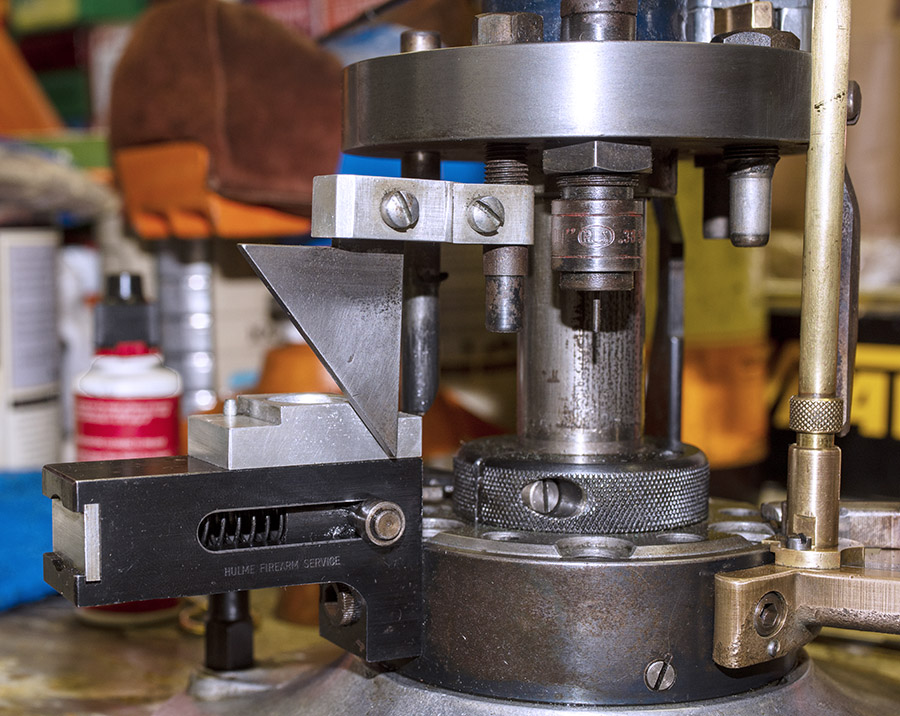
I didn’t recognize what this was (in the photo below) when I first saw it, and it was thoroughly coated in crud.  Then I realized…it’s the bullet seating and crimping die.  I’ll explain more about this in a subsequent blog, too.

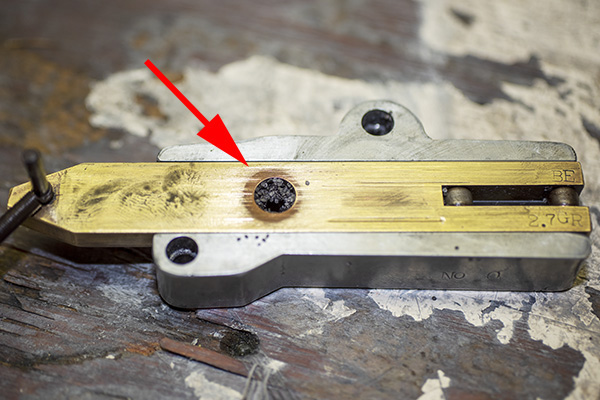
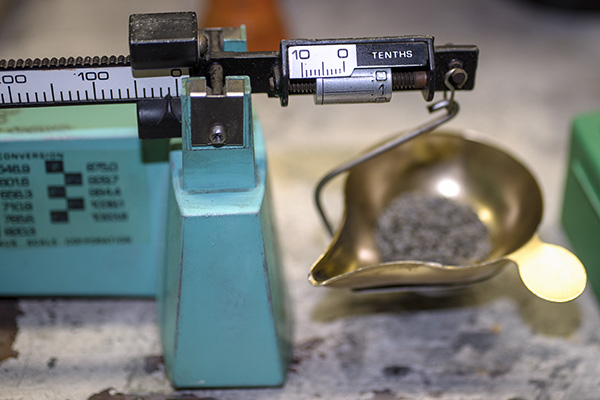
Here’s a close look at the brass slider in the powder dispenser.  It’s marked “2.7 GR.”  I’m hoping that’s for 2.7 brains of Bullseye propellant, which is the go to accuracy load (along with a 148 grain wadcutter bullet) in the .38 Special cartridge.  I’ll learn more when I disassemble the powder dispenser.  I’m itching to get into it.

Here’s one last look at the powder dispenser, with the powder chamber mounted above it.   In the next blog, I’ll explain how this subassembly works to dispense powder.

That’s it for now, my friends.   More to follow, so stay tuned.


You can follow the entire Star progressive reloader story on our Resurrections page.

Never miss an ExNotes blog…subscribe for free here:

Twinkle, twinkle, little Star…

Sometimes you just get lucky.  That’s what happened to me.  I’m buying a used snubnosed .38 Special (there will be a blog on it in a few weeks), and I used a different federal firearms license dealer for the transfer (I always buy through an FFL dealer to keep things legal).  The seller had an FFL dealer he wanted to use, and much to my surprise it happened to be one of the rangemasters at the West End Gun Club (a guy I already knew).  We all had a nice visit, and while I was there, I was looking around the shop and my eye turned to an old progressive reloader.  I love old stuff, and if you’re reading this, you probably do, too.

Now when I say progressive, I don’t mean the reloader leans left or votes democrat.  Nope, progressive in the reloading world means each pull of the lever results in a finished round coming off the machine.  With each stroke, a cartridge case is resized and deprimed, another is flared, another is charged with powder, another has a bullet seated in the brass case and crimped, and a new one is spit out.  Then, on the lever upstroke, the base plate rotates (it progresses, hence the name), and the sequence continues.  The output on a progressive is impressive.  You can reload north of 500 rounds an hour on these things.

This particular progressive is one of the first ones and it was made by a company called the Star Machine Works.  They first came out in the 1930s.  I don’t know exactly when mine was made, but it had my attention this morning and I guess that was obvious.  My rangemaster buddy told I could take it home with me if I wanted.

“How much?” I asked.  I think he could see that the hook was already set.  I wanted it.  And I guess it showed.

“You could take it home with you.”

“I think I will,” I said, “but tell me how much.”

“No,” he said, “you can take it home.  It’s yours.”

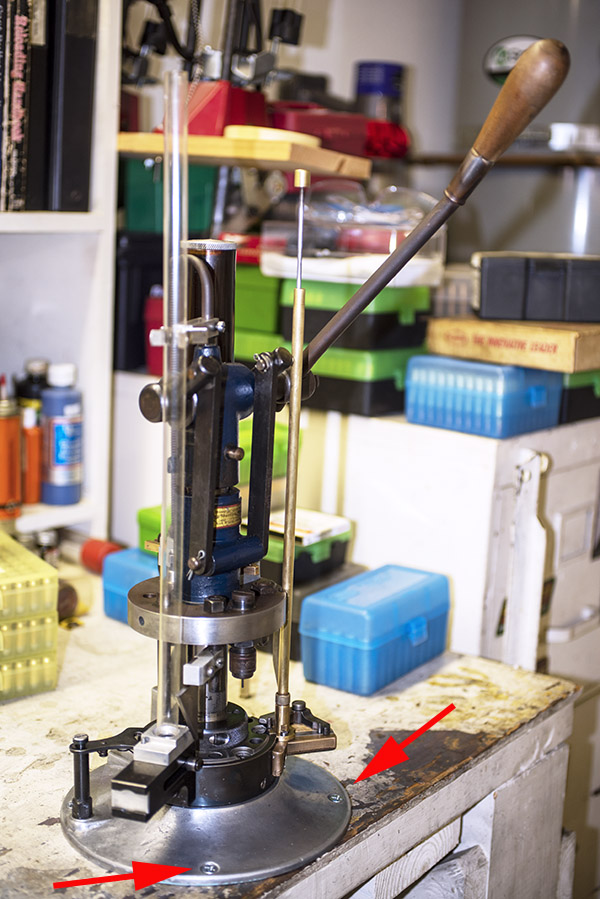
You can’t beat a deal like that.  The pictures you see here are of my new-to-me (but probably older than me) Star progressive reloader on my reloading bench.  It’s going to go through a Joe Gresh-style resurrection, and we’ll tell the story here on ExNotes.  There won’t be any cosmetics (I love the patina on this thing), and I want to keep the look as you see it here.  The Star will only undergo the stuff that’s needed to make it functional.  And you’ll be able to follow the Star’s resurrection here on the blog.

This Star is set up for .38 Special and .357 Magnum (both cartridges take the same dies), and there are still a few cases in the machine from who knows when.  You can see how they index into the plate, and it’s that plate that advances with each stroke of the lever.

The photo above shows the case feeding mechanism.  I haven’t attempted to clean it up or actuate the press yet.  What you see is exactly how it came home with me.

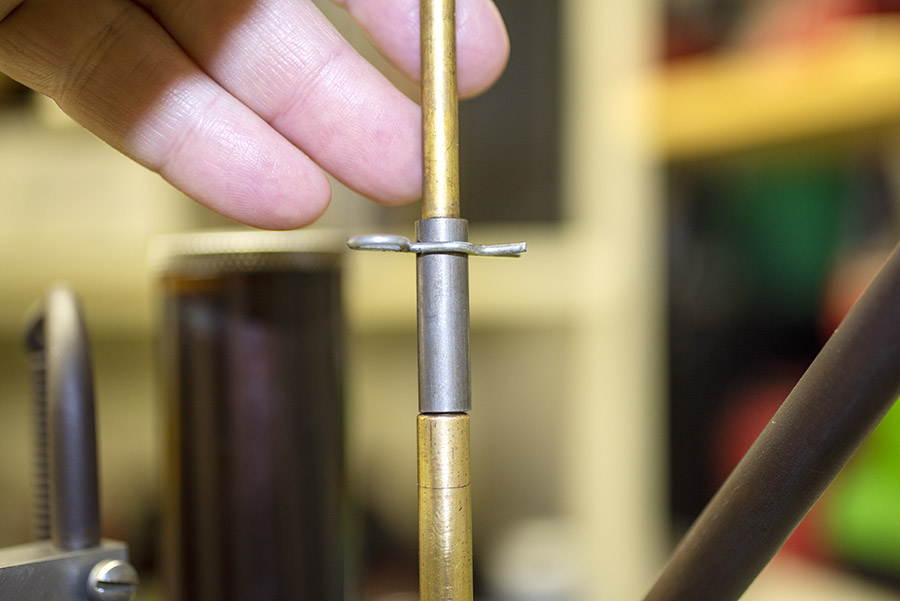
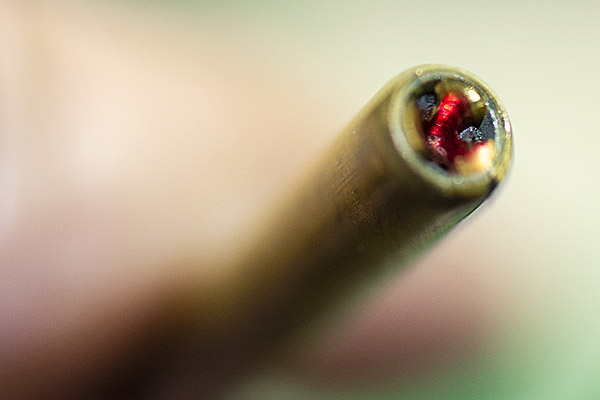
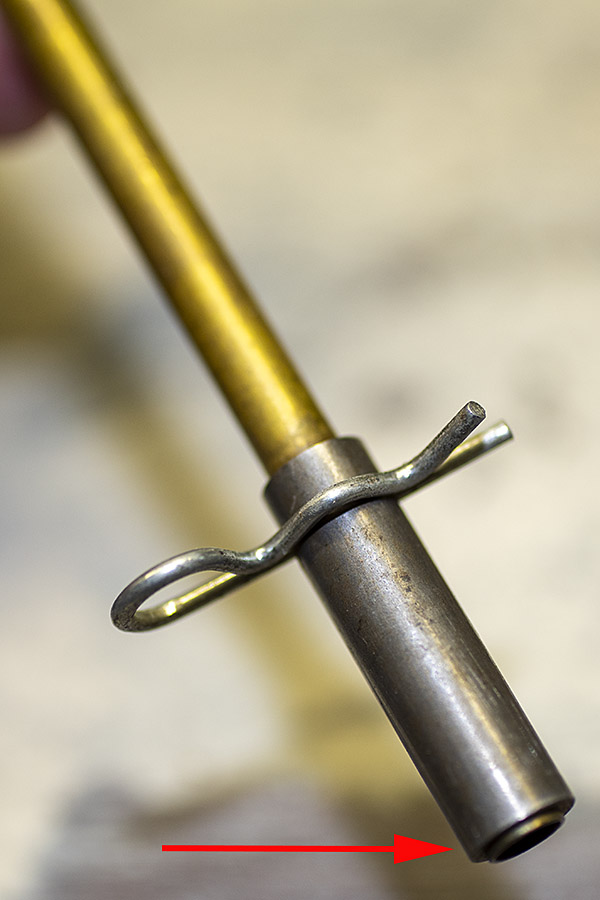
The big tube behind the lever and head is the powder container, and the narrow tube to the right is (I think) the primer dispenser.

I’ll start cleaning the Star this week, and once I’ve got it cleaned and lubed I’ll do my best to understand how it operates.  I’m not nearly as mechanically talented as Joe Gresh, so this resurrection will probably take a while.  But I’m going to enjoy the ride, and I think you will, too.  Like we always say:  Stay tuned.


Boy oh boy, we’ve got cool stuff to link to, like our Resurrections page and our Tales of the Gun page.  And hey, if you don’t want to miss any of it, be sure to subscribe to the ExNotes blog.  We’re running a special this month, and if you sign up now, it’s free!

A Tale of Two Leupolds

About 10 years ago, maybe more, I had a gig in Houston to teach an FMEA course to a consulting company.  This particular consulting outfit had a contract to teach Failure Modes and Effects Analysis to their customer, and they had taken the assignment without knowing anything about the topic.  It happens more often than you might imagine.  It was no big deal for me as I’d been teaching FMEA for years, I had a class ready to go, and I was in and out in a couple of days.  There was a nice paycheck at the end, and it was all easy peasy.

While I was in Houston, I found a local gunstore.   I stopped in to check out what they had. I do that pretty much every place I go and I’ve been doing it for nearly 50 years. You never know what you’re going to find.  The Houston gunstore was a disappointment (like most have been in the last 20 years) because all they offered (rifles, handguns, and shotguns) were these black plastic abominations.  Like the cannibals say, there’s no accounting for some people’s taste.

Anyway, the Houston gunshop had a junkbox/discount container holding all the gunshop detritus they were blowing out.  You’ve seen that sort of bargain bin before, I’m sure…things that are one step away from the dumpster. In that box was a beat-up old Leupold 4X scope that was so severely worn there was almost no anodizing left, the lenses at both ends were scratched  and chipped, and there were dents and dings along the scope’s length.

But, it was a Leupold.  In the scope world, that’s as good as it gets.  Leupold scopes are the best.  I bought that scope for $20, figuring maybe I’d use it if Bass Pro ever ran another scope sale where they give you $40 on any trade-in scope. They used to run sales like that, and I’ve used decrepit scopes as trading fodder, but my trade-ins were always cheapie scopes that had failed and didn’t cost much more than $40 when new.  That wasn’t the main reason I pulled the trigger, though.  That scope was a Leupold.  Even though it was trashed, it was still a Leupold.

The hoped-for future scope sale at Bass Pro never materialized (I guess they learned their lesson from guys like me on past sales).  The Leupold went under a shelf on my reloading bench and I kept it for when I had to mount scopes with twist-in rings, figuring the clapped-out old Leupold 4X was good for that kind of abuse. With all the damage on the lenses you couldn’t hardly see through the thing.  It became my scope mount installation assembly aid.  Now it was in my junkpile instead of the one at that gunstore in Houston.

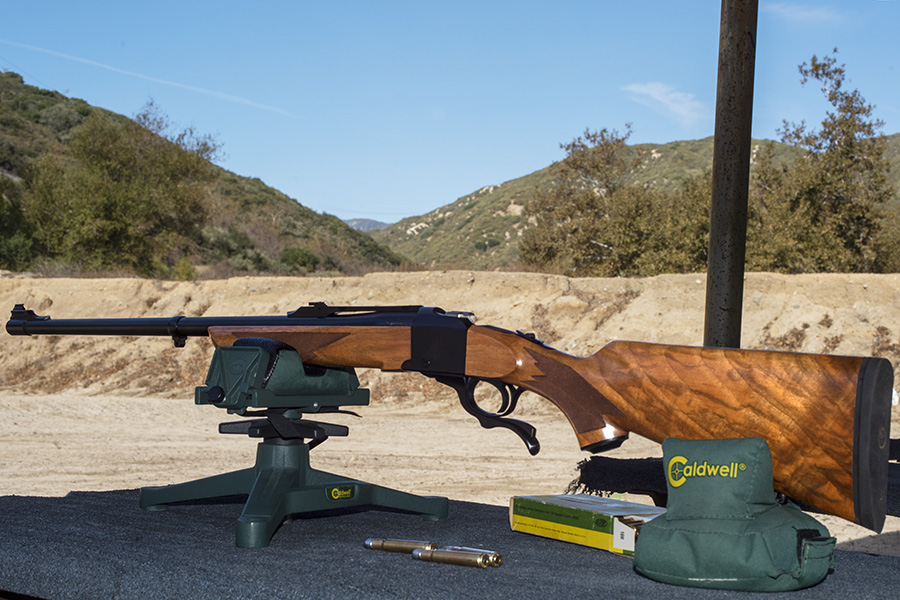
About a month ago good buddy Greg and I were on the range and a different Leupold scope (a 3×9) that I had on a .22 250 Ruger No. 1 wouldn’t adjust (it’s the scope on the No. 1 in the large photo above).  That surprised me, as a Leupold scope had never failed on me before.  The elevation dial was stuck.  I wasn’t worried, though.  Leupold scopes have a lifetime warranty, as mentioned in the video below:

When I got home I took the 3×9 scope off the No. 1 and sent a note to Leupold’s customer service.   Then, just for grins, I told Leupold about the old 4X (the one I described above), and I asked if they could refurbish it.  I didn’t know if Leupold offered that kind of service for old scopes.   Within a day, I had an email from Leupold with a return material authorization for both scopes, and off they went.  I didn’t think they’d be able to do anything with the 4X scope, and they didn’t tell me what they would charge to refurbish it.  But I sent it in anyway.

The Leupold 3×9 came back a couple of weeks ago and it’s fixed, cleaned, and it looks great.  Leupold somehow managed to refinish the minor marks in the anodizing (you know, what you get from the scope rings), and the scope could almost pass for new.  I’m very satisfied with it.

And then, a week or two later, the 4X scope (the one I paid $20 for) arrived.  Except it wasn’t the scope I had sent to Leupold. It was instead a brand new Leupold FXII 4×33 (they don’t even sell these anymore), but there it was, brand new and in a new shrink wrapped Leupold box. As a point of reference, when this scope was last offered by Leupold (I’m not sure when that was), they went for $389.

My charge? $0.

Yep, Leupold replaced that beat-up old scope with a brand new one at no charge. I wish I had taken a photo of the original scope.  Trust me, it looked like a $20 bargain bin item with one leg in the trash and the other on a banana peel.  In its place, I now have a brand new Leupold.

You might wonder:  Why a straight 4X scope?  Even though many scope companies don’t offer fixed power scopes in 4X these days, I think that a simple 4-power magnification is the best there is for hunting.  The higher mags have too narrow a field of view, it takes too long to find the target, and the whole variable power thing, to me, is a solution to a problem that doesn’t exist.  Nope, I’m perfectly happy with a straight 4X scope.

Leupold doesn’t offer the straight 4-power scope any more, but they have a wide variety of variable scopes.  The most frequently seen variant is the 3×9 Leupold.  This is the Leupold you see on that beautiful Ruger No. 1 you see at the top of this blog.   I have the 3×9 Leupold on my Model 70, too…the same one I used on a successful wild pig hunt a couple of years ago.

Folks, trust me on this:  When people say Leupold has fantastic customer service, they speak the truth. I can’t imagine ever buying another scope from any other company.


More Tales of the Gun!

A Tale of Two More .45s

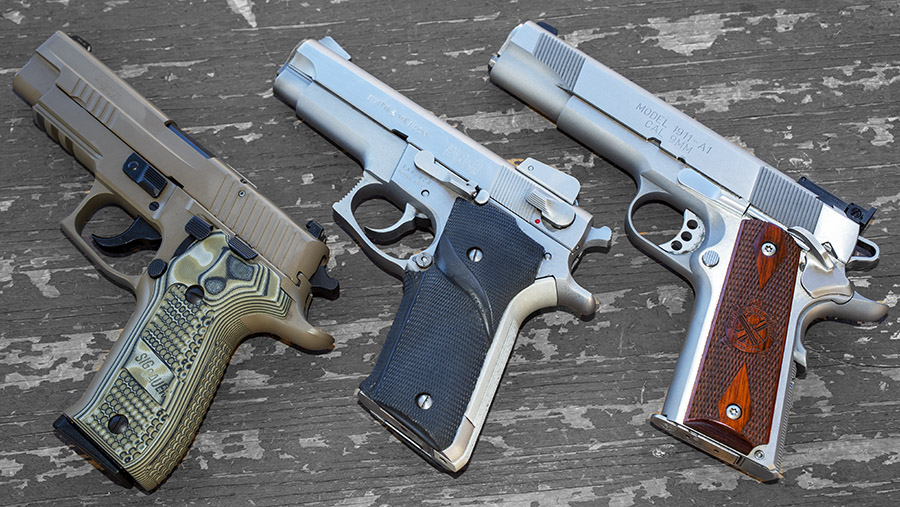
A couple of weeks ago I tested three .45 ACP loads in a Model 625 Smith and Wesson and my Rock Island Armory Compact 1911 using Winchester’s 231 powder and Jim Gardner’s 230-grain cast roundnose bullets.  We’ve done a bunch of accuracy testing in both .45 ACP revolvers and autos with other loads (and you can find those stories here).  This blog focuses specifically on Jim’s 230-grain roundnose bullets with Winchester 231 propellant.

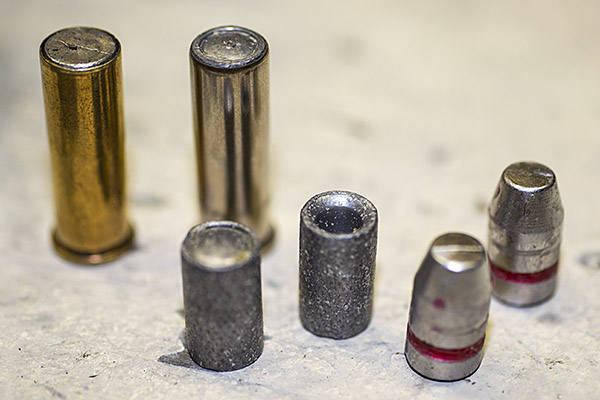
Reloaded .45 ACP ammo with Gardner 230-grain cast roundnose bullets.  The 230 cast roundnose bullets replicate GI hardball ammo and this bullet feeds in just about any .45 auto.

To get to the point quickly, the Gardner 230-grain cast roundnose bullets did well (as you’ll see below).  My testing consisted of three .45 loads with 4.5, 5.0, and 5.6 grains of WW 231 powder:

I was checking for accuracy and functionality in both guns.  Here’s what I found:

    • The Compact 1911 likes 5.0 grains of 231, and that load functioned best with this powder in the automatic.  The slide locked back after the last round the way it is supposed to; it would not do so with 5.6 grains of 231.  Getting a short-barreled 1911 to function well is a bit tougher than a full-sized 1911.  With 5.0 grains of 231 and the 230-grain cast bullets, my Compact 1911 functions reliably.  Your mileage may vary.
    • 4.5 grains of 231 functioned okay in the 1911, too, but it is the least accurate load in both the 1911 and the Model 625 (of the three loads that I tested).
    • The Model 625 likes both 5.0 and 5.6 grains of 231, with a slight accuracy edge going to the 5.0-grain load (although what you see here is probably more a result of my skills than anything else).  The 625 is not as accurate with the lighter 4.5-grain 231 load.

Lyman’s reloading manual has 5.8 grains of 231 as the accuracy load with this bullet, but I didn’t go that high (it was a max load).  Like I said, it doesn’t function reliably in the Compact 1911, and my testing showed 5.0 grains to be the Model 625’s sweet spot from an accuracy perspective.

All shots were at 50 feet, and all loads used the Lee factory crimp die (which assures easy chambering in 1917-style revolvers).  The loads would do better from a machine rest or a steadier shooter.  It was hot out on the range the morning I fired these targets and that probably adversely affected accuracy, too.

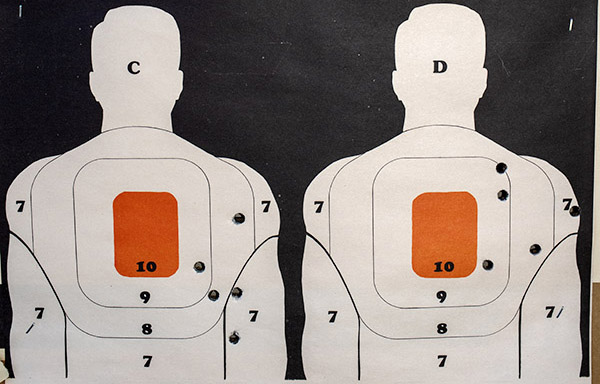
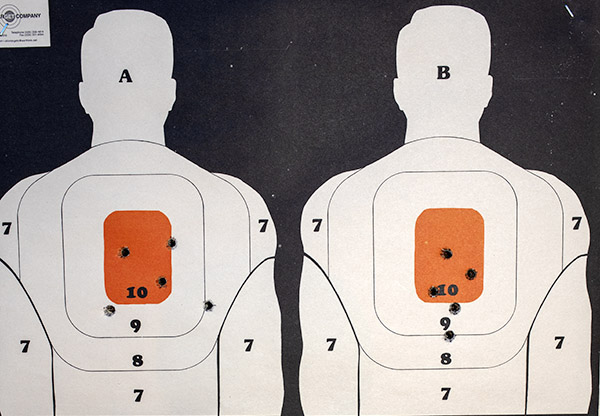
Here are the Compact 1911 targets that I shot using the 5.0-grain 231 load:

Compact 1911 results: Close enough for government work.  I use Alco targets for this kind of testing; these have four silhouettes per sheet.

The Compact 1911 is not a target gun, but it is accurate enough for its intended purpose.  The Rock Compact 1911 is very concealable and it’s the handgun I carry most often.  They are surprisingly inexpensive and surprisingly accurate with the right loads.

These are the targets with the Model 625 and 5.6 grains of 231:

The big Smith and Wesson Model 625 worked well with 231 and Jim’s 230-grain roundnose bullets.  This is the 5.6-grain target; 5.0 grains of 231 were even more accurate for me.

The Model 625 Smith and Wesson is more accurate than the Compact 1911 (hey, no surprises there).  They are both fun guns to shoot.

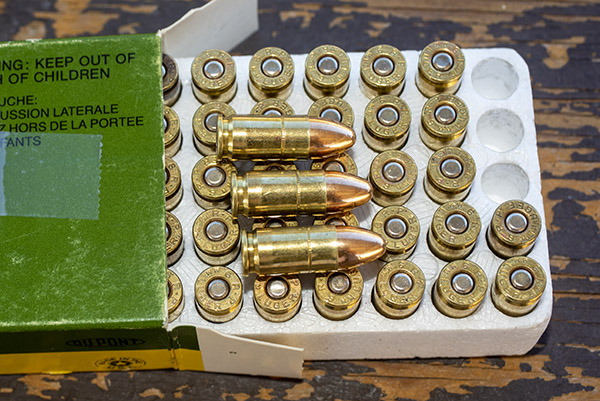
I usually load .45 ACP ammo with either Unique or Bullseye powder, but I thought I would try 231 just because I had some on hand and I wanted to see how it would do.  I have an accuracy load for the Compact 1911 with Bullseye and a 185-grain bullet that we wrote about earlier.  Other guys tell me 231 is their preferred .45 ACP propellant and I still had a can of it that I had purchased for the 9mm cast bullet comparo some time ago, so I thought I would give it a try in the two guns featured here.  With the sketchy availability of reloading components during these uncertain times, it’s good to know that this powder works well in .45 ACP.  But after this test, I’m going to stick with the other two propellants (Unique and Bullseye), assuming I can get them.  What I didn’t like about 231 is that it is a sooty powder…I found it to be significantly worse in that regard than Unique.

WW 231 propellant is accurate, but it sure is a dirty powder.  My left hand was covered in powder soot after just a few rounds.

I’ve been real happy with Gardner’s bullets.  They are less expensive than other cast bullets, the accuracy is good, and I observed no leading in either handgun. I’ll be purchasing Gardner bullets again.  If you haven’t tried Jim’s bullets, you might give them a try.


More Tales of the Gun, 1911, 1917, bolt action sporter, milsurp, load data, and other good shooting and reloading posts are here!


Join our Facebook ExNotes group!


Never miss an ExNotes blog…get a free subscription here:

LA Sheriff’s 1938 Pistol Team Video

Here’s one that’s pretty cool…a 1938 video from the Los Angeles Sheriff’s Department.  There are a few things in there that are a little scary, but I’ll let the video show all that.  Enjoy, my friends…and kids, don’t try the chalk or cigar stunts at home (or anywhere else).


More gun stuff?  Check out our Tales of the Gun page!

A .257 Bob Triple A French Walnut Kimber

I like fancy walnut.  I won’t buy a gun unless it has exceptional wood and it’s in chambered in a round I already shoot (I don’t want to buy new dies and components, and with the exception of .22 Long Rifle, I only shoot what I reload).  On rare occasions I’ll come across a rifle with wood so exceptional, though, that I’ll set aside my caliber rule. This is a story of one such rifle: A Kimber 84 Classic Select chambered in .257 Roberts.

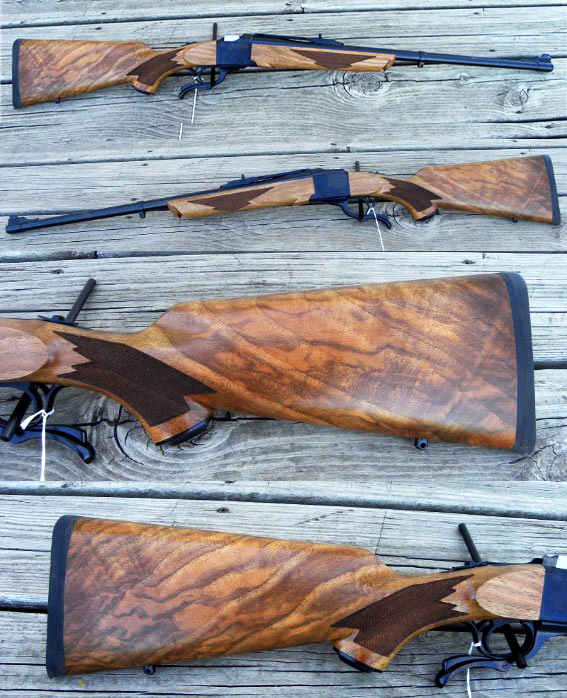
The Kimber “Select” designation means the rifle has been selected for the figure in its stock, but I’d seen any number of Select Kimbers with mediocre wood.   That’s not the case here, though.   The two photos directly below were straight from the Gunbroker.com ad, and I’d never seen one as beautiful as the auction photos indicated.

I knew I wanted the rifle, but I was a bit skeptical because I’d talked to a guy at the range with a .257 Roberts Kimber.   When I asked him how it shot, he just looked down and shook his head.  “With that pencil weight barrel, it’s hard to hold 3 inches,” he said.   “Good enough for deer, I guess.”

But still, that wood.  When I saw those photos above online, I called the store behind the Gunbroker ad.  “Is it really as nice as the pictures?” I asked.

“We were stunned when we opened the box,” the guy at the other end said, “so the answer is yes.  We’ve never seen one like it.”

That cut it for me.  The rifle had a “buy now” price posted on Gunbroker, and that’s what I did.  The time to buy something exceptional is when you see it.  I suspect if I had let the auction for the Kimber run its course, the bidding would have taken the price well north of the buy now number.

I was a little leery of the .257 Roberts cartridge having had zero experience with it, but everything I read about it was good.  Ned Roberts (a gun writer and wildcat cartridge developer in the 1920s) necked down the 7mm Mauser round to .25 caliber (the actual bullet diameter is 0.257 inch).  Remington added legitimacy to the cartridge by offering it in 1934.  Folks say it’s perfect for hunting everything from groundhogs to deer.  All that sounded great, but I remembered that guy with his .257 Bob at the gun club.  I need not have worried, though.  You’ll see why in a minute.

So how did the Kimber shoot?  In a word, it was fantastic.  How about sub-half-minute groups the first time out?

The secret sauce for the Kimber is 36.5 grains of IMR 4320 propellant under the 100-grain Sierra jacketed softpoint bullet (their No. 1620 bullet).  My Lyman manual lists a propellant range for that bullet of 36.0 to 40.0 grains.  I had three loads prepared that went up to 38.0 grains, but I found the 38.0-grain load too hot (the bolt was difficult to open).  You should always start low and work up, and I had just proven that.  Every rifle is different (even when they are identical), and 38.0 grains was too hot in my rifle.  The 36.5-grain load was the Goldilocks load:  It was just right.


More beautiful wood and secret sauce reloading recipes?   You can read them right here!

Turnbull Guns

My Dad was a world-class trapshooter and he owned more than a few exotic shotguns when I was a kid.  I didn’t know much about them but the names and the quality of those trap guns impressed me even as a little guy.  Ljutic, Parker, Winchester, Perazzi, L.C. Smith, and others were stacked in every corner of our little place in New Jersey, and the colors, the wood, and the engraving stuck in my mind.  Of particular interest to me were the fine walnut and the exotic colors.  Dad explained that the swirling grays, browns, and blues on the receiver were done with an exotic color case hardening process that used bone charcoal laid on the parts at high temperature.   It’s magical stuff.  I didn’t understand all of it then and I don’t pretend to understand all of it now, but I sure like the way those guns looked.

Fast forward 50 years or so, and I learned of a company in New York called Turnbull Manufacturing.   Doug Turnbull runs it and the focus originally was on firearms restoration.   As part of that, Turnbull researched the history and lost art of color case hardening so he could include it as part of the restoration process.   Turnbull’s work was stunning, and it didn’t take long until a few firearms manufacturers and gun distributors realized it would make a highly-marketable feature on limited runs of new guns.

The Turnbull 1917 Smith and Wesson

A 1917 Smith and Wesson, part of a limited run offered more than a decade ago with Turnbull color case hardening. The photo doesn’t do the gun justice; it’s beautiful.

15 years ago Smith and Wesson introduced a reissue of its World War I Model 1917 for a very short time, and as part of that deal, the new Smith included Turnbull color case hardening on the frame.  I saw one of the Turnbull 1917 revolvers at a local Bass Pro and it sat in the display case for months.  Where I live, the rage is all plastic guns that wannabe gangbangers hold sideways like they see in movies released by folks whose entire knowledge of guns could fit on the head of a pin (with room left over for the Gettysburg Address), so the re-release of the Turnbull 1917 Smith stayed in the Bass Pro display case for a long time.   It was a thousand dollar handgun that Bass Pro had marked down to $695, and it still hadn’t moved.

A few weeks later I stopped at Bass Pro and the 1917 was still there.  I asked the kid behind the counter what they would take for it; he read the price tag and told me $695.  Would you consider less, I asked.  I’d have to ask the manager, he said, looking at me and not moving.  Why don’t you do that, I answered.  He finally realized his job was to sell stuff and I was a real live customer, so he took off in search of whoever the boss was.

“We’ll take 30 off,” Junior said when he returned.

“Is that percent, or dollars?”

He smiled.  “Dollars.”  It was still a hell of a deal and I pulled the trigger (pardon the pun; some of these almost suggest themselves).

All that, and it shoots, too! The fixed sights are right on the money with 185-grain jacketed hollow points over 7.0 grains of Unique.

I love my 1917 and I love shooting it.  It’s accurate.  It looks cool, it hits where I want it to hit, and it’s a .45.  It makes me feel like Indiana Jones.  And there’s one more cool thing…this gun carries well.  Indiana Jones has nothing on me.  That Cairo guy cloaked in black twirling the big sword?  Bring him on.

Turnbull’s 1895 Marlin

Next up?  That would be my 1895 Marlin in .45-70.   Turnbull did a series of these, too.  That Marlin 1895 with Turnbull’s color case hardening hit home for me as soon as I saw photos of it.  I had to have one.

One of a limited number of Turnbull finished Marlin 1895 rifles in .45 70 Government. In addition to the color case hardening on the metal bits, Turnbull also refinished the stock and fore end to match the colors on rifles that left the Marlin plant a century ago.

Back in the late 1800s and early 1900s, factory Marlin lever guns were color case hardened.  I am a big fan of .45 70 Marlins (as a quick review of Tales of the Gun will show you), and an 1895 with the Turnbull treatment was irresistible.

Turnbull did a magnificent job on these.   It’s more than just color case hardening on the receiver.  Other bits and pieces received the Turnbull treatment, and Turnbull refinished the stocks with a red stain like Marlins had a hundred years ago.   The Turnbull Marlins are very limited production items, and Turnbull had photos of each Marlin they offered with this treatment.  The photos you see here are the actual rifle I selected.

Color case hardening is like highly-figured exhibition grade walnut. It looks alive, it changes subtly under varying light conditions, and it is mesmerizing.

I’d like to be able to say a got a hell of deal on this one, and in a sense I did:  I paid list price for the Turnbull 1895, and that was still a good deal.  To make it even better, shortly after I purchased the rifle Turnbull bumped the price significantly.  Got in under the wire on that one, I did.

The Turnbull Ruger Super Blackhawk

But wait:  There’s more!  I’ve been a Ruger fan for years.  That particular affliction started with a Super Blackhawk I bought when I was in the Army in the 1970s.  I shot it in International Handgun Metallic Silhouette matches back in the day, and I still shoot it.  Rugers are great guns and they last forever.

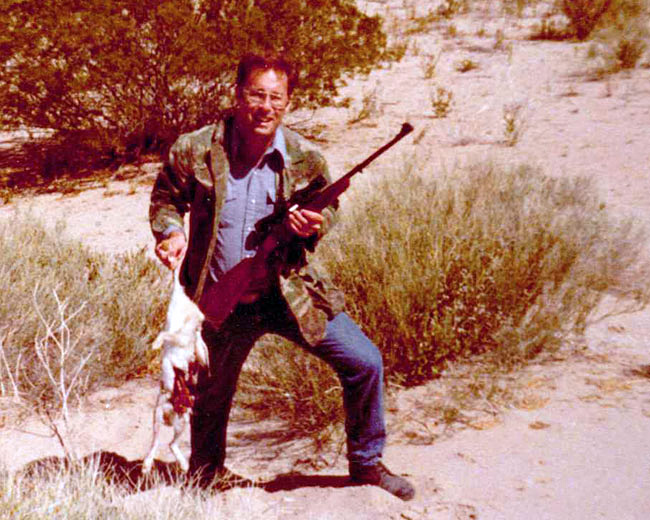
Yours truly on the Fort Bliss Rifle and Pistol Club firing line in 1976. The game was metallic silhouette and the Ruger Super Blackhawk was perfect for it.

You can guess where this story is going:  Turnbull teamed with Talo (a Ruger distributor) a couple of years ago to add Turnbull color case hardening to a limited run of Ruger Super Blackhawks.   Wow!  .44 Magnum, a Super Blackhawk, and Turnbull color case hardening.  It’s like these guys knew me personally.  I kept an eye on Gunbroker.com and when one of the gun outfits advertised these guns at something like 30% below list…well, you know how that wave crashed on shore.  It’s an awesome handgun and I had it on the range out at the West End Gun Club just last week.

A Turnbull-finished Ruger Super Blackhawk. You can still find these brand new on Gunbroker.com, but when they’re gone, they’re gone. This is a gun that will only go up in value.
The Turnbull color case hardening treatment just flat out works on a Ruger Super Blackhawk. No two guns are exactly alike.
A view of the right side of my Super Blackhawk. I shoot a light .44 Magnum load in mine, as I’m not trying to knock over metallic silhouette rams at 200 meters these days. But if I wanted to, I still could.

If you want to learn more about Turnbull, their guns, and their services, you might want to poke around a bit on the Turnbull site.  The photography and the info there make it worth a visit.


More Tales of the Gun stories?  You bet!

Stranded in Baja, Hearst Castle, and more…

Every once in a while we do a blog that covers a bunch of topics, and this is one of those times.

Good buddy Mike Huber and his friend Bobbie motorcycled Mexico (Baja, to be specific, almost another country all by itself), and he most recently published an excellent story about being stranded down there by the Covid 19 pandemic.  It’s not often that we recommend another blog, but hey, Mike’s writing is outstanding and it’s a great story.  Take a look; it’s very good.

My favorite motorcycle magazine (that would be Motorcycle Classics) sends out marketing emails on a regular basis, and in those emails they include links to past (and sometimes recent) articles.  I write for MC, and the most recent email that slipped into my inbox included a link to my Destinations piece on Hearst Castle.   You might want to read that story; I love Hearst Castle.  It’s closed for the pandemic, but the pandemic won’t last forever.  Hearst Castle will be there when it’s over.

We’re having a heat wave (both here in the Peoples Republik of Kalifornia and at Tinfiny Ranch).   That prompted us to start a piece on riding in extreme heat.   My first recommendation would be:  Don’t.   But things don’t always work out the way you want them to.  I once rode the length of Baja on a Mustang replicas with several friends, and due to a lack of research on my part we did the ride in Baja’s hottest month (and that’s September).  You can read about the 150cc Baja ride through Hell here.  Do you have any advice for riding in high temperatures?  Please share them with us (info@exhaustnotes.us) and we’ll include your recommendations here on the blog.

We have more motorcycle, gun and other stuff coming up, including info on Ruger’s new Custom Shop and their Super GP100 .357 Mag revolver, favored loads in the Henry .45 70 Single Shot, a piece on Turnbull’s iconic color case hardening and restoration services, a stunning (and tack-driving) Kimber with exhibition grade French walnut, the wrap-up of our ride through the Andes Mountains in Colombia, the Canton Fair, and for you fans of The Ten Commandments, making bricks without hay and mortar.  And a whole lot more.

Stay tuned, folks.

A Bullseye Birdseye Blackhawk

By Joe Berk

Good buddy Greg and I (along with about a gazillion other people) are  long term Ruger Blackhawk fans, and last week we were on the range with a new .357 Magnum Blackhawk Greg recently acquired.  It’s one of a limited run offered by Talo, a distributor specializing in custom guns from a variety of manufacturers.

Greg’s Blackhawk has a 5 1/2-inch barrel (standard New Model .357 Blackhawks have either a 4 5/8-inch or 6 1/2-inch barrel) and really cool birdseye maple grips (most Blackhawks these days have black plastic grips).   The birdseye maple grips contrast well with the Ruger’s deep bluing, and that 5 1/2-inch barrel just flat works on a single action revolver.  At 40 ounces (one ounce heavier than a 1911 Government Model .45 auto), the Ruger balances well and feels right.  Greg’s birdseye Blackhawk is beautiful, it groups well, and it has a superb trigger.  This particular offering from Talo includes an extra cylinder chambered in 9mm, so Greg can use .357 Magnum, .38 Special, or 9mm ammo (I guess he won’t be running out any time soon).

Greg loads the same .357 Magnum ammunition that I do (a 158-grain cast lead bullet with 7.0 grains of Unique), which is the “go to” accuracy recipe in .357 Magnum.  It sure shoots well.  A target load that is superbly accurate in a Blackhawk is the .38 Special with a 148-grain wadcutter bullet and 2.7 grains of Bullseye propellant (that’s been a preferred .38 Special accuracy load for decades).

Ruger makes a beautiful revolver, and this Talo birdseye Blackhawk’s limited production run almost guarantees these will be investment grade guns.  Most dealers are sold out, but if you poke around a bit on Gunbroker.com, you may still find one.


Help us keep bringing these articles to you.  Please click on the popup ads!


Like our gun posts?  Hey, there’s a lot more on Tales of the Gun!


Never miss an ExNotes blog!  Sign up here for a free subscription:


Cast Bullets in a 7mm Magnum Ruger No. 1

A 200th Year Ruger No. 1S in 7mm Remington Magnum. With factory-level jacketed bullet loads, recoil is attention-getting.  With cast bullets, this magnum is a lot easier to shoot.  I shot cast bullets for the first time in this rifle this week.

When I was younger, I made my own bullets by casting them out of molten lead.  I cast bullets until I decided there wasn’t enough time to do everything I want to do.   Shooting can be a full time hobby, reloading can be a full time hobby, and casting can be a full time hobby.  There’s a little motorcycle riding and some writing thrown in there, too.  Something had to give, so a few years ago I sold all my bullet casting gear.

I still enjoy reloading and shooting cast bullets, though, for a lot of reasons.  Lighter recoil, cheaper bullets (usually), less barrel wear, and the big factor:  It’s fun and it’s challenging.  This fascination with cast bullets, for me, started when I ran with a bunch of gunsels in El Paso and one of the guys decided it would be fun if we had a cast bullet rifle bullseye competition.  Being mostly engineers, we reckoned that big bore rifles would be the way to go, as the larger bullet diameters and weights would tend to make bullet weight differences and imperfections negligible.  The first rifle I ever shot a cast bullet in was a .458 Win Mag.  I was hooked after the first shot, mostly because there was far less recoil than shooting jacketed factory ammo and the experience was much more enjoyable.  Then I fired four more shots and when I saw the 1-inch group at 100 yards (from a .458 Win Mag!) I was hooked.  We all shot big bores in those days:  .458s, .45 70s, .375 H&H Magnums, and such.  Cast bullets in these big calibers can be amazingly accurate.

Anyway, I fell in love with cast bullets and I’ve been shooting them ever since, but these days I buy my cast bullets.  I have a local source for cast bullets, and I have a few I like that I order online or pick up at my dealer (that’s Phillips Wholesale in Covina, California). I also poke around a bit on the Internet and a few weeks ago I found Gardner’s Cache, another commercial bullet casting operation.  What had my attention immediately is that Jim Gardner’s prices are relatively low, he’s a veteran, and he had something I had not been able to find elsewhere at a decent price:  7mm cast rifle bullets.  I wanted to try cast bullets in a couple of 7mm rifles (one being the Ruger No. 1 that you see at the top of this blog), so I ordered a box of 250.  Then USPS lost the shipment.  I filled out an online lost shipment report, the boys in blue located my bullets, and a few days later they arrived.   The Gardner bullets look great.

Beautiful cast Gardner 7mm bullets. Casting quality is high, and I was hoping accuracy would match. It did. I’m a happy camper.

I could see that the casting quality was high, so just for grins I measured 30 projectiles to get a feel for the variability.

In 30 bullets, the range of weights did not exceed 1.6 grains. The mean is the average weight, and the standard deviation is a measure of the variability around the average value.

It was good.   You ordinarily get a lot more variability with cast bullets then you do with jacketed bullets, but the Gardner bullets were more consistent than other cast bullets I’ve used.  As I reviewed the data, it suddenly hit me that these  were supposed to be 145-grain bullets.  I could see from the bullets’ configuration that they matched the RCBS No. 82150 bullet mold, but what the mold maker tells you the bullet is supposed to weigh and what they actually weigh seldom line up.  I had seen this before with other cast bullets.

The RCBS No. 82150 bullet mold.  It’s not uncommon for the specified bullet weight to be different than what the mold actually throws, and that was the case here.
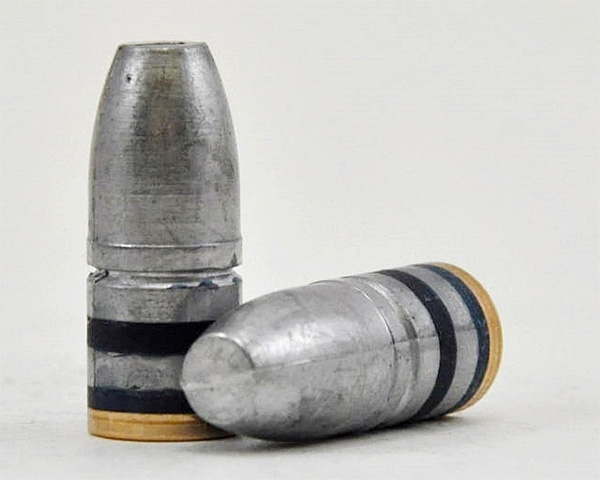
I like these bullets so much I had to grab another photo of them. The copper cap at the bullet’s base is called a gas check. It protects the back of the bullet from hot propellant gases and reduces barrel leading. The blue stuff is bullet lubricant, which eases the bullet’s passage through the bore and also helps to reduce leading.

I loaded several configurations with my new Gardner cast bullets in virgin Remington brass I had on the shelf, and the cartridges looked good.

Loaded 7mm Remington Magnum ammo, waiting to be range tested. You can’t buy this kind of ammunition; you have to reload your own.

I went to the range the next day with the 7mm Remington Magnum Ruger No. 1 and my new cast bullet load, and after getting set up I fired the first load (with Unique propellant) at a single pistol target at 50 yards.  The rifle had been zeroed for a factory equivalent jacketed load, and the results were very predictable.  Whenever I’ve taken a centerfire rifle zeroed for factory ammo and shot cast bullets in it, the load is always about 10 inches low at 50 yards.

Two good groups (both around 1.5 inches) at 50 yards. The low group was fired with the scope still adjusted for jacketed ammo, and it was predictably 10 inches low. 80 clicks up on the Weaver and we’re in the money.

The required telescopic sight adjustment in going from jacketed to cast is something I know by heart:  80 clicks up.  You can see the first five-shot group at 6:00 in the 5-ring on the above target.  Windage looked about right, so I went 80 clicks up on the Ruger’s Weaver 3×9 scope.  Each click is 1/4-inch at a hundred yards so that means a click is 1/8-inch at 50 yards, and I had to go up 10 inches.  10 inches is 80 clicks.  I made that adjustment and oila, the second group was right where I wanted it.  It was exactly the same as the amount of elevation I had to crank into my .30 06 Browning B78 when going from jacketed to cast bullets.

Then I moved over to the other targets I had set up at 50 yards.  I’d like to tell you that all groups were tight, but hey, you do this to find out what works and what doesn’t.  My best group of the day was with 18.0 grains of Trail Boss propellant, but it wasn’t as consistent as the Unique load was.

Not bad, but not consistent. The next group with this same load was 3.140 inches. Was it me, was it the rifle, was it the bullet, or was it the load? We’ll find out on the next outing.  This might have been a 1.6-inch group at 100 yards, and that ain’t bad.

Here’s what I experienced with the first six loads I’ve tried with these bullets.   Yep, there’s a lot of variability on some, but I’m encouraged.

Accuracy results from the first six loads I tried with my 7mm Remington Magnum cast loads. I’ll focus primarily on Unique and Trail Boss, and seat the bullets out a little further for a longer overall cartridge length on the next set of loads.

I’ve already loaded more 7mm ammo with the Unique and Trail Boss loads, and I’m also going to try IMR 4227.  I don’t think that 4227 will do as well as the first two loads, though.  We’ll see.  After that, I’m moving the targets out to 100 yards.   That will be interesting, and when I do, you’ll see the results here on the ExNotes blog.

I already used about half of the 250 Gardner bullets that came in the first box.  The results in my Ruger No. 1 made me a happy camper and I ordered another 1000 7mm rifle bullets a few days ago.  If you want good cast bullets at a great price, you might take a look at Jim’s website.


More Tales of the Gun are waiting for you here!


Never miss an ExNotes blog!
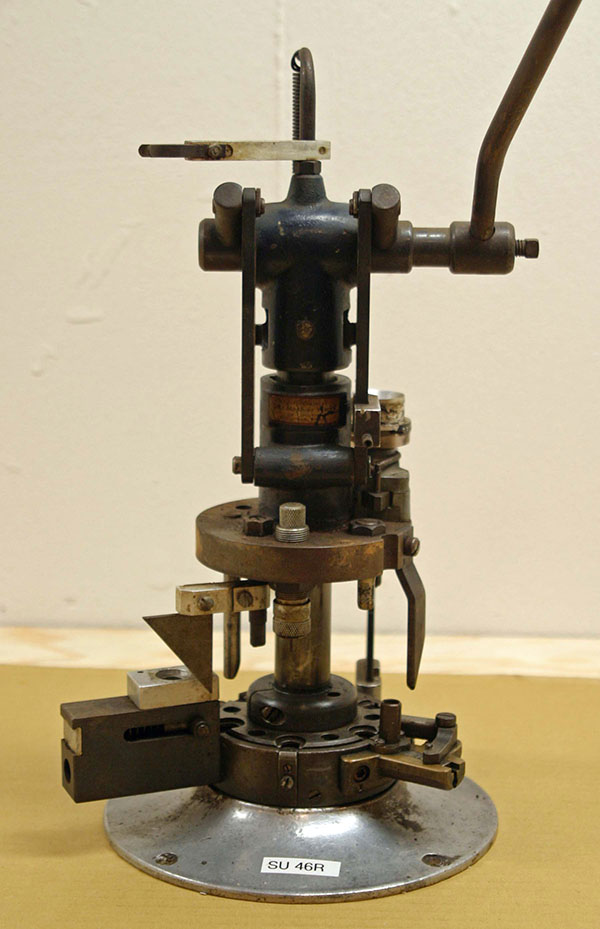

Hit those pop up ads!