
I was a 14-year-old kid in the 8th grade and I had just discovered motorcycles. A senior in our combined junior high and high school named Walt had a brand new 1964 Triumph Tiger back in the day when the Tiger was Triumph’s 500cc twin. It was the most beautiful thing I’d ever seen (with the possible exception of Raquel Welch and one or two young ladies in my class). But Raquel was beyond my reach, and come to think of, so were those other young ladies. The Tiger? It was right there. I could stare at it anytime I could get out in the parking and it wouldn’t care or complain. And stare I did; so much so I’m surprised I didn’t wear the paint off. White and gold with a cool parcel grid on the gas tank and perfect proportions, I knew that some day I’d own one. Ultimately I did, but I’m saving that one for another blog.
We didn’t have the Internet in those days. Come to think of it, we didn’t have cell phones or computers, either. We actually talked to people, and if we took pictures, we used this stuff called film that had to be sent off to be developed, but that’s a story for another blog, too.
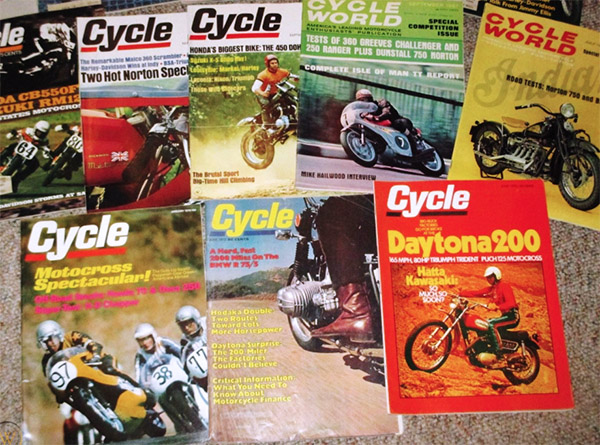
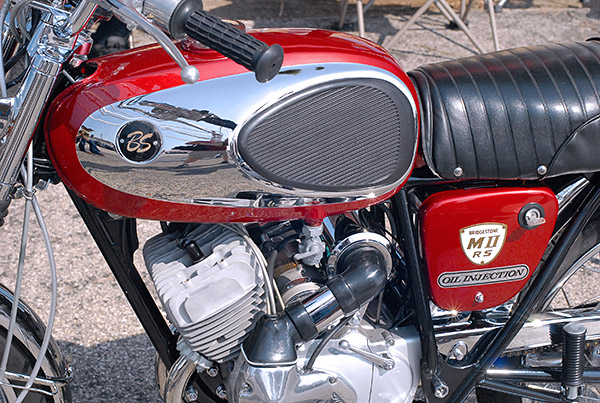
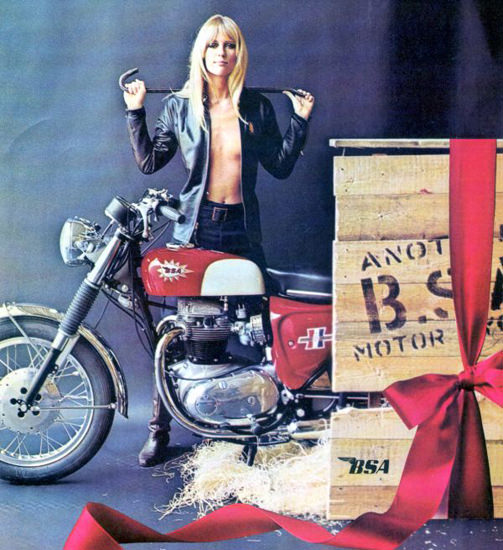
What we did have were glorious motorcycle magazines with even more glorious ads. The BSA ads were the best, with scantily-clad women in an era when the term sexism implied a pervert of some sort and the phrase “politically correct” was decades into the future.
Their awesome ads notwithstanding, I didn’t want a BSA. I wanted a Triumph. It had to be like Walt’s, with those extravagant big chrome exhausts and Triumph’s perfectly-pinstriped paint. The magazine ads all had a snail mail address (that’s the only kind of address there was back then) and an invitation to write for more info, and write I did. It wasn’t long before I had amassed an impressive collection of colorful brochures from the likes of Triumph, BSA, Norton, Harley, Honda, and more.
The planets came into alignment for me as several things happened. Dad started reading the brochures and that piqued his interest. He wasn’t a motorcycle guy, but the ads worked their magic. It was an era where advertising worked, I guess. Then one of Dad’s buddies, another trapshooter named Cliff, stopped by with a new Honda Super Hawk. In those days, the Super Hawk was an electric-start, twin-carbed, 305cc twin. Cliff let Dad ride it in the field behind our house and praise the Lord, Dad was hooked. Between my enthusiasm and the motorcycle industry’s advertising experts, he never had a chance.
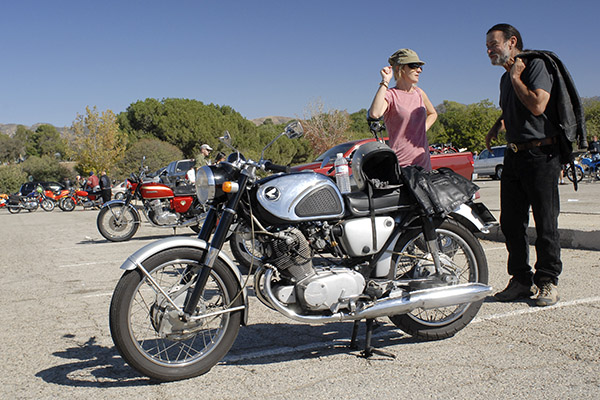
Dad was a little intimidated by the idea of starting his motorcycling career with a monstrous 305cc machine (remember all those nicest people you met on a 50cc Honda Cub?). He found an ad for a slightly used 160cc baby Super Hawk and that was his first motorcycle. It lasted all of two months. Dad took it for a service to Sherm Cooper’s Cycle Ranch and he came home with a new Super Hawk. Wow. I thought that would last for a while, but between the brochures, my inputs about Triumph Bonnevilles, and apparently a bit of salesmanship by old Sherm, a year after that Dad traded the Super Hawk for a new ’66 Bonneville. Wow again!
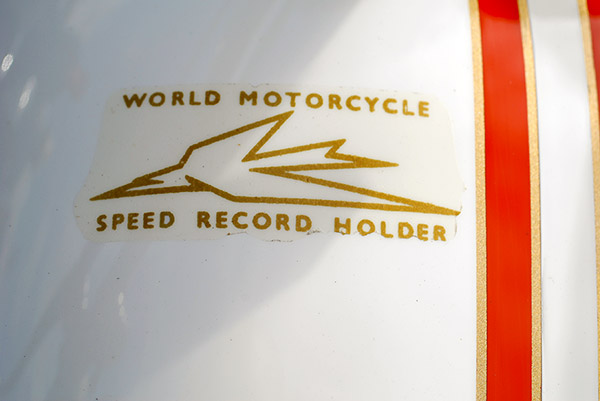
The Bonneville was stunning. Triumph went to 12-volt electrics in ’66, a smaller gas tank in ivory white with a cool orange competition stripe, and stainless steel fenders. And, of course, that World Motorcycle Speed Record Holder decal that adorned the tank of every new Triumph (Triumph held the record in those days, prompting the decal and the name of their flagship motorcycle). I was too young to drive but not too young to ride, and on more than a few occasions if Dad noticed the Bonneville odometer showing more miles than when he last rode it, he didn’t say anything.
Dad was a craftsman and a perfectionist. An upholsterer by profession and a tinkerer by nature, he added custom touches to the Bonneville that took it from awesome to amazing. He had a polishing machine in the basement and after what seemed like days of buffing (and several cloth polishing wheels) the fenders went from brushed stainless to a mirrored glaze that completely transformed the Triumph. And the seat…he outdid himself on that one. Remember that orange competition stripe I mentioned above? Dad’s seat continued it. The stock seat went from gray and black to a tank-matching ivory white, pleated with a perfectly-matched orange stripe that ran the length of the seat. The tank’s stripes were bordered with gold pinstriping; Dad incorporated matching gold piping on the seat’s pleats. The overall effect just flat worked. It looked like the Triumph had gone under a set of sprayers with ivory white, orange, and gold paint. Between the seat and the polished fenders, the bike had a jewel-like finished appearance that made it look like Triumph’s stylists had finished what they started. It was stunning.

Sherm Cooper saw the seat Dad had recovered and he was floored by it. “Where did you get that?” he asked, and when he learned that Dad stitched it himself (after all, he was an upholsterer), Dad’s business suddenly included Triumph and Honda seats in all manner of colors, including lots of metalflake naugahyde. Dad was making “glitter sitters” before they became well known back in the ’60s.
The Triumph was in many ways less sophisticated than the Honda, but it was infinitely cooler. The styling was way better in my 14-year-old mind. It didn’t have an electric starter, but that made it better to me. You had to tickle each of the Amal carbs with this little button on each of their float bowls until gasoline flowed out around the button, and then give it a kick. It usually started on the first kick. It was a form of intimacy with the machine, something the Honda neither needed nor wanted. The Triumph, though…it needed you. Marlon Brando, move over (Johny rode a Triumph in Rebel Without A Cause, you know). The sound of a Triumph Bonneville was beyond awesome. It was the perfect motorcycle, but alas, it was not to last. Dad lost interest in riding and sold the Bonneville. A few years later (when I was finally legal with an actual motorcycle driver’s license) I bought a 90cc Honda and then a CB 750 Four. It wouldn’t be until 1979 that I bought a new Triumph Bonneville, but that’s a story for another blog, too. Stay tuned, and you’ll get to read it here.
Never miss an ExNotes blog!