
I’m back after a 3-day hop over to Singapore, and it’s good to be home. I thought I’d do sort of a catchall blog to mention a bunch of things. For starters, Singapore was fun (it always is), but that 15-hour time change is a bear. I was over there to teach a class, something I do two or three times a year. They treat me well in Singapore and I love traveling to Asia. I think I’m back on California time already, thanks to keeping an altered sleep schedule while I was in Asia and a good sleeping pill that let me sleep through the night last night. If you’ve never been to Singapore, you might want to add it to your bucket list. It’s one of the world’s great places.
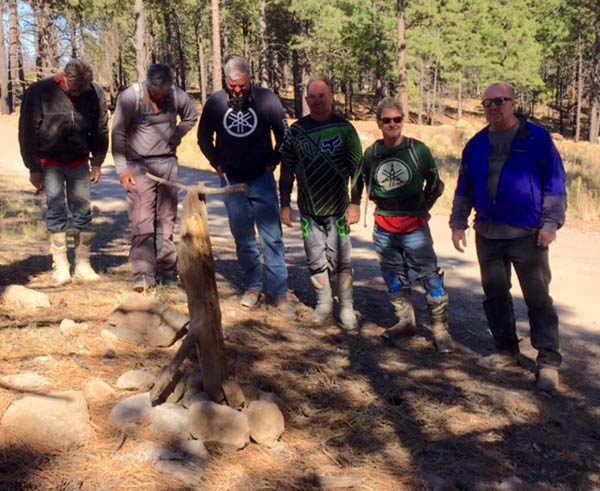
I kept up (as many of you did) with Joe Gresh’s Endurofest fun in Flagstaff, and it looks like the only downside to that adventure was his good buddy Hunter crashed and cracked a bunch of ribs. Hunter, we’re thinking of you. Get well soon.
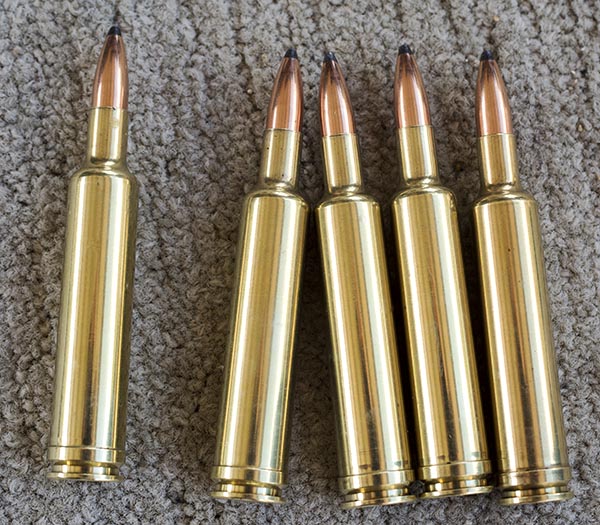
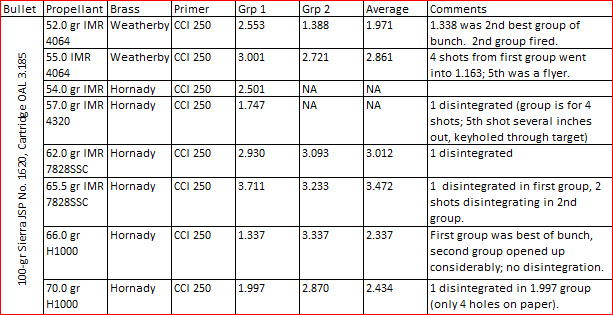
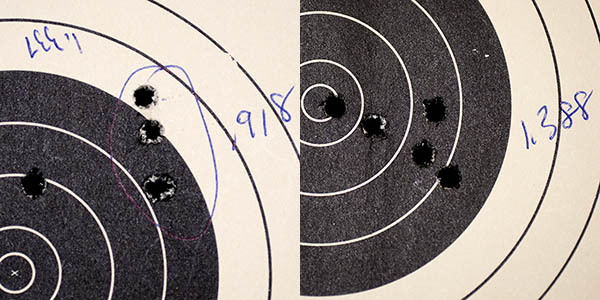
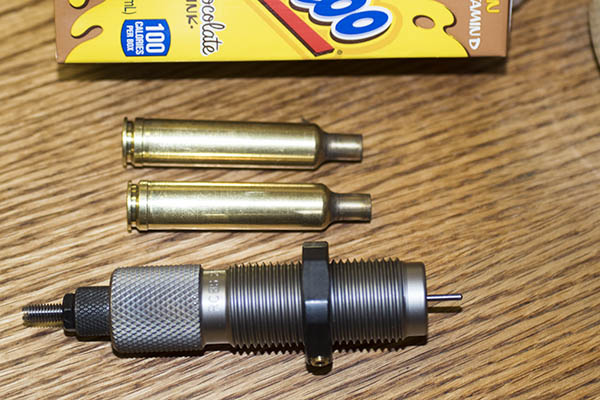
And speaking of cracking things, you’ll remember the story on my .257 Weatherby Ruger No. 1 cracking its Circassian walnut stock and me shipping it back to the factory. I called Ruger, but I still don’t have an update on the fix. They were supposed to get back to me later today, but it’s already later today so I expect I won’t hear anything until tomorrow or Monday. I’ve got a bunch of .257 Weatherby brass polished and primed, and I’ve got the Barnes monolithic copper bullets my good buddy Mississippi Dave recommended. I’m eager to get that rifle back and continue the load development for it.
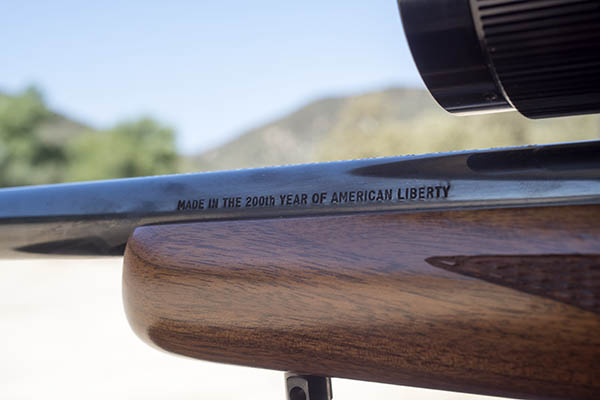
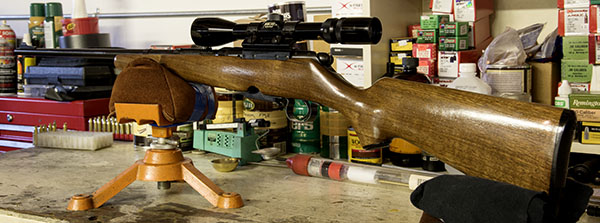
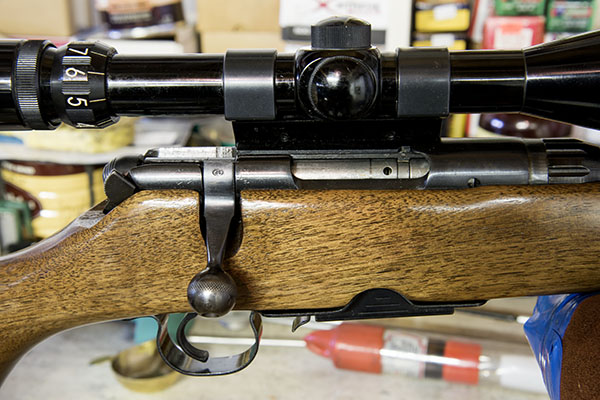
In the meantime, I’ve been playing with a beautiful 43-year-old Ruger Model 77. It’s a 200th year Ruger in a very classy chambering, the 7×57, which is the old Spanish Mauser cartridge. I bought it used in 1977 and it is in pristine condition, and I think I know why the previous owner sold it. It doesn’t group worth a damn. But that makes it more fun (half the fun with these things is searching for a good load). Stay tuned, because if I ever find a decent load, you can be sure there will be a blog on this one.
The carb on my TT250 is gummed up and it won’t idle. That’s not the bike’s fault. It’s mine. I sometimes go months between rides on that bike, and that’s what happened here. I’ll take the carb apart to clean out the passageways, and when I do, I’ll photodocument the approach so you can see how I go about it. I’ll have to re-read the tutorial I did for CSC Motorcycles on the TT250 carb first. These bikes are super easy to maintain, and they have to be one of the best deals ever on a new motorcycle.
Hey, another cool motorcycle deal…my good buddy Ben recently published a book titled 21 Tips For Your First Ride South Of The Border (and it’s free). You can download it here.

Let’s see…what else? Oh yeah, we have a bunch of stuff in the blog pipeline for you. There’s the Yoo-Hoo product review (we haven’t forgotten about that one). There’s a very cool watch company (Gear’d Hardware) that follows the ExNotes blog, and they recently sent two watches to us for review. The review will appear here in the near future. That’s good; we’ve been meaning to start a watch review series and this will get the ball rolling.

More good stuff: I’ve been playing with another Ruger No. 1 chambered in yet another Weatherby cartridge (the mighty .300 Weatherby), and I’ll be posting a blog about that soon. Another product review that’s coming up is one on turmeric, the dietary supplement that’s supposed to work wonders for arthritis. I don’t have arthritis, but that crash I had on my Speed Triple 10 years ago has bothered me mightily for the last decade, and taking turmeric is getting it done for me. I don’t normally believe in these supplement wonder pills, but folks, it’s working. Watch for the blog on this stuff. And we haven’t forgotten about a near-term ride up the Pacific Coast Highway (good buddy TK and I have been talking about that one).

Stay tuned; there’s always good stuff coming your way here on the ExNotes blog!
Sign up and never miss an ExNotes blog!
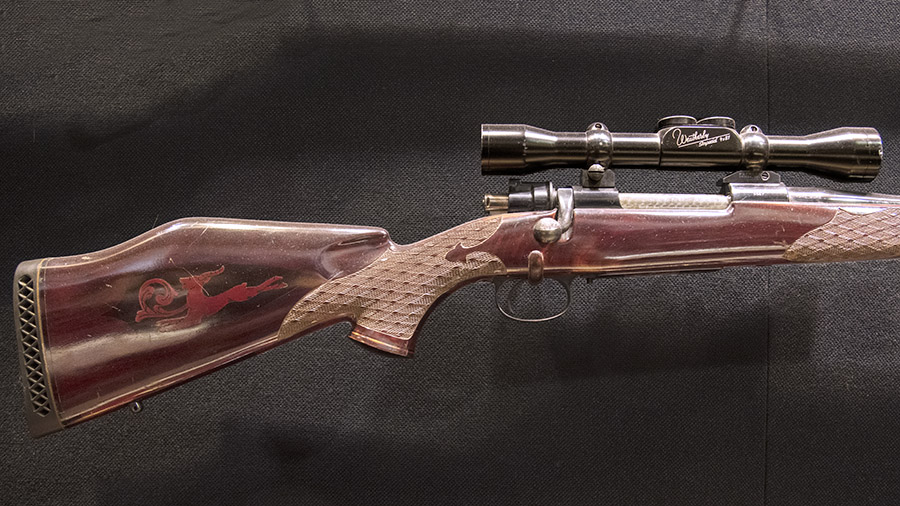


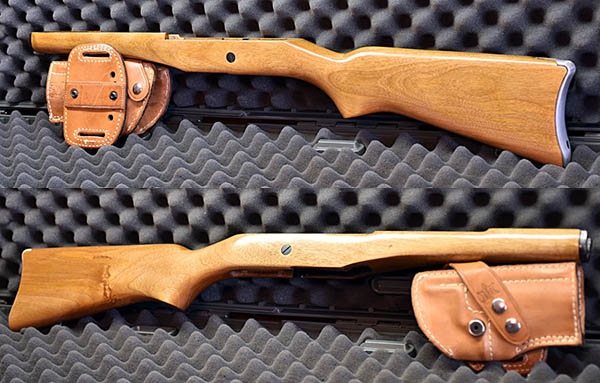
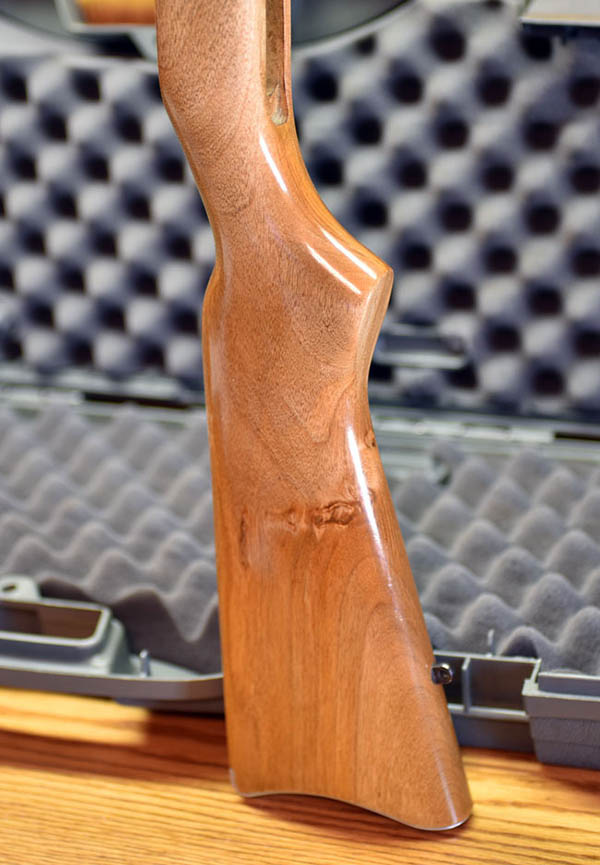
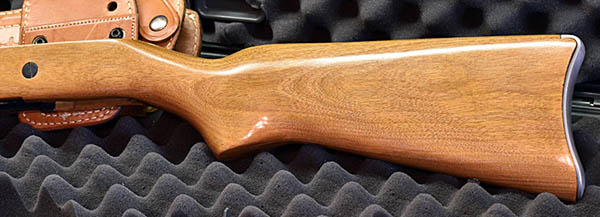
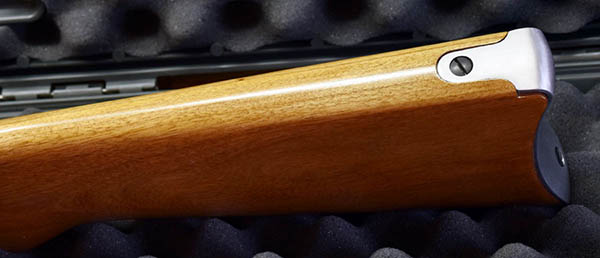
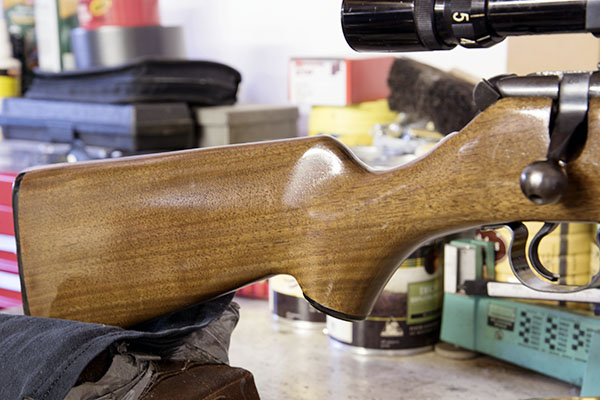
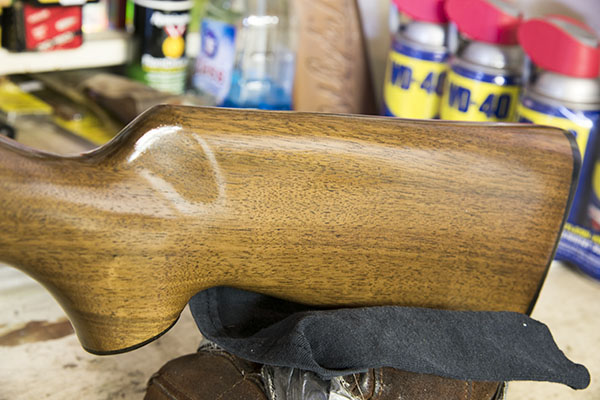
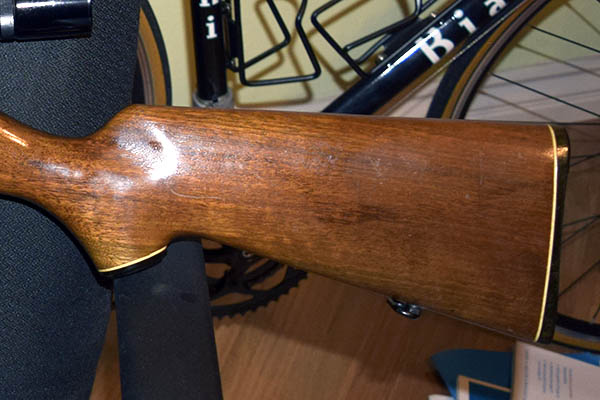
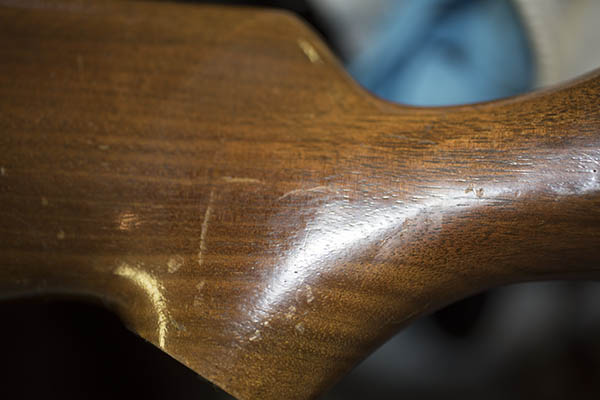
 The original finish had a lot of scratches and dings; those are all gone. The 340 originally had white line spacers between the buttplate and the stock, and between the pistol grip cap and the stock. I like the “less is more” look (I think it’s more elegant), and I think I achieved it by deleting the spacers. The rifle’s original finish was some sort of shellac or varnish that gave a reddish hue to the stock; the new
  Applying the
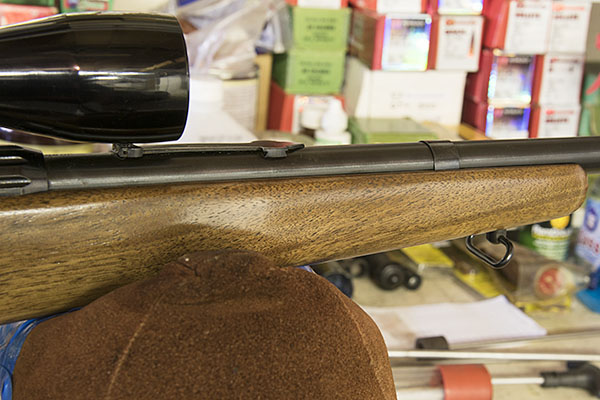
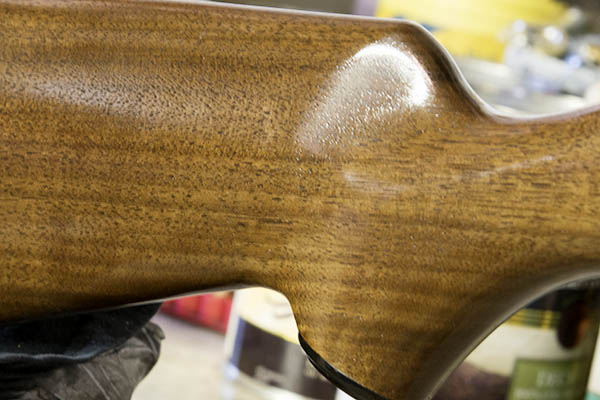
  I applied a thin fourth coat of