The Model 60, Betty, and Getting Hammered

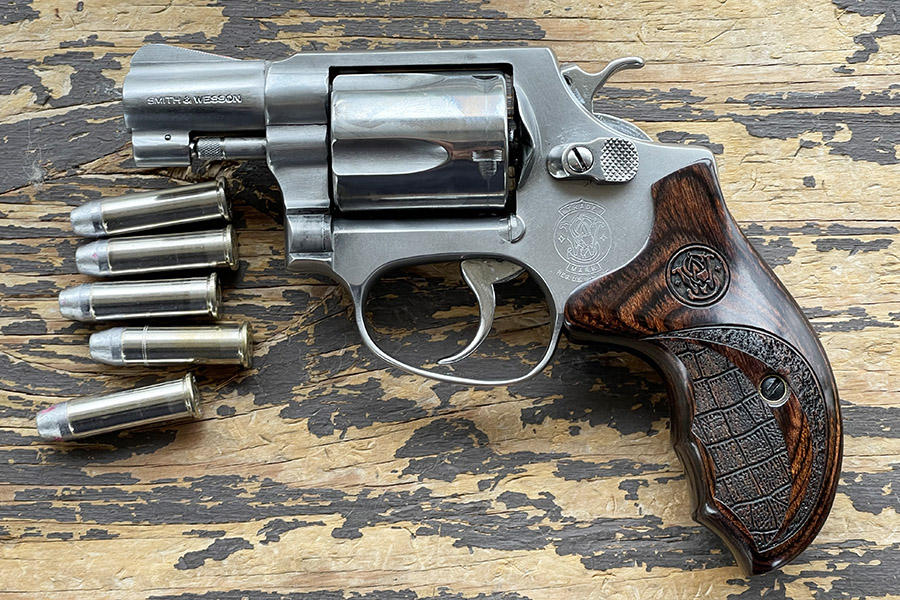
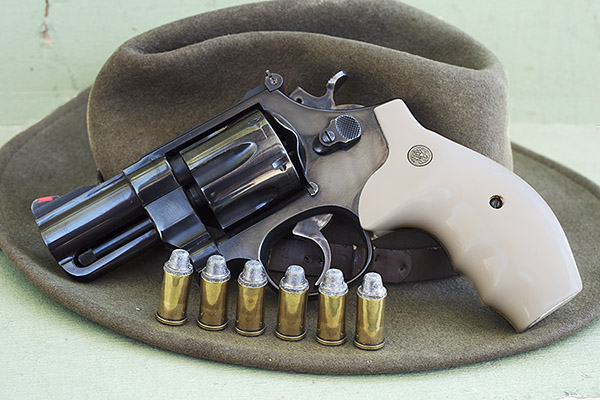
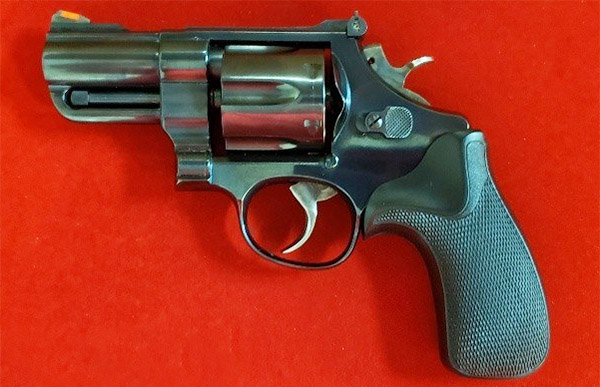
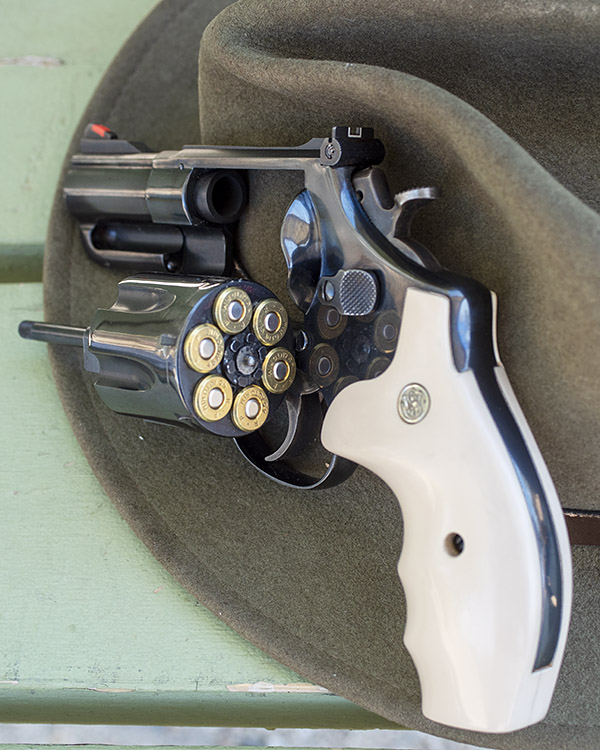
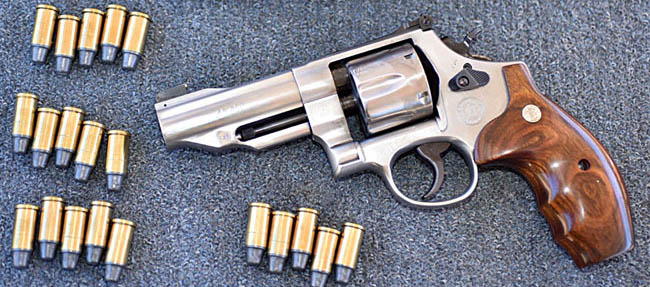
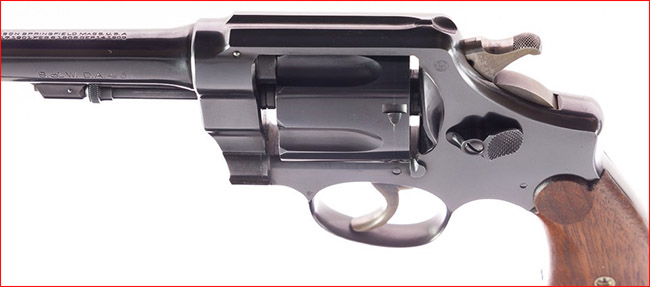
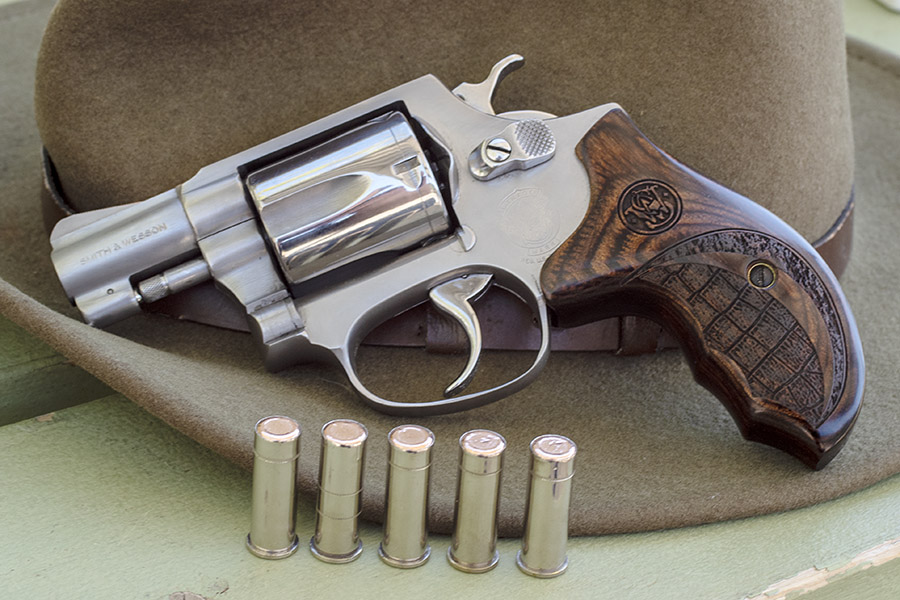
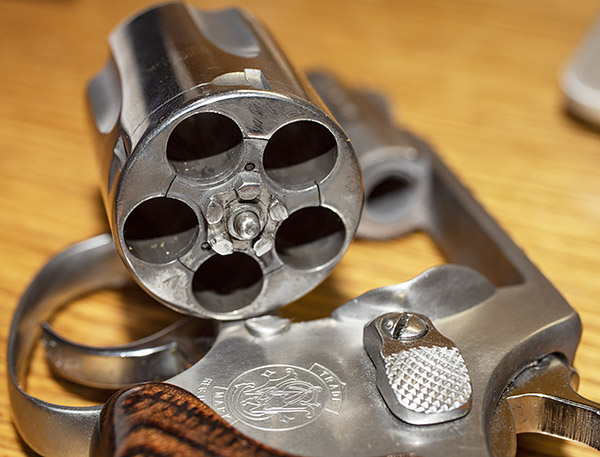
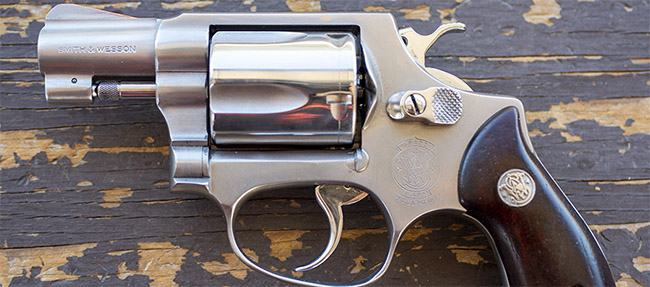
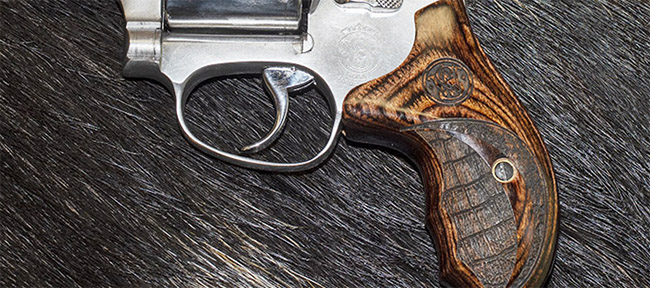
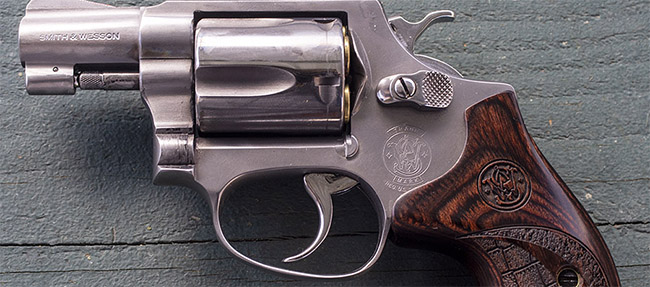
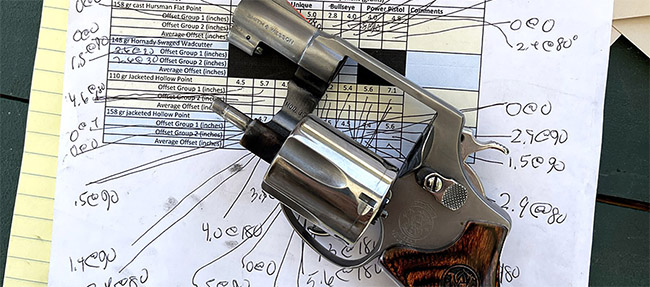
That’s a Model 60 Smith and Wesson snubbie you see in the big photo above, and Betty and Boris you see in the photo below.  You’ve read about the Model 60 before here on the ExhaustNotes blog.  One thing about the Model 60 I wasn’t excited about is that it had a tendency to misfire occasionally when firing double action (it always fired single action, but when shooting double action, I would get one or two misfires in every box of ammo).

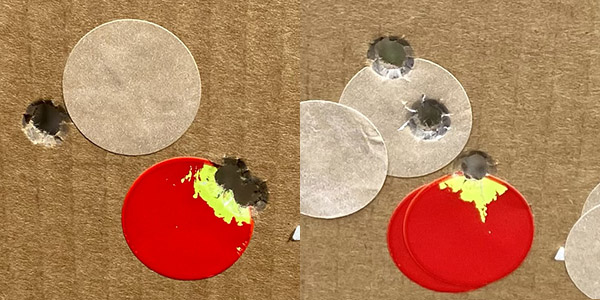
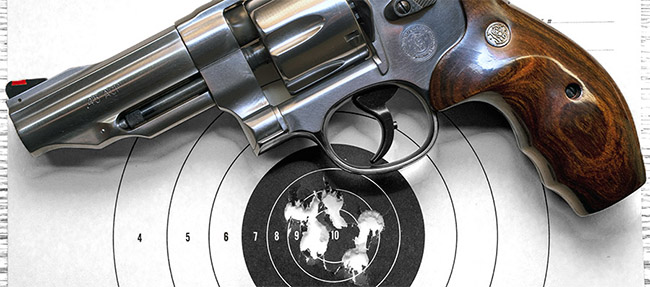
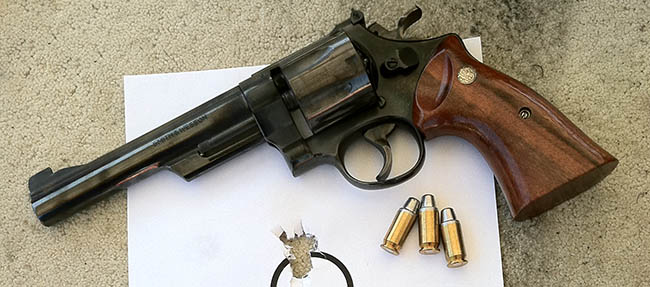
I know I was supposed to shoot Boris (the zombie), but Betty is the real troublemaker here and it was easier to get a better sight picture on her.  Sorry about that, Betty.  Sometimes it’s fun to mix it up a bit and shoot zombie targets.

When shooting double action, the hammer fall is a little less than it is when firing single action, and that little bit of energy loss makes a dfference in ignition reliability.  I tried replacing the hammer spring on the Model 60 (thinking the spring had fatigued like it did on my Rock Island Compact), but I still had the double action misfiring problem.  Hmmm.  It was time for a bit of online research.

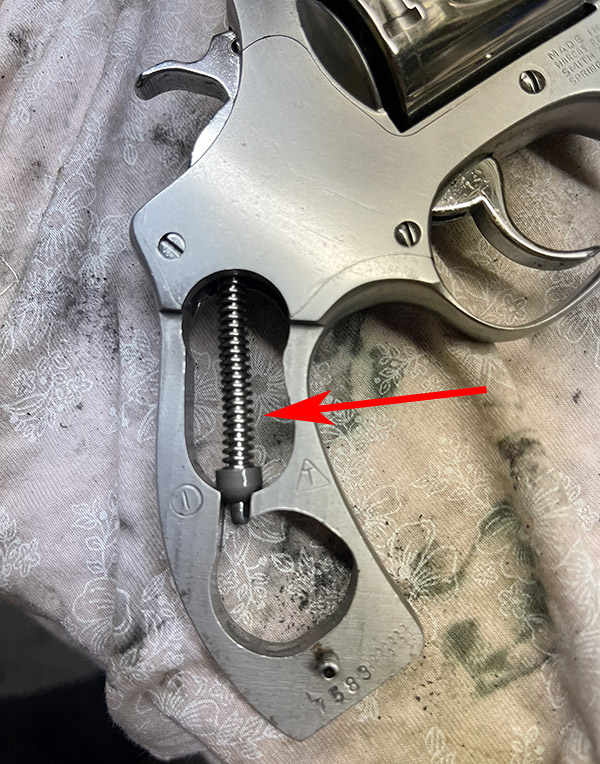
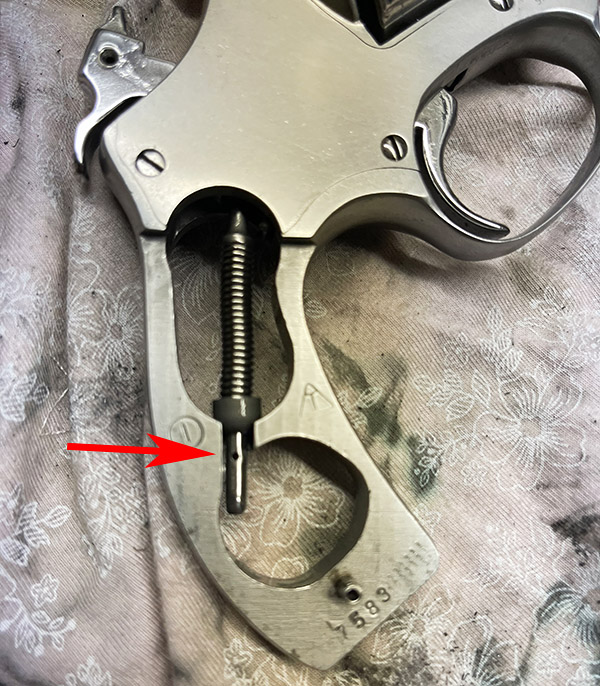
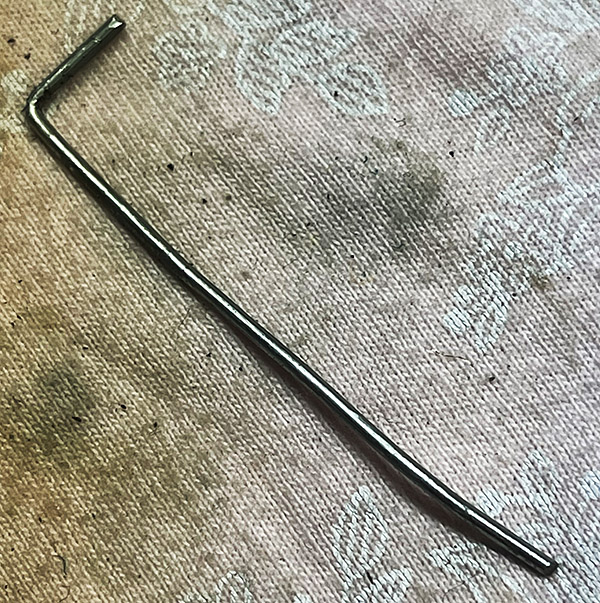
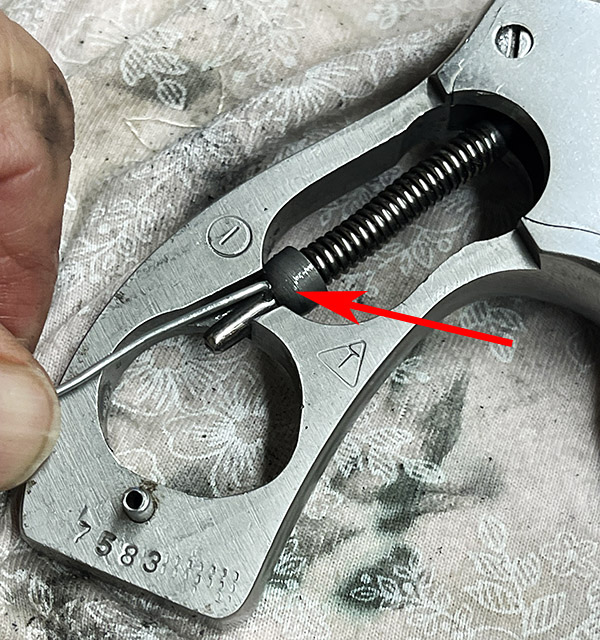
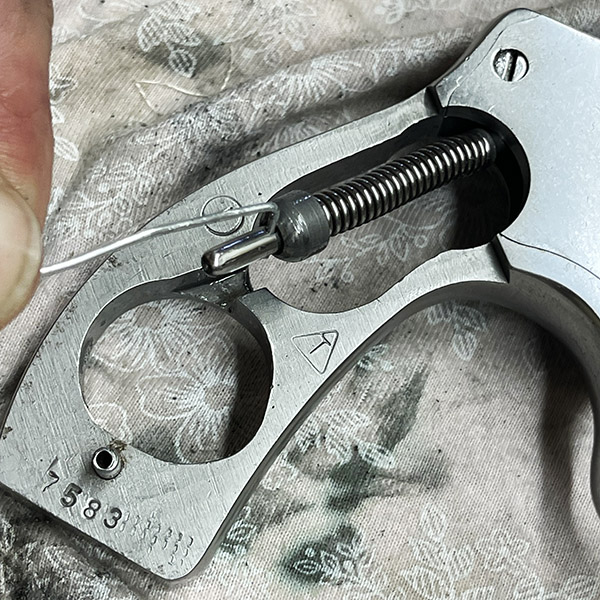
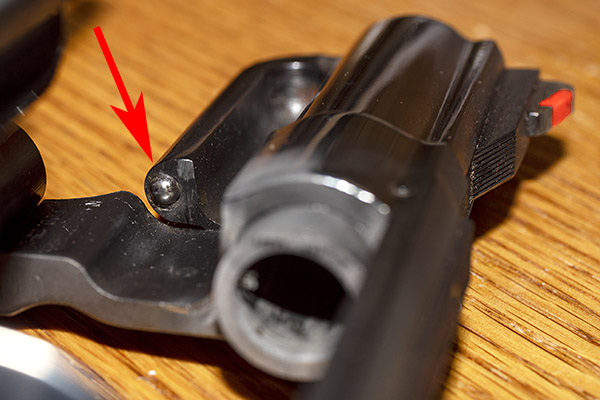
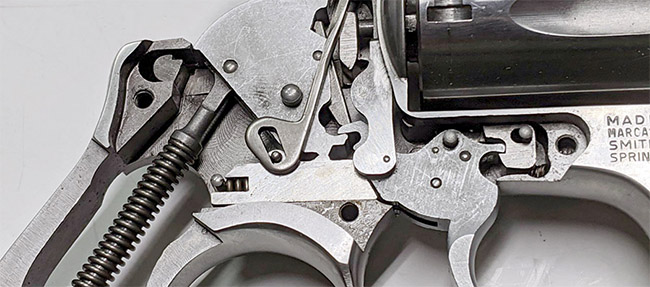
The Model 60’s hammer spring. Removing it requires the same high-tech tool I used to disassemble the Rock Island Armory Compact 1911. You don’t have to remove the sideplate on a Model 60 to remove and replace the hammer spring.

I’ve read that there are differences in primer manufacturers that can make a difference in ignition sensitivity, with CCI primers being the hardest to light and Federal being the easiest.   These days, it’s a stroke of good fortune to find any kind of primers.  I have CCI primers (with components, halitosis is better than no breath at all).  I had tried Winchester primers in the Model 60 in the past and they had the same propensity to occasionally double action misfire.

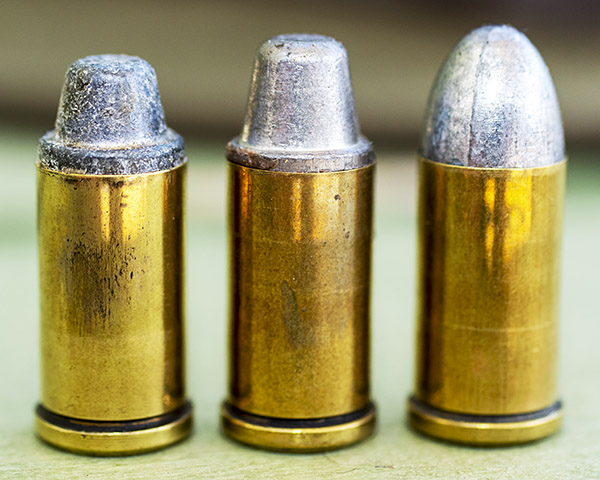
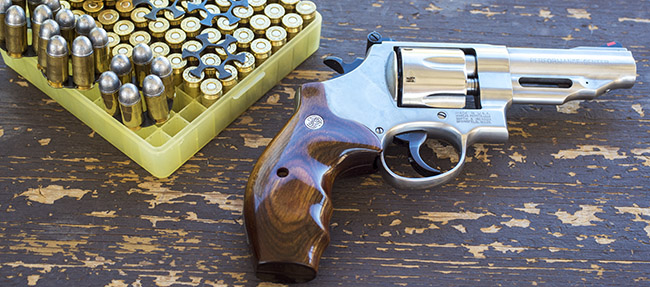
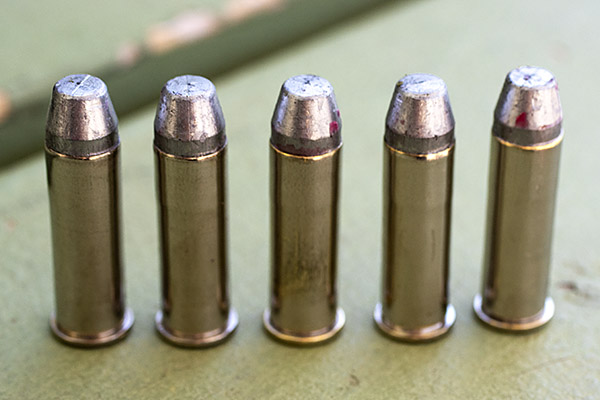
.38 Special wadcutter ammo loaded on my Star. Those are 148 grain Xtreme wadcutter bullets in the foreground. They’re called wadcutters because they punch a clean hole in the target. These particular bullets are orientation insensitive; you can load them in the cartridge case facing up or facing down (they are the same on both ends).

My research tumbled me onto something I kind of already knew but more or less forgot:  Primer seating makes a difference.  It’s typically not an issue for most guns, but on those with little hammers (like the Model 60 snubnose), it matters more.  From what I read, you can’t just seat your primers to a consistent depth and call it good.  There’s variability in the primer height and there’s variability in the primer hole depth.  There’s also variability induced by the carbon residue from the last shot if you’re reloading fired cases.  The conventional wisdom is that you need to have the primer anvil in firm contact with the bottom of the primer cavity, maybe even with a little bit of crush on the primer cup material.  A little bit of primer crush affects primer output less (i.e., it’s better, or so I’ve read), than not having the primer fully seated.  If a primer is not fully seated, the first strike may or may not light the primer.  If the primer is not seated, a lot of the hammer’s energy is consumed finishing the primer seating operation.  After the primer gets seated the rest of the way by the firing pin, the hammer may not have enough energy left to ignite the primer.  It all makes sense to me.

Primers need to be fully seated, which usually means the primer face should be 0.005 to 0.006 inch below flush.

The more I thought about the above, the more I convinced myself the Model 60’s occasional misfires were a primer seating issue.   The reason I think that’s what I had going on is because when I had a misfire, the cartridge that misfired always fired on the second strike.  That’s consistent with the primer-not-fully-seated hypothesis.  If it was just a matter of insufficient firing pin energy, the primer wouldn’t fire on the second strike, either.  The issue is more pronounced on a little snubby like the Model 60 because it has such a tiny hammer and hammer spring.  There’s not a lot of energy there like there is on a Colt Python or a Ruger Blackhawk (those handguns have much bigger hammers and hammer springs).

I loaded a box of 38 Special ammo on my Star reloader (I love that machine) and examined the primer seating depth.  They were below flush with the rear of the cartridge, but not by much.  I can fix that, I knew.  The Star has an adjustment for primer seating depth, as explained in the photos below.

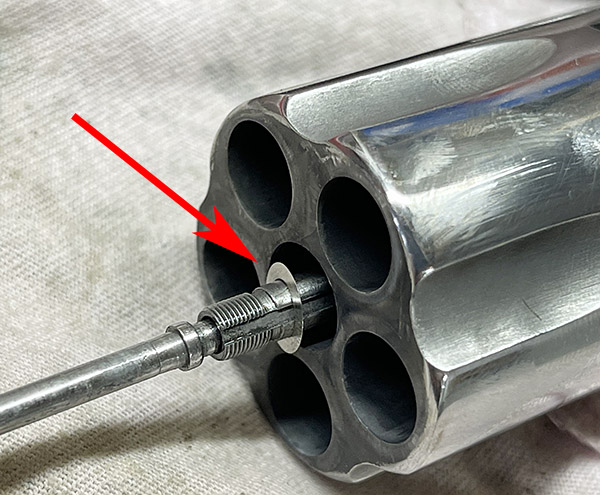
Lowering the primer seating adjustment shaft is accomplished by loosening a locknut and turning the shaft in a bit more.
The Star’s primer seating shaft. It operates a lever on the press downstroke that pushes the primer up to seat it in the cartridge case.  Adjust the shaft down, and the gizmo seating the primer pushes it into the cartridge case deeper.

After adjusting the Star to seat the primers deeper, I loaded another box of .38 Special wadcutter ammo.  You can guess where this story is going.  I double action fired a box of ammo I loaded before I made the adjustment, and I had two misfires.  That’s about how the Model 60 has always performed.  Then I shot the second 50 cartridges using ammo that I reloaded after making the primer seating depth adjustment, and every round fired.  There were zero misfires.  My Model 60 double action misfire issue was primer seating.   What do you know.  Live and learn.

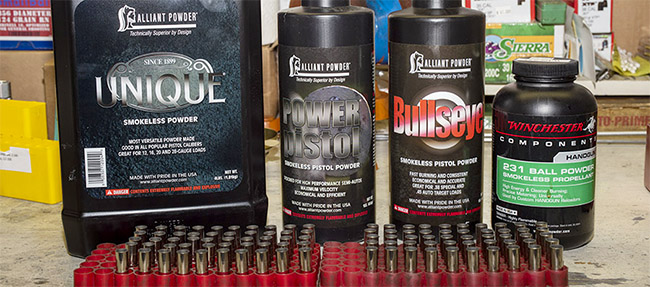
All this is interesting, but I usually don’t shoot wadcutter ammo loaded on the Star in the Model 60.  My Star reloader is configured to load the classic .38 Special target load: 2.7 grains of Bullseye and a 148 grain wadcutter bullet.  The powder weight is not adjustable without buying a new powder throw bar for the Star, and I don’t want to do that.  The Star will remain dedicated to .38 Special wadcutter ammo.

For the Model 60, I found that a good accuracy load (and a heavier load better suited for defensive purposes) is 3.5 grains of WW 231 propellant and a 158 grain cast flatpoint (also known as a truncated cone) bullet.  That combination shoots to point of aim at 50 feet in the Model 60.  I reload that ammo on my single stage RCBS Rockchucker press.  For primer seating on the Rockchucker, I use an old Lee priming tool (they called it the AutoPrime II) I’ve had for 40 years (it’s shown in the photo below).  Unfortunately, Lee no longer offers this system and they don’t have anything that offers both automatic primer feeding and primer seating on the press upstroke.   That’s a pity, because it’s a good approach and allows for much more positive primer seating.

A good primer seating system no longer offered: The Lee auto primer. It is 40 years old and still works well.  A mini-ram replaces the shell holder in the Rockchucker ram, and the primer seating operation occurs up north.
Freshly-reloaded .38 Special ammo with ballistics similar to the old FBI load…a 158 grain cast flatpoint bullet and 3.5 grains of WW 231.

A couple of final notes…when doing this kind of testing, I always make sure the revolver is clean and properly lubricated.  My preference is BreakFree cleaner and lubricant.  It does a stellar job.  And if you’re wondering about the grips on the Model 60, they from Altamont.  Those grips turn the Model 60 into a more manageable and less punishing handgun.  I like them.

You know, one of the things I enjoy with this reloading hobby is just how much there is to learn.  I’ve been reloading for about 50 years now, and I’m still learning (and sometimes relearning) new things.  When you roll your own, you’re in charge and you can tune a load for better accuracy, better reliability, and lower cost.  Reloading is a cool hobby, and it’s as much fun as the shooting itself.


Click on our pop up ads!


Never miss an ExNotes blog…sign up for a free subscription:


More gun and reloading stories are here!


More Model 60 articles!

A TJ Tune For My Model 60
A TJ Roscoe
New Shoes For The Model 60
A Model 60 Load Development Plan
Model 60 Load Testing

A 6.5 Creedmoor Browning X-Bolt

Yeah, I’ve become a 6.5 Creedmoor believer.  This is a superior cartridge and accuracy seems to just come naturally with it.

The rifle you see above is a maple-stocked Browning X-Bolt.  It’s from a limited run and it sure is good looking.  I bought it from a small shop in in Lamar, Colorado, when I was there on a recent secret mission.  The dealer wouldn’t ship it to California so it had to go the long way around: Lamar, Colorado, to Raleigh, North Carolina, to Riverside, California, and then finally to me after I waited the obligatory 10-day cooling off period (I have to be the coolest guy in California; I’ve cooled off so many times).  California has extra requirements for shipping guns to FFL holders here and the dealer in Colorado didn’t want to mess with our nutty requirements.  The reshipper guy in North Carolina makes a living doing this (who says government can’t stimulate trade?).  It’s crazy, but that’s our leftist Utopia here in the Golden State.  I sometimes wonder if our firearms regs have ever actually prevented a crime.

Anyway, to leave the politics behind, a couple of weeks ago when I was on the range a good friend gave me a box of once-fired 6.5 Creedmoor brass another shooter had left behind.   That was a sign, and I figured I’d reload it for the first range session with the new Browning.

Speer, Hornady, and Nosler 6.5mm bullets.

I already had stocked up on 6.5 Creedmoor bullets.  I am probably on every reloading retailer’s email list and I get a dozen advertising emails every day.  With components being in short supply nationally, if I see anything I might use I pick it up.  Like the maple Browning you see above, the time to buy something that’s hard to get is when you see it (to quote Mike Wolfe).

That’s the Speer 140-grain jacketed softpoint on the left, the Hornady 140-grain jacketed boattail hollowpoint in the middle, and the Nosler 140-grain jacketed boattail hollowpoint on the right. The Nosler has a longer boattail than the Hornady, and the ogive is blunter.

From everything I’ve read and my limited experience loading for a Ruger 6.5 Creedmoor No. 1 (see my recent blog on the 6.5 Creedmoor Ruger No. 1), IMR 4350 propellant is the secret sauce for accuracy with this cartridge.  I had some under the reloading bench and it got the nod for this load session.

That’s how I keep track of what I’m loading at the bench. I’ll transfer that information to a reloading label that goes on the rifle ammo container.

IMR 4350 is an extruded stick powder, and it doesn’t meter consistently through the powder dispenser.  I use an RCBS trickler I’ve had for 50 years.  The idea is that you drop a charge into a loading pan, it goes on the scale, and then you trickle in extra powder (a particle or two) at a time with the trickler to arrive at the exact weight.

An old and well worn RCBS powder trickler. It works well and although it sounds slow, it goes pretty quickly.

I have a set of Lee dies I use for the 6.5 Creedmoor.  It’s Lee’s “ultimate” four-die set, which includes a full length resizing die and decapper, a neck-size-only die and decapper, the bullet seating die (which includes a roll crimping feature), and a factory crimp die.  Lee dies are inexpensive and they work well.  Their customer service is superb, too.  I full length resized this batch and I didn’t crimp.  I’ll experiment with that later.  For this load, I just wanted to get pointed in the right direction.  The refinements will come later (if they are needed).

The Lee 6.5 Creedmoor die set. Lee dies include the shell holder; most other manufacturers’ die sets do not. Lee makes good gear.

After charging the primed cases with IMR 4350, I seated the bullets.  The long, heavy-for-caliber bullets and the relatively short 6.5 Creedmoor brass make for cartridges that look like hypodermic needles.  It’s good looking ammo.

So how did the new 6.5 Creedmoor do?   It was very cold and very windy when I went to the range.  I had hoped for more pictures of the Browning in the daylight but it was so windy I didn’t want to chance the photos (I was afraid the wind would knock the rifle out of its Caldwell rest).   There was only one other shooter out there; most folks were probably staying warm at home.  I shot at 100 yards and the wind notwithstanding, this puppy can shoot.  Here are the results from my first box of reloaded ammo…there are a few erratic groups, but they were due to me and the wind.

Here’s what the best groups looked like:

The Browning likes the 140 grain Hornady jacketed hollowpoint boattail bullets, which is good because I have a couple of boxes of those.  Going up to 40.7 grains of  IMR 4350 helped a bit.   After I fired these rounds, I could chamber a fired case without it sticking, so I am going to load another 20 cartridges that I will neck size only.

The scope I bought for this rifle is a Vortex 4×12 (it’s made in China).  This was the first time I used a Vortex.  The optics are very clear.  Because of the wind and the cold temperatures I didn’t try to adjust the parallax; I just set the parallax adjustment at 100 yards and shot (I’ll adjust the parallax next time, assuming the weather cooperates).  The Vortex click adjustments for windage and elevation are not as tactilely distinct as they are on a Leupold or a Weaver.   The clicks are squishy and I had to look at the turret graduations to keep track.  Eh, it’s a $170 scope. You get what you pay for. Sometimes.

The recoil on the 6.5 Creedmore is moderate; maybe a little less than a .308.  The Browning has a removable muzzle brake, and that helps.

The maple Browning (especially this one) really stands out.  There were three rangemasters and one other shooter on the range the day I shot it.  Everyone stopped what they were doing to look at the rifle.  They thought it was a custom gun.  This Browning X-Bolt is a beautiful firearm.  And it shoots, too.


Never miss an ExNotes blog:  Sign up here for free!


More gun stories?  You bet!


Hey, don’t forget to click on the ads appearing on this page….it’s how we get paid!

Sometimes you just get lucky…

This was another blog with a daunting title challenge.  I went with the one you see above.  Other choices were “The 6.5 Creedmoor No. 1” and “Surfing While Under The Influence.”   The story goes like this:  A few years ago Ruger built a limited number of their elegant single-shot No. 1 rifles chambered in 6.5 Creedmoor.  They were built exclusively for a Ruger distributor, and as is that distributor’s habit, they were fitted with 28-inch barrels (the normal barrel length for the beavertail fore end No. 1 Rugers is 26 inches).  If you tell me a rifle is a limited edition you have my attention.  Tell me it’s a Ruger No. 1 and I’m about 90% of the way there.   If it has fancy walnut, you can hear the cash registor go “ka-ching.”

I’d been watching the Creedmoor No. 1 rifles on Gunbroker.com, but I didn’t see any with wood that caught my attention.  Then one night I’d had a beer or two (okay, maybe it was four or five) and I was surfing the Gunbroker.com site, and this 6.5 Creedmoor No. 1 appeared:

The Ruger No. 1 first hit the market in the late 1960s, and it is about as classy a rifle as ever existed.  It’s a real specialty item.  Today the craze is all about black plastic semi-automatic rifles with big magazines; but none of that nuttiness has ever appealed to me.   A single shot rifle, on the other hand, gets my attention immediately.  They are just cool.  There’s something inherently worthy about having to make that one shot count.

The 6.5 Creedmoor cartridge was developed specifically as a target round, and it’s been catching on for the last few years.  It has the same trajectory as a .300 Winchester Magnum but with substantially less recoil, and everything I’ve read about the Creedmoor said it is inherently accurate.

So, back to my quest for a 6.5 Creedmoor No. 1.  The price on Gunbroker seemed right, I hit the “buy now” button, and the rifle had a new owner.  The next day I looked at the Gunbroker ad again, and something I had not noticed the night before caught my attention.  It was listed with a 26-inch (not a 28-inch) barrel.  Hmmm.  So I did a bit more research.  What I had purchased was a rifle from Ruger’s earlier run of 6.5 Creedmoor No. 1 rifles, which folks tell me is even harder to find than the more recent group of 28-inchers.  Hmmm.  A rare No. 1 in the chambering I wanted with beautiful wood.  Sometimes you just get lucky.

When the rifle arrived, I bought an inexpensive Redfield scope, a set of Lee reloading dies, a box of 6.5mm bullets, and a bag of Starline brass.   I only loaded two different loads, and I was off to the range.  All the hype about the 6.5 Creedmoor’s inherent accuracy?  Hey, I’m here to tell you that if you’re looking for an argument, I’m not your guy.  My No. 1 convinced me that the 6.5 Creedmoor is indeed an accurate cartridge.

I loaded two different recipes with the 140-grain Speer jacketed softpoint bullets seated to an overall cartridge length of 2.700 inches, IMR 4350 powder, Winchester large rifle primers, and virgin Starline brass.  At 100 yards, I fired five rounds with the above load using 38.5 grains of IMR 4350, and those five went into 2.272 inches.  I was just getting warmed up.  I then tried the same combo but with 39.5 grains of IMR 4350.  The first three-shot group was 0.701 inches, and the second three-shot group was 0.978 inches.   This was outstanding for the first outing.  Maybe I just got lucky.  But I don’t think so.  I think that the 6.5 Creedmoor is everything folks say it is.

Last week I was on the range again with a different rifle, and good buddy Dan asked if I shot 6.5 Creedmoor.  I do, I answered.  It seems somebody shot a box or three of factory ammo and didn’t keep their brass.  Dan wanted to know if I wanted it.  Does the Pope poop in the woods?  Is a bear Catholic?  You bet, I answered.  Any kind of brass is hard to come by these days.  But 6.5 Creedmoor?  For free?  Like I said, sometimes you just get lucky.

6.5 Creedmoor brass in the vibratory cleaner. It’s looking good.
6.5mm bullets in Speer and Nosler flavors. I only tried the Speer bullets so far. I’ll bet the Noslers are going to be more accurate.

I’ll keep you posted on 6.5 Creedmoor developments right here on the ExNotes blog.  I’ll load more ammo this week and I’ll get on the range shortly after that.  Stay tuned.


Help us keep the lights on…please click on the popup ads!

More Tales of the Gun!


Never miss an ExNotes blog…sign up here for free!

Cheap Triple Deuce Thrills

The .222 Remington, known as the triple deuce, is an inherently accurate cartridge.  I have an old Savage 340 chambered for this cartridge and I’ve written about it before.  The Savage was inexpensive and the stock was well worn (it was only $180 from a local shop used gun rack maybe 3 or 4 years ago).  I bought it because I never had a triple deuce and I wanted a refinishing project.

The refinished Savage 340.  Port, and…
..starboard.   It looks brand new.  It’s at least 50 years old.

The Savage 340 was an economy rifle back in the day.  I have a library of old Gun Digest books, and my 1956 Shooter’s Bible shows that it sold for $62.

The refinish, with TruOil, turned out well.
Mine is a 340D. I think that means it was the Deluxe model.
Note the cantilevered Weaver mount and the Bushnell 3×9 Banner (an el cheapo model if ever there was one) were included with the rifles’ $180 price at Turner’s.
The detachable box magazine. The bluing is in excellent original condition on this rifle.

I recently bought an 8-pound bottle of XBR 8208 propellant (these days, you buy what’s available), and I wanted to see where the accuracy was with this propellant and 55-grain full metal jacket boat tail Hornady bullets.  I use these bullets in my Mini 14, and I was pretty sure they would do well in the .222 Savage, too.

Loads for testing in the Savage.

The accuracy load for the Savage is 23.4 grains of XBR 8208.  Not bad for $180, a little elbow grease, a little TruOil, and an hour on the range at 100 yards.

For a pencil weight barrel and a really screwy bedding approach, the Savage did very well.
And another. You gotta love conistency.

The rifle could do better.  The stock has a lot of drop at the heel and it is designed for the iron sights on the rifle.  And that would be okay, but the Savage has a scope on it and I wanted to play with it.  It’s difficult to get a consistent cheek weld because of the scope’s height and the stock’s drop (I’m shooting with my chin almost on the stock).  I may cast about for one of those leather cheek pads that lace onto a rifle, or I may leave it as is.

This lightweight and accurate rifle would be a hoot chasing jackrabbits in west Texas, which is what I spent a lot of my earlier years doing.  Maybe someday I’ll go back.


About those other links…here’s the series on refinishing the Savage:

Refinishing Savage:  Part 1
Refinishing Savage:  Part 2
Refinishing Savage:  Part 3
Refinishing Savage:  Part 4

And here’s the blog about my first day on the range with this rifle!


More Tales of the Gun!


Never miss an ExNotes blog…subscribe for free!

300 Weatherby Recipes: An Update

I’ve been on a tear the last few weeks, playing with the Mk V 300 Weatherby and developing loads for it.   I developed loads with cast bullets and with jacketed bullets, and at reduced-load levels and at factory ammo levels.

The Internet weenies advise going hotter with this cartridge to get better accuracy, but I don’t want more accuracy that badly (don’t get me wrong; I like accuracy, but not at the expense of this kind of recoil).  The recoil with this cartridge is severe. I shot some sub-minute-of-angle groups with the 180 grain Remington jacketed softpoint bullets. I also had a few larger groups, but I’m chalking that up to the wind and me still being a bit recoil sensitive. For me, it’s close enough to call it done.

All groups presented here were at 100 yards from my Mk V Weatherby.  It has a walnut stock and a 26-inch barrel.  I bought this rifle about 10 years ago but I had not shot it much until recently.  I have a 4×16 Weaver on this rifle and all groups were with the scope at 16X.  The scope is no longer available, but it is a good one.

This Mk V initially had a terrible trigger. It was creepy and gritty, and it was so bad it surprised me.  I was thinking about spending another $200 on a Timney trigger and then a funny thing happened:  The trigger suddenly and spontaneously improved.  It’s about a three-pound trigger now with zero creep.   Don’t ask me how or why.  Maybe there was some grit in the trigger, or maybe there was a burr somewhere in the mechanism.   Whatever it was, it’s gone.

I now use a Caldwell shoulder pad for the full bore stuff. It helps tremendously with recoil, but it is probably degrading my shooting position because of the unnatural stretch to get a good scope picture and cheek weld. Even with that pad, though, I still get kissed by the scope on occasion.   The rifle likes to let me know who’s the boss.

The Caldwell shoulder pad really helped tame the 300 Weatherby’s recoil.

Cast bullets are okay for light loads and practicing, but to keep the groups below 3 inches, I had to use a bore brush between every group. If I didn’t bore brush it every three shots, the groups opened up.  If I use a bore brush and run it through the barrel three or four times after each group I can keep  my shots in the black.

After calling Hodgdon to make sure I wouldn’t blow myself up, I tried a few jacketed loads with 130 grain Hornady and 150 grain Winchester bullets and Trail Boss powder. They grouped okay. The jacketed bullets with Trail Boss were more accurate than the cast bullets, but not as good as the full bore stuff. It’s good to know, but I’ll reserve the Trail Boss for cast loads.

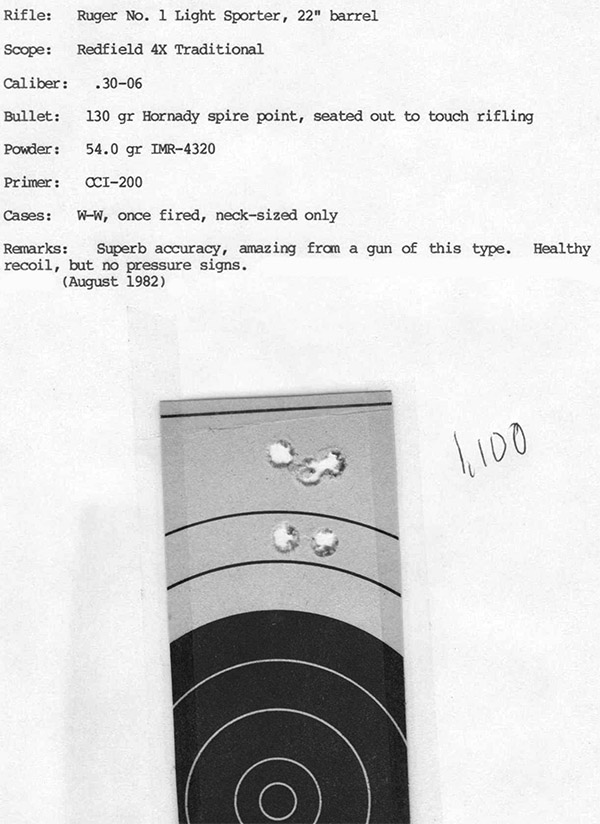
Hornady 130 grain jacketed soft point bullets. In my 30 06 Ruger No. 1 with IMR 4320 powder these bullets will group under an inch all day long.
Winchester 150 grain jacketed soft point bullets. These bullets shoot into a half inch from my 30 06 Winchester Model 70.
Remington 180 grain jacketed soft point bullets. These bullets shoot well in any rifle I’ve tried them in (a single-shot Browning 30 06 B78, a custom Howa 1500 30 06, a Ruger 308 GSR Scout rifle, and others). They are no longer available, which is a pity.
200 grain Sierra jacketed hollowpoint boat tail bullets my good buddy Marty gave to me.

I shot neck sized brass with the Trail Boss cast and jacketed loads because the Trail Boss loads don’t expand the case very much and it’s easier to reload if I neck size only.  I don’t have to lube the cases and it goes a lot faster.

180 grain cast .309 bullets from my good buddy Roy.

The Trail Boss sweet spot with cast bullets is 20.0 grains. That’s near the bottom of the charge range. I went down to 19.5 grains and there was no improvement in group size. I went above 20.0 grains and the groups opened up.  I’m a quick study.  20.0 grains.  Got it.

I tried neck sizing only (instead of full length resizing) with full bore loads and I found that was not the way to go. I had a lot of cases that wouldn’t extract when I shot neck sized only full bore loads, and then I found when I neck sized a case it stuck it in the chamber even without firing (it was difficult to extract). Full bore loads have to be full length resized in my 300 Weatherby (with an extra quarter turn on the sizing die after it touches the shell holder for this rifle; that’s a trick a tech rep at Sierra turned me on to). The cases expand too much if you neck size only after firing full bore loads.

With cast bullets, crimping the bullet is necessary for better accuracy. Not crimping opened up the groups substantially. Crimping brought them back down.  But that’s only with cast bullets.  For jacketed bullets, the rifle doesn’t care if you crimp them or not.  There’s no accuracy gains to be had with crimping jacketed bullets in my rifle.

Keeping the bore clean makes a difference (duh), and you need to get up close to make sure the bore is clean.  Simply judging cleanliness by the patch coming out clean isn’t good enough.  After my patches were coming out clean, I took a photo of the muzzle.  I looked at it on my computer and I was shocked.  Before examining the photo, I thought this was a clean barrel:

A macro photograph of the Weatherby’s muzzle after I thought it was relatively clean.

I realized I still had a lot of copper and lead streaking in the barrel and I went to work on it with Hoppes No. 9 and Butch’s Bore Shine.  That reduced most of the copper, but the lead was not giving up.  A bit of online research, and what do you know:  Solvents (like Hoppes or Butch’s) don’t affect lead at all.  I’ve been a shooter for 50 years and that was news to me.  Nope, lead has to be mechanically removed.  I soaked a pad with Kroil penetrating oil, ran it through the bore and let it soak for a while, and then I ran a bore brush down the barrel repeatedly.  It was better, but it needed more.  I repeated the process several times over the next two days and got the bore down to this:

The Weatherby muzzle after a much more stringent cleaning. Additional effort did not remove the minute streaks of remaining lead and copper.

The bore wouldn’t get any cleaner that what you see above.  To the naked eye, it looks clean.  But then, to the naked eye the first photo looked clean.  I was probably penalizing my inspection with that macro photo.  I know I could probably get it cleaner with something like JB Bore Paste, but I’m hesitant to use an abrasive in the bore.

It’s Trail Boss for cast and reduced jacketed loads, and IMR 7828 for the factory level loads.
H1000 is a powder I had not previously tried in the 300 Weatherby. That’s the Mk V behind it. Weatherby has discontinued walnut stocks on their regular production rifles; they are still available on rifles through the Weatherby Custom Shop. Nothing looks better than fancy walnut, in my opinion.

I loaded various permutations of IMR 7828 and H1000 propellants, and the Sierra 200-grain jacketed hollowpoint boat tail and Remington 180-grain jacketed soft point bullets for the factory level loads.

So how did the above combinations perform at 100 yards?  Take a look:

The rifle is unquestionably capable of better results than you see above, but not with me.  I’m usually not recoil shy, but this 300 Weatherby at factory ammo levels is a bit beyond what I’m willing to live with on a regular basis.  A better rifleman could probably keep most of the above loads below an inch.  But an inch and half is good enough for me, and several of the factory-level loads above did that.  I can hunt with this rifle, and that’s what I’m going to do.

So what’s next?  I found a couple of boxes of 180 grain Hornady jacketed soft point bullets, and I have a few Nosler 180 grain bullets as well.  I’m going to try a few loads with them.  I haven’t tried too many loads with lighter bullets, mostly because earlier results were disappointing.  But I haven’t given up on the lighter bullets.  I’m going to revisit a few loads with them.  And I have a couple of powders I want to try as well.  Bottles of powder don’t last long with a 300 Weatherby, though, when you look at kind of powder charges these cases demand.  When you’re dispensing 80 grains of propellant per round, 100 rounds of 300 Weatherby consumes an entire bottle of powder.  And powders (like everything else) are somewhat difficult to find these days.

Truth be told, the 300 Weatherby is specialty item, and it’s a punishing beast.  It’s surprising how much of an increase in recoil there is in going from a 30 06, a 300 H&H, or a 7mm Magnum (in either Remington or Weatherby flavors) to a 300 Weatherby.   But shooting the 300 Weatherby is fun in its own way.  I sure enjoy mine.

If you shoot a 300 Weatherby, we’d like to hear your thoughts on the cartridge and the rifle.  Please leave a comment here on the ExNotes blog.


More Tales of the Gun…revolvers, rifles, pistols, pellet guns, reloading, and more.   It’s all right here!


More Weatherby?  You bet!


Never miss an ExNotes blog!


Keep us afloat!  Hit those popup ads!

Compact 1911 Spring Fatigue

The last time I had the Compact 1911 on the range, I shot worse than usual.  At 25 yards (with me resting my arms on the bench), I can typically keep my shots in the black with the Rock Compact.  This is how I shot last week:

Maybe adequate for defense purposes and probably close enough for government work, but terrible shooting.

That’s pitiful (there’s a few 9mm holes on that target above; ignore those). Then I noticed the slide was not going fully back into battery, which was something new to me.  It wasn’t jammed, it just needed a slight nudge to finish the trip home.

The slide sitting about a tenth of an inch from returning to battery.

Another view of the slide not returning to battery. “Battery” means fully forward, ready to fire the next round.I knew that Compact 1911 recoil springs fatigue earlier than the springs in full-sized 1911s, but this one snuck up on me.  Armscor (the Rock Island Armory folks who manufactured my Compact 1911) were out of stock, so I ordered a new spring from Wilson Combat.  Wilson Combat is a recognized “go to” shop in the 1911 world.  I received my new recoil spring a few days later.

A brand-new Wilson Combat 24-pound recoil spring.

Online research said the life of these springs in a Compact 1911 is only about 2000 rounds, tops.  That surprised me.  The literature from Wilson surprised me even more:

The Wildon Combat bubble-pack literature.

1000 rounds.  That’s 10 boxes of ammo.  Wow.  I probably had several times that many rounds through my Rock.  Small wonder the slide wasn’t returning to battery.

When the spring arrived, I was eager to put it in my 1911.  I dropped the magazine and cleared the weapon:

The TJ-customized and polished feed ramp and chamber entrance on the Rock Island Armory Compact 1911. Yep, it’s empty.

Then it was time to turn to my custom, German tool steel, carefully configured to exacting tolerances, Rock Island Armory Compact 1911 disassembly tool.  It’s a bent paper clip:

A bent paper clip 1911 disassembly aid.

The drill is to lock the slide back, put the paper clip in the guide rod hole, and ease the slide gently forward to engage the paper clip.

The 1911 guide rod hole that accepts the paper clip disassembly aid.
With the slide forward on the guide rod, held in place by the paper clip You bend the paper clip so that the guide rod, recoil plug, and recoil spring can be pushed rearward in the slide to remove these three components as a subassembly).

Once I had the slide forward, with the paper clip disassembly aid in place like you see above, I withdrew the slide release from the left side of the pistol.  At that point, the entire slide assembly can slide forward off the receiver.

Another view from underneath the slide.

The next step was to extract the recoil spring, the guide rod, and the recoil plug out of the slide.  It’s best to leave the paper clip in the guide rod (i.e., with the recoil spring still compressed), and then slide the entire recoil plug/recoil spring/guide rod rearward as a unit out of the slide.  After that, I pushed down on the recoil plug, withdrew the paper clip from the guide rod, and released the compression on the spring.  I was careful when I did this; parts could go flying if I just let them go.  Don’t ask me how I know this.

The recoil plug, the guide rod, and the recoil spring removed from the slide with the paper clip removed.

Here’s what the guide rod, the original recoil spring, and the new Wilson Combat recoil spring look like.  The new spring is on the bottom:

Quite a difference, huh?  In case you were wondering, both springs have 14 coils.

I think the new spring wire diameter is larger than the original spring wire diameter.  I didn’t think to measure it before I installed it; I will do so the next time I have the gun apart.  And there’s a huge difference in free length, as you can see in the above photo.

Installing the new spring on the guide rod with its recoil plug was a challenge.  I had make to a tool to compress the spring and the recoil plug enough to get a paper clip on the guide rod to hold everything together so I could install it in the slide.  Again, I was super careful.  I didn’t want to release these parts, and I always wear eye protection when I do this sort of thing.  A lot of people get hurt by being careless with springs.

The reassembled recoil plug, recoil spring, and guide rod, ready for insertion in the slide.

At this point, I reinstalled the subassembly in the slide, I slid the slide onto the receiver, and then I reinstalled the slide stop.

Once the gun was back together, the first time I tried to rack the slide I was shocked.  I couldn’t pull the slide all the way back.  I muscled it and then did so several times, and it seems to be okay now, but wow, it is stiff.   The 24-pound recoil spring is way stronger than what the Compact 1911 had in it.  That’s the bad news.  The good news is that the problem with the slide not returning to battery is gone.

The Compact with the slide in battery.

You know, I was playing around with the Compact 45 when I was cleaning it before the above spring replacement and I noticed that because the slide only went limply into battery there was a lot more play between the receiver and the slide.  I thought maybe it was me, but I noticed the accuracy was really falling off the last couple of times I shot it.  I’ll bet when the recoil spring holds the slide firmly in battery keeps the slide in the same spot each time.  With a weak spring, it stands to reason that the slide would swim around a bit more and accuracy would suffer.  I shook the gun in my hand with the old spring in it, and it rattled just like the 1911s I carried in the Army. I’ll bet they all had worn recoil springs, too.

When testing a recoil spring to see if it’s the right one, the drill is to load one round in the magazine, fire it, and if the slide locks back after that round (as it is supposed to do), the spring is good.  I tried that with seven rounds of factory hardball and the new Wilson Combat 24-pound recoil spring, and it worked each time.  Then I tried my 230-grain cast hardball load with 5.6 grains of Unique (my reloads are less potent but way more accurate than factory ammo), and it worked great.  Then I tried my 185-grain cast semi-wadcutter load (with 5.0 grains of Bullseye; my Compact 1911 accuracy load), and it worked great.  It’s a little easier to rack the slide now, but it’s still way stiffer than it was before.


Like 1911 stories?  Or maybe other handgun stories?  Or good reloading info?  Hey, it’s all available on Tales of the Gun!


Help us keep the content coming:  Please click on the popup ads!


More stories on the Rock Island Armory Compact?  Yes, indeed!

The 1911
A Tale of Two 45s
An Accurate Compact 1911 Load
A Gripping 1911 Story
A Tale of Two More 45s
RIA Compact:  Load versus Point of Impact
TJ’s Custom Gunworks
RIA Compact Update


Never miss an ExNotes blog:


We love it when you click on those pop up ads!  It’s what keeps the lights on!

A 458 Ruger M77

The year was 1974.  I had just finished grad school and I was at Fort Bliss, Texas, for the Basic Course and the Chaparral/Vulcan Course, which is to say I was there for another five months of school before heading overseas.  There was no such thing as Gunbroker.com yet…in fact, there wasn’t a dotcom anything yet…this was all well before the Internet.  But we had The Shotgun News, a print publication that served much the same purpose.  I studied that newspaper like a Democrat looking for something new to tax.

Ruger did a very limited run of their Model 77 in .458 Winchester Magnum back in the early 1970s, and within that limited run, they did a few with Circassian walnut.  I might be wrong, but I think this was the first limited production anything Ruger did with Circassian walnut.  I read the ad and I immediately knew I had to have one.

Man, I was hooked.  I needed a .458 Mag elephant gun.  My Army gun was a 20mm Vulcan, and by comparison, the .458 didn’t seem so big.  The rifle was $340 from J&G Rifles in Prescott, Arizona (an outfit that I think still exists), and in those days it was as easy as picking up the phone, sending a check, and having them ship the rifle to a local dealer.  The amount seems laughably low today, but $340 was a big nut back in 1974.  I borrowed the money from my sister and the rifle was on its way to Barney’s Guns out in the west Texas town of El Paso.  God bless Marty Robbins and all that is west Texas.  I loved it out there.

Not knowing too much about hunting elephants, I bought three boxes of .458 factory ammo with predictable results:  Today, nearly 50 years later, I still have most of that factory ammo in its original yellow Winchester boxes.   You see, there weren’t too many elephants in El Paso, and that ammo redefined recoil for me.  Just a few rounds of the 500-grain, 2100 feet per second factory fodder convinced me there had to be a better way, and there was.  I’ve loaded literally thousands of rounds in .458 Win Mag over the last 50 years, virtually all of it at .45-70 levels.   It’s actually a nice shooting rifle when you drop it from “elephant” to “buffalo” on the energy meter.  And that’s still plenty potent.  People used to kill buffalo with 400-grain pills at 1200 feet per second (they killed nearly all of them, actually).

I picked up a Redfield straight 4-power scope that is still putting the crosshairs where I want the bullets go (I think it was something like $30 at one of the K-Marts in El Paso).   Not surprisingly, the Circassian .458 is very accurate with both jacketed and cast bullets.  It can easily put five rounds into an inch at 100 yards.

Every once in a while I’ll go on a tear experimenting with new loads, and I suppose when I exhaust my supply of 405-grain Remington jacketed softpoint bullets and SR 4759 propellant I’ll get serious about that, but for now I have a good stash of the Remington bullets and SR 4759.  I’ll probably still be working my way through that stash when I ride off into the sunset.  And when I enter the Happy Hunting Grounds, I’ll rub elbows with Karamojo Bell, Frederick Courtney Selous, Peter Capstick, and others who chased elephants in Africa and we can compare notes.

My buddies and I hunted jack rabbits out in the desert east of El Paso near Fabens, and I had a lot of fun with the .458.  Yeah, it was massive overkill.  But some of those jacks were big, man.  Not that I needed a .458 Winchester Magnum elephant gun.  But who buys these things because they need them?


More Tales of the Gun!


Never miss an ExNotes blog!

The Rimfire Series: A Tale of Two .22s

Rimfire rifles are cool.   The ammo is inexpensive (when you can find it), there’s no recoil to speak of, they are accurate, and they usually cost less than centerfire rifles.  Usually.  Unless you go for fancy wood and high end rifles.  Both the rimfires you see above fit that description.

The one on the left is a CZ452 Varmint model and it is a stunning rifle.  I bought it used and came to it in a unusual way.  I’d never owned a CZ before I bought this one.   I heard they were accurate and I’m a sucker for a pretty piece of walnut.  I saw this one on an Internet rimfire forum, and I knew the chances of finding one like it in a store were slim.  So I wrote to the owner through the board’s messaging system and asked if he’d be interested in selling it.  “No way,” came the quick response.  I forgot about it and then one day about a year later came the email.  The guy needed cash and I needed that rifle.  It was a match made in heaven, and I bought it as you see it here, complete with the Mueller scope.  It’s as accurate as I hoped it would be (it’s the most accurate .22 rifle I own).   Patience pays big sometimes.


Have you clicked on your popup ads today?


The one on the right I came to own in a different manner.  About 15 years ago Susie and I were in Rapid City, South Dakota.   Rapid City is a cool little town and it has a very cool gun store.  First Stop Gun is a dream come true:  A real gun shop, with an eye for high end guns, blue steel, and good wood. I didn’t buy anything on that visit, but having learned about the gun store I watched for their listings on Gunbroker.com.  One day, they posted an ad for a Remington Custom Shop Model 504.

I pounced on the 504 and I’m glad I did. Remington (as we knew it) is no more, the Custom Shop (as we knew it) is no more, and the Model 504 is no more.  This one checked all the boxes for me…great wood, a Custom Shop rifle, and a rimfire.  Yeah, you might say I paid too much for it, but the value is only going one way (and that’s up).   I’d say I didn’t pay too much; maybe I just bought it too soon.  And no, it’s not for sale.  It shoots well and the Model 504 has the feel of a full size centerfire (check out the recoil pad on this rifle).  It doesn’t feel dinky like many .22s do.  It’s just a fun gun to shoot and it’s a fun gun to look at.  I do both a lot.


Do you like photos of high end handguns and rifles, and fancy walnut?  Then here is where you want to be:  Tales of the Gun!


Never miss an ExNotes blog!

More Mosin Loads

I used to not think too much of Mosin Nagant rifles.  They looked cheap, they were crusted with cosmoline, and how good could a rifle be if it was made in Russia and sold at Big 5 for under a hundred bucks?  (That under a hundred bucks thing, incidentally, is no more…prices on these rifles have climbed substantially.)

It was a grand day on the range with two old warhorses…a Mosin Nagant and a 1903 Springfield. It’s hard to say which one I like more.

Then one day after I taught an engineering creativity class at Cal Poly, one of my students approached me to ask if I was a shooter.  He had noticed the 1909 Mauser on my book.

A Modelo 1909 Argentinean Mauser on the cover of Unleashing Engineering Creativity. Don’t wait for the movie. Buy the book!

I told him I was and we talked about the Mauser a bit.  He told me that he and his father had recently purchased a Mosin Nagant and they were having a lot of fun with it.  That got my attention for a couple of reasons.  The first reason was that prior to that, I hadn’t spoken with anybody who owned a Mosin.  The second reason was that I always like hearing from young folks who enjoy shooting.  This was a young man who was enjoying the Mosin he and his dad owned.  You don’t hear that too much these days, and I enjoyed the discussion and this young engineering student’s enthusiasm.

The next time I was in a gun store….well, you can guess where this story is going.  I pulled the trigger, and 10 days later, I bought my first Mosin home.

20 rounds from my Mosin at 100 yards with my accuracy load: 43.7 grains of IMR 4320 and the Hornady 150-grain jacketed bullet. I shot this in one of our informal West Gun Club Milsurp matches two or three years ago. The shots crept up as the barrel heated.  Still, that’s not a bad 100-yard group from an 80-year-old combat infantryman’s rifle.

The first time I went to the range with the Mosin, my opinion changed completely.  The rifle was reliable, it was fun to shoot, and wow, it was accurate.  Don’t let a Mosin’s appearance and price fool you.  Trust me on this:  The Russians knew what they were doing.  These are fine rifles.

My Mosin was made in the Soviet Union’s Tula arsenal in 1940 and it has matching serial numbers on the receiver, the butt plate, and the bolt.  The trigger guard/magazine is what we call a forced match.  That means it had a different serial number, but Ivan struck through it and stamped a new serial  number to match the others.  That didn’t concern me at all.  What I worry about are the serial numbers on the bolt and the receiver.  If they match, the headspace is most likely good.  If they don’t, you’ll want to make the seller show you with headspace gages that the headspace is within spec.

I’ve done a bit of work to my Mosin…glass bedding, a trigger job, and a TruOil refinish.  I’ve also done a fair amount of load development (the last time my Mosin saw factory ammo it was in the hands of a Russian soldier; I’ve never shot factory ammo in my Mosin).

Note the star signifying Tula Arsenal production, and the 2339 serial number. Mosins will have another serial number on the side of the receiver stamped there by the importer, but that’s not the one you need to worry about.
The bolt serial number matches the receiver serial number on my rifle, and that’s good. If the serial numbers in these two locations don’t match, you should always check that the headspace is within specification.
Note that the butt plate serial number also matches. That’s cool, but it’s not necessary from a headspace or functionality perspective.
A forced match. Ivan grabbed a trigger guard (the trigger guard and the magazine floorplate are a subassembly) that wasn’t on the rifle when it was originally manufactured at the Tula Arsenal in 1940.  Nyet problemski thought the arsenal rebuild crew; we’ll just strike through the old serial number and add the new one.

My 7.62x54R ammo “go to” accuracy load is 43.7 grains of IMR 4320 under a Hornady 150-grain jacketed bullet.  That load groups exceedingly well at 100 yards.   But that’s when I can find the components I want, and that’s a tough thing to do these days.  IMR 4320 is no longer made and it’s hard to find bullets, primers, and brass.

Fortunately, I have always tended to overbuy components and when I spot a good deal on something I think I can use, I scoop it up.  When the pandemic and civil unrest shortages emerged a couple of years ago, I didn’t feel the impact from a components perspective.  I had plenty of 7.62x54R PRVI brass, I had primers, and I had bullets.  That was two years ago, though, and this is now.  I shot up a lot of what I had, including my Hornady .312-inch diameter jacketed bullets.  But when components were available back in those good old pre-pandemic, pre-Portland-anarchy days, I had spotted a couple of bags of PRVI Partizan 150-grain jacketed bullets.  Being the curious pack rat sort of fellow I am, I bought them.

PRVI Partizan (or PPU) 150-grain jacketed softpoint bullets. If you see these, buy them. They’re good. If you see these and don’t buy them, let me know and I will.

Most recently, my components dealer had a few powders on the shelves, and I picked up some new propellants.  I wanted to see if I could work up a good load with the PRVI bullets for my Mosin.  One propellant was IMR 4166, which is a powder designed to prevent copper fouling.  I’ve already tried it in a couple of 30 06 loads and I was happy with the results, and I wanted to see how it would do in the Mosin.  Another was Ballsy 2 (that powder is designated BL(C)2, but everybody calls it Ballsy 2).  IMR 4166 is a relatively new powder.  Ballsy 2 has been around for decades, but I had never used it.  When I saw it, I grabbed a couple of bottles.  The time to buy components is when you see them, especially these days.

Ballsy 2 is a spherical powder. It meters through the powder dispenser well.
IMR 4166 is an extruded rod powder that looks a lot like 4320 and 4064. It doesn’t meter as well as Ballsy 2, but it meters well enough.

I also wanted to try my previous accuracy load (43.7 grains of IMR 4320) with the PPU bullets first.  It didn’t take long to load the ammo I wanted…my previous accuracy load with IMR 4320, two load levels of Ballsy 2, and two load levels of IMR 4166.

Seating the PPU bullets in my RCBS Rockchucker press.

After charging the cases and seating the PPU bullets, I then labeled the ammo and it was off to the range.

7.62x54R reloaded ammunition. It looks good. It shoots well, too.

That labeling thing is important.  I always label my ammo as soon as I finish loading it.  I can’t rely on my memory to know what I loaded.

Loaded and labeled. Reloading is as much fun as shooting, I think.

I shot all of my targets at 50 yards as a first look, and I had 10 rounds each.  The first target I shot printed a little low, so I raised the rear sight a couple of notches and that put me in the black.  The Mosin has great sights.

The rear sight on a Mosin Nagant. You slide the slider forward to raise the rear sight.
The Mosin has a crisp, easy to use front sight post. I actually prefer the sights on the Mosin to most modern rifles (I’m not a brass bead fan). Simple is better, and because the Mosin’s length, it’s very easy to get a crisp front sight picture.

How did I do and what loads worked well?  Here are the targets:

The bullseye on the left was shot with a 1903 Springfield (covered in another blog). The other four bullseyes were Mosin targets with IMR 4320 propellant.
Mosin results with two levels of BL(C)2 propellant.
Mosin groups with IMR 4166 propellant. Everything shot well in the Mosin.

The results from the targets shown here are tabulated below.

The bottom line is that my former accuracy load (with Hornady 150-grain jacketed soft point bullets) didn’t do as well with the PRVI Partizan bullets, but the PRVI bullets shot very well with BL(C)2 and IMR 4166.   That’s good because even though I have a good stash of IMR 4320, it’s no longer in production and the other powders (BL(C)2 and IMR 4166) are available and they are accurate with the PPU bullets.  Good times.

About now you might be wondering…how can I get a Mosin-Nagant rifle?  It’s not as easy as it used to be.  We’re not importing them from Russia like we used to, and you can’t pick them up for cheap at places like Big 5 any more.  I felt they were exceptional bargains at those earlier price levels and I bought several (none are for sale), including a sniper Mosin I’ll write about one of these days.   I checked on Gunbroker.com and you can still find Mosins, but they seem to be starting north of $300 now, and going up sharply from there.  I think they’re still a bargain, even at those prices.


More Tales of the Gun articles are right here!


Sign up here for free!

Hit those pop up ads and support ExhaustNotes.us!
The CMP Custom Gunshop, a 1903 Springfield, and Cast Bullets

This is an interesting story and it’s one of the very few times in my life I was hosed on a firearm purchase.  The rifle is a 1903 Springfield I bought a few years ago and didn’t shoot much.  The times I shot it previously I had experimented with cast bullets and it shot okay, but not great.  Then I tried it with jacketed bullets (loads at much higher pressures), and what do you know, I had a headspace issue.  I could see it in the primers that had partially backed out of the brass after firing, and on one round, I split a case circumferentially just ahead of the base (indicating with near certainty an excess head space issue).  I borrowed good buddy Greg’s 30 06 head space gages, and the bolt closed on both the no go and the field service gages.  That’s a no no.

The 1903 Springfield rear sight. The 1903A3 went to a much less expensive stamped steel rear aperture sight.

My first thought was to have the existing barrel set back and rechambered, but that didn’t work.  The 1903 Springfield has a barrel collar that holds a very sophisticated rear sight and positions the upper handguard.  When we set the barrel back, the rear sight integrity was greatly weakened and the front handguard had excess play.  Nope, I needed a new barrel.

I checked around and came to the conclusion that the best place to get this kind of work done is the Civilian Marksmanship Program (CMP) Custom Gunshop.  This is a quasi-government arsenal and these folks are the experts.   I priced having a new barrel and rear sight collar installed on my 1903, cutting a new 30 06 chamber with the correct headspace, and having the entire gun re-Parkerized.  The work was surprisingly reasonable.  I had to wait my turn in line, but that’s okay.  I had other guns I could shoot.

With a re-Parkerized finish and a new barrel, my 1903 looks great.
Very cool. The 1903 “scant” stock, complete with cartouche.

When the rifle was returned to me, it was stunning.  It literally looked like a brand new 1903.  A quick trip to the range followed, and I tried some jacketed bullet factory level reloads.  I loaded and fed from the magazine, as the 1903 is a controlled round feed and it’s best in these guns to let the cartridge rim ride up and find its position behind the extractor.

A 30 06 cartridge in the 1903’s magazine.

I shot a few targets with copper jacketed bullets and found that the rifle shot about a 8 inches high and slightly to the right.  The rear sight would take care of the right bias, and I figured the high impacts were okay.  Some military rifles of this era are designed with a 300-yard battlesight zero, which means they shoot to point of aim at 300 yards at the lowest sight setting (everything in between is high, with the idea being that if you hold center-of-mass on a human size target, you’ll have a hit out to 400 or 500 yards).

High and slightly to the right with factory-level reloads. My point of aim was 6:00 on the orange bullseye.

I could buy a taller front sight blade to lower the point of impact, but that wasn’t the way I wanted to go.  Nope, my plan was to shoot cast bullets in this rifle.  My guess was that if the rifle shot 8 inches high at 50 yards with jacketed bullets, cast bullets would be right where I wanted them to be.

Loading my first batch of 1903 cast bullet test ammo was easy.  Years ago I was on a reloading tear, and I had loaded a bunch of plated 110-grain round nose bullets with 14.0 grains of Unique.  I knew those loads were terrible in other 30 06 rifles (the lead under the copper plating is dead soft and it tears off, resulting in terrible accuracy).  Hey, no problem.  I pulled the plated bullets, left the 14.0 grains of Unique in the cartridges, flared the case mouths, and seated different cast bullets.  One was the 180-grain cast Hursman bullets with gas checks (these worked well in the .300 Weatherby), the other was the 210-grain Montana bullets I picked up from good buddy Paul (these are also gas checked bullets).  After seating the cast bullets, I crimped the brass with my Lee factory crimp die.

The Lee factory crimp die. It’s shown here with a jacketed bullet. It has collets that circumferentially crimp the case mouth to the bullet.
30 06 reloads with cast bullets. That’s the Montana bullet on the upper cartridge, and the Hursman bullet in the lower cartridge.  If you look closely, you can see that the case mouth has been crimped by the Lee factory crimp die.
A macro shot of the Hursman 180 grain bullet. The case was crimped with a Lee factory crimp die.
A similar photo of the Montana bullet. It’s cast with a Lyman mold. The Montana bullet’s rounded nose fed better from the 1903 magazine.

I only loaded 20 rounds (10 each with the two different cast bullets), as this was to be a “quick look” evaluation.

A morning at the range on an overcast day, a beautiful 1903 Springfield rifle, and .30 06 ammo loaded with cast bullets. Life doesn’t get much better.

Both loads shot reasonably well.   I’m not going into the upholstery business with either of these loads (they are not tack drivers), but they are good enough.  I was particularly pleased with the 210-grain Montana bullets.  The Hursman bullets had proved to be the preferred load in the .300 Weatherby; the Springfield showed a decided preference for the Montana bullets.

I shot at 50 yards with both loads; future testing will be with the Montana bullet at 100 yards.

The Hursman bullet load at 50 yards. The load was 14.0 grains of Unique; it may be that the Hursman bullets will group better with other propellants.
The Montana bullet at 50 yards on the left-most bullseye (the other bullseyes were shot with a Mosin-Nagnt rifle, covered in another blog). I found a sweet spot with that 14.0-grain Unique load and the Montana bullet.

Unique is not the best powder out there for loading cast bullets in rifle cartridges.  In the past, I’ve shot much better groups in other rifles with IMR 4227, 5744, SR 4759, and Trail Boss.  Those evaluations in the 1903 are coming up.  For now, I know I’ve got a good load with Unique and the Montana bullets.

One of the big takeaways for me in this adventure is that when you buy a milsurp rifle, always check the headspace to make sure that it is within specification.   It’s pretty common for these rifles to have gone through arsenal rebuilds and to have been cobbled together from parts bins, and when that occurs, if the chamber isn’t matched to the bolt you can have an excess headspace problem.   That’s a bad situation, as it can be dangerous to the shooter and anyone nearby.

You can find headspace gages on Amazon and elsewhere.  If you’re going to buy a military surplus rifle, checking the headspace should be part of the drill.


Why you should click on those popup ads!


More Tales of the Gun!


The ultimate milsurp gun?  Hey, check this out: